Reorganising my Stampin Space!

Organising our craft stash seems to one of those ongoing things that is in a constant state of flux. I haven’t been happy with my set up, well, since we moved to this house over 6 years ago.
In a recent discussion with my sister, she suggested that I use a Dresser that belonged to our parents and which has been stored at my sisters house since our beautiful Mum passed away 11 years ago.
So, this weekend, the Dresser is being delivered here, (it’s currently about three and a half hours drive away) and so over the next few days, I am going to be packing much of my stamping and crafting stash into boxes so that I can then sort, cull and organise it into it’s new home.
The bonus is that I will always have that little piece of my Mum and Dad with me while I am crafting.
So for the next few days, the Big Brown Boxes will have a new use (other than cat toy!!), and crafting will be minimal.


I have a couple of posts scheduled so that you will still get some ideas and inspiration from me, and I plan to be Live on Facebook at 10am on Monday morning, for Masculine Monday.

I’m sure that these two rascals, along with their third rascal friend, will enjoy every minute of “helping” me with the packing, sorting and moving things around. Wish me luck!!

See you on the flip side!
Chris

Darth Vader Technique

When I first started stamping in 2008, this was one of the first techniques I was taught . I’m sure there are other names for it but that’s what we called it, the Darth Vader (from Star Wars, for those that don’t know) Technique.

The reason this was one of the first techniques I was taught is because it uses Stampin’ Write markers to ink the stamp, and at the time, you could buy these markers individually, making it a cheaper way to get more colours in my stash.

Both the stamps were inked with markers on this card. So why is it called the Darth Vader Technique? Once the ink is on the stamp, it’s important to “huff” onto the stamp, the humidity from your breath keeps the ink damp enough to create a nice clear image.

I did a video of making this card on my Facebook page this morning – you can find a link to the page on the sidebar, so please drop in and say hi and leave a comment.

The card used the Elegantly Said stamp set, Scalloped Contours Dies and the Hand-Penned Designer Series Papers.

Happy stamping

Chris 💜

Purple Daisies

I made this card a while ago and somehow I haven’t shared it with you yet.
With all the Christmas projects going on for blog hops, I thought you might like something different today, and thought it was time to share this one.

This card is a comination of some of my absolute favourites from the current Stampin’ Up! Annual Catalogue, the Heirloom Frames, and the Daisy Lane Bundle.

Heirloom Frame Card Daisy Lane Stampin Up Christina Barnes Dot Dot Stamping

The daisies have been stamped in Smokey Slate, and then coloured using a Blender pen and  Blackberry Bliss ink.
The daisies and the frame have some Wink of Stella added to them for some shimmer, but it hasn’t come up in the photos.
This was a card which I made for a lovely lady who recently joined my Stampin’ Up! team.  It is lovely to have someone living close by who shares my love of stamping and creating.
I am looking for more team members, so if you live in Australia, and would like to know more about joining Stampin’ Up! as a demonstrator, either as a business demonstrator, or as a hobbyist who would like to get a discount on your products, please feel free to leave a comment, or send me an email at dotdotstamping@gmail.com

And click here if you would like to order your own Stampin’ Up! products.
Happy Stamping!
Chris

Cardz 4 Guyz

67459399_2343973879148651_9158670287275819008_n
Firstly today, I am very excited to let you know that I am now a member of the Design Team for Cardz 4 Guyz, and so will be posting heaps more masculine cards for you.  The challenge is fortnightly, and I hope you will share your projects with us and pop in and check out what is going on.  Here is the link to the challenge blog: https://cardz4guyz.blogspot.com/
DT Badge Cardz4Guyz

Today I am sharing my first card as a member of the Design Team, and fittingly, the theme is Music.  You may not be aware that I was a professional musician in a former part of my life and still play a lot of music, these days as an amateur in support of my son who also plays an instrument.

Cardz4Guyz Music Card

The only stamping on this card is the sentiment.  Everything else is from various sets of Designer Series Papers.  The music and wood background papers are both from Pressed Petals Designer Series Papers, and the gorgeous little bird has been fussy cut out of the Bird Ballad Designer Series Papers.
The sentiment is normally straight but since it is a photopolymer stamp, I have curved it onto the clear block, to create some nice shape.

Why not come on over to Cardz4Guyz and check out what the rest of the Design Team have been doing with this challenge.
Happy stamping!
Chris

CASE-ing the Catalogue

66596541_641887536309950_2346351169359577088_n
My card today is CASE of the card that is on Page 76 of the Annual Catalogue.
If you don’t know what I mean by “CASE”, it means Copy And Share Everything, and means to use the card layout as inspiration, to copy some or all aspects of the original card.
This is the card that I have copied from the catalogue:
2019_AC_P076_A

And here is my version:
Very Versailles Green Card

I have kept the green theme for colours, only I have used Old Olive and Pretty Peacock, the same as the colours in the gorgeous ribbon, and copied the layout.
The leaves from the stamp set were coloured using Markers, Old Olive for the leaves and Soft Suede for the branches for a subtle difference.  Then I have double stamped, so instead of re-inking the stamp for the second lot of leaves, I have just stamped again for a lighter colour.
The stamping at the top and bottom of the panel were stamped using my Stamparatus – my new favourite tool!  I’m wondering how I lived without it.  I have used other stamp positioners in the past, some quite similar, but this one is absolutely the best!

Have a crafty weekend,
Chris

Art With Heart Blog Hop – New In Colours


64734605_10219201145162081_6996690712334958592_n

Tonight the Art with Heart team are sharing creative projects featuring an In Colour theme. Check out the new 2019 – 2021 In Colours and lets not forget the current 2018 – 2020 In Colours. If you would like a copy of the 2019 – 2020 annual catalogue, contact any of the girls on the blog hop and we will get in touch with you.

We have been showcasing the newest In Colours one at a time over the last few weeks, now it’s time to see even more inspiration from the Art With Heart team.

I have made a card using each of the 2019-21 In Colours, since I can’t decide which is my favourite of these colours, I really love each of them.  My cards also feature some of the new Designer Series Papers, Woven Threads DSP, and also the Pressed Petals DSP.

First up, the gorgeous Pretty Peacock.
Tasteful Textures Card 1

Lots of sponging and distressing on this card, and I have combined the Pretty Peacock with Very Vanilla cardstock and Crumb Cake ink.  The stamp set that I have used in the background is Tasteful Textures, and the Dies are the Tasteful Backgrounds.

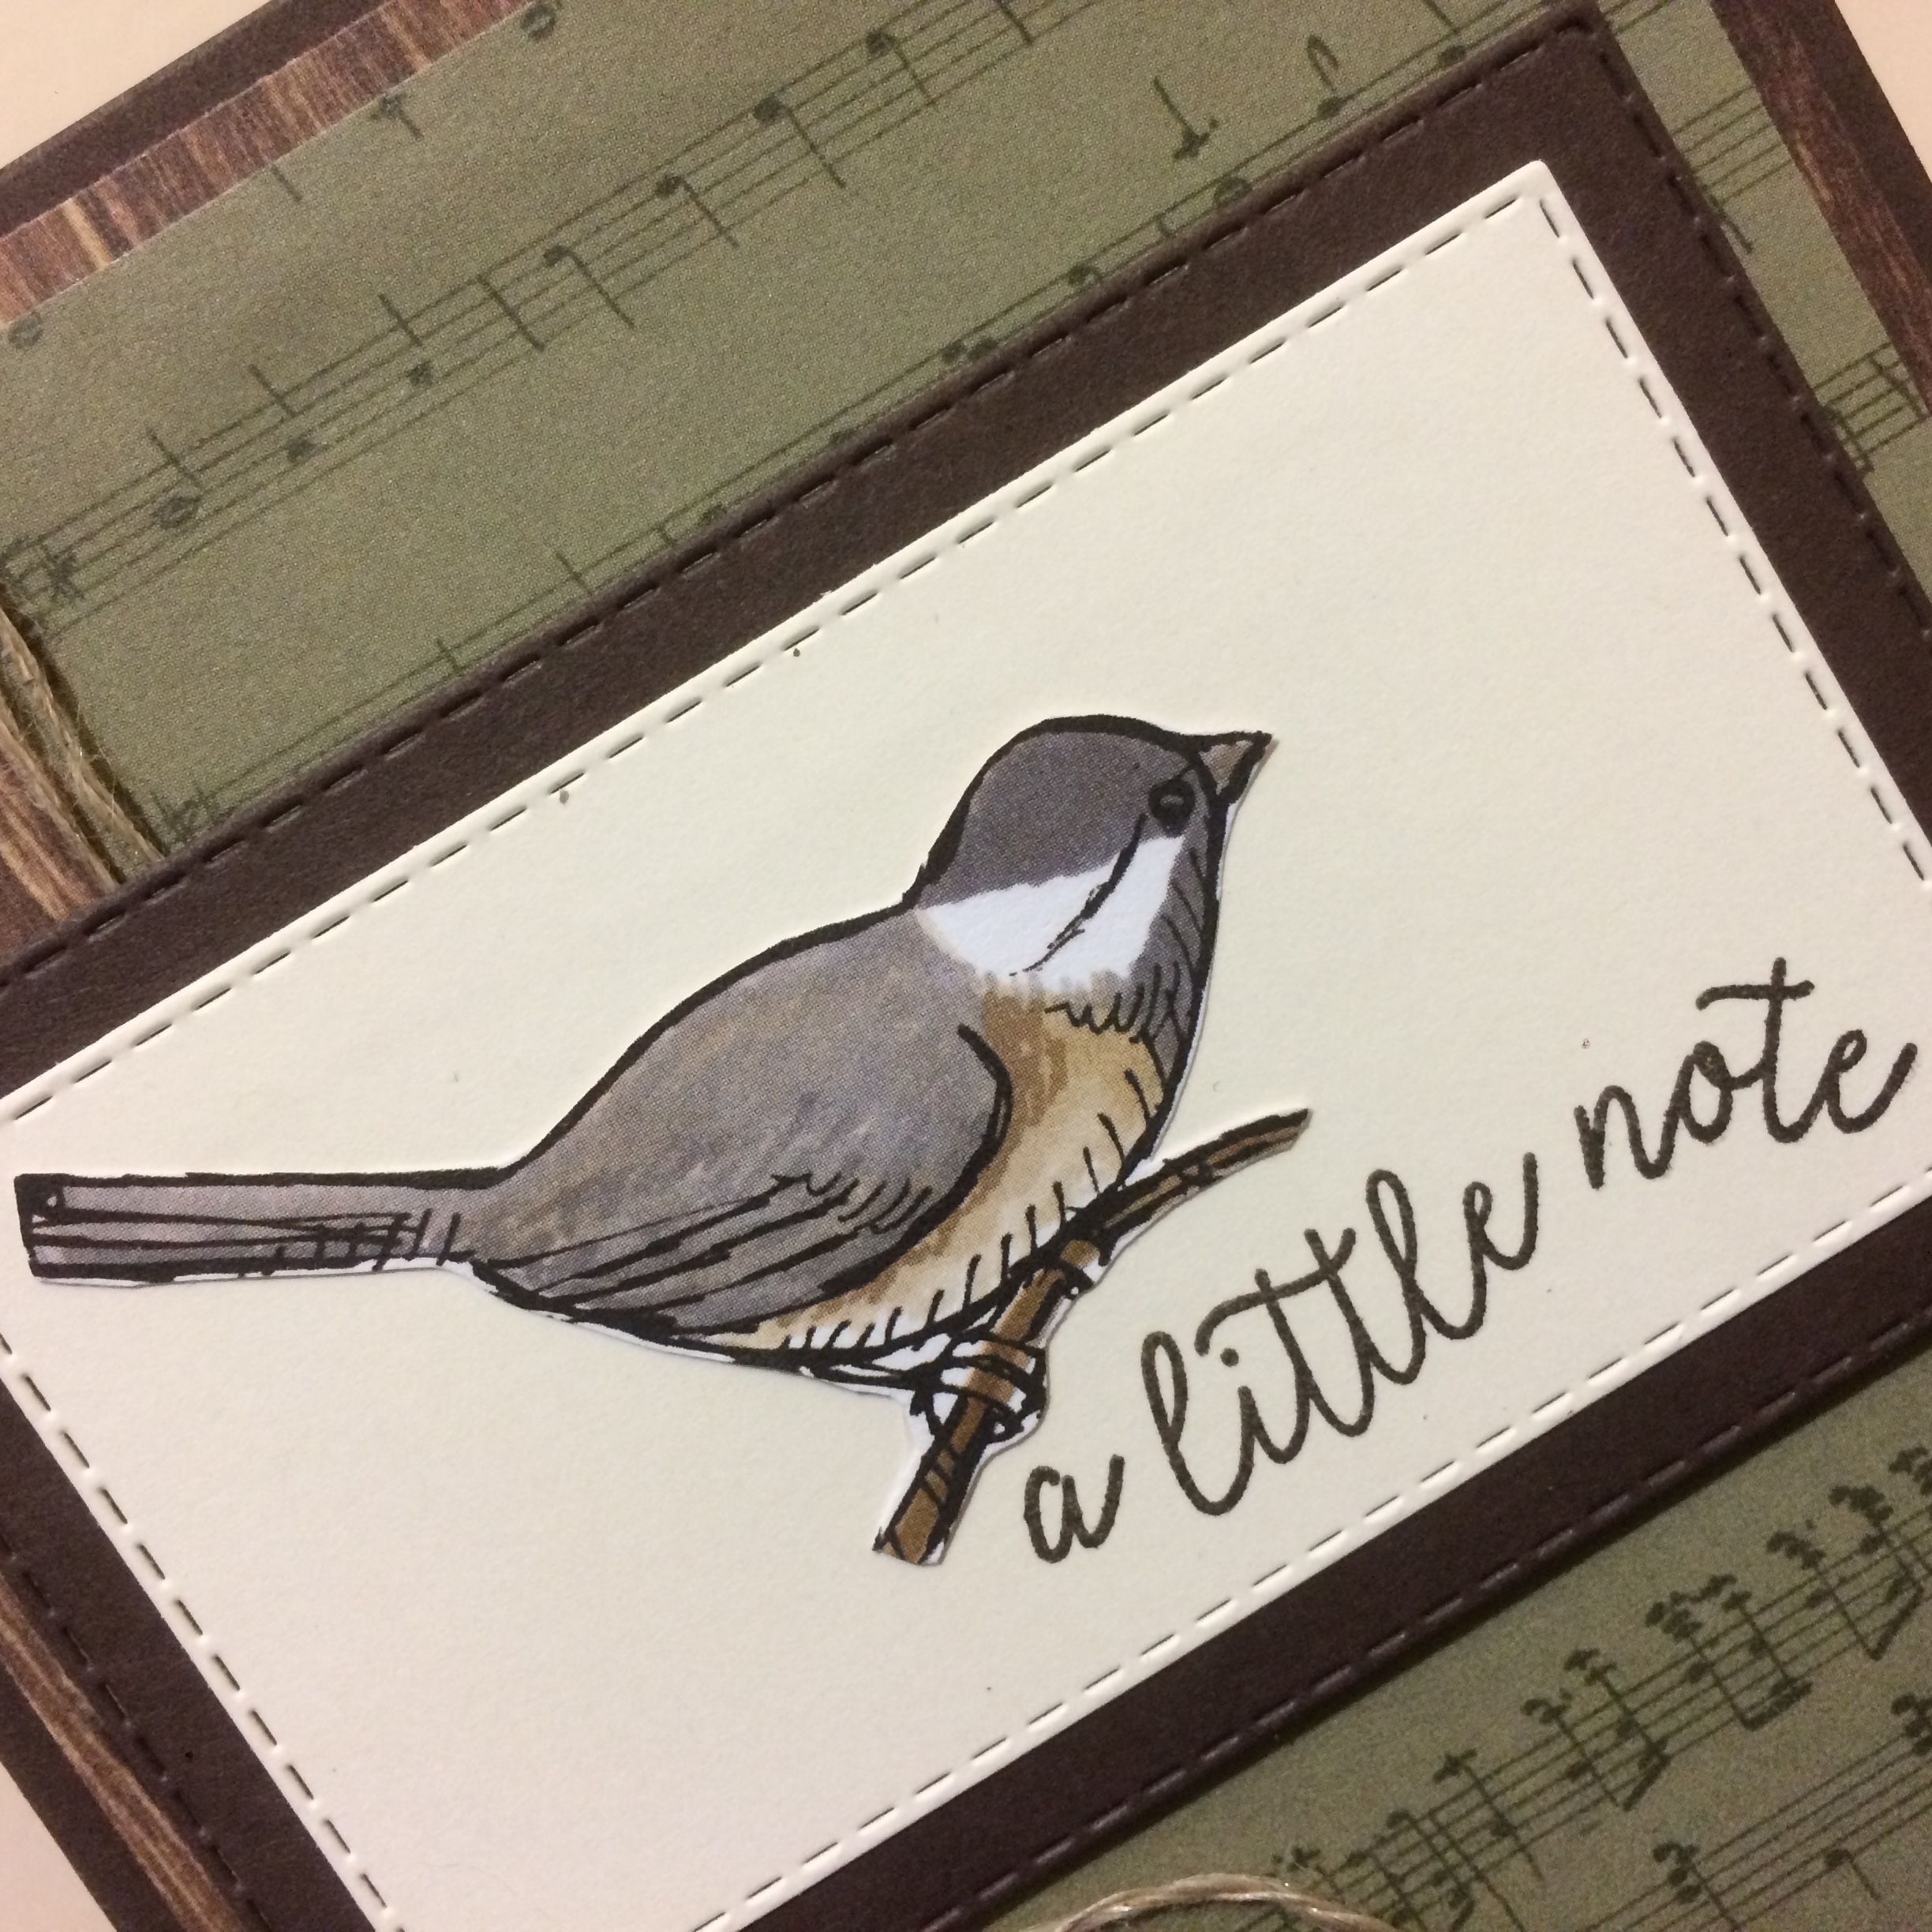
Next is Terracotta Tile.
Another versatile colour that will be great for creating masculine cards!!
Woven Threads DSP 1
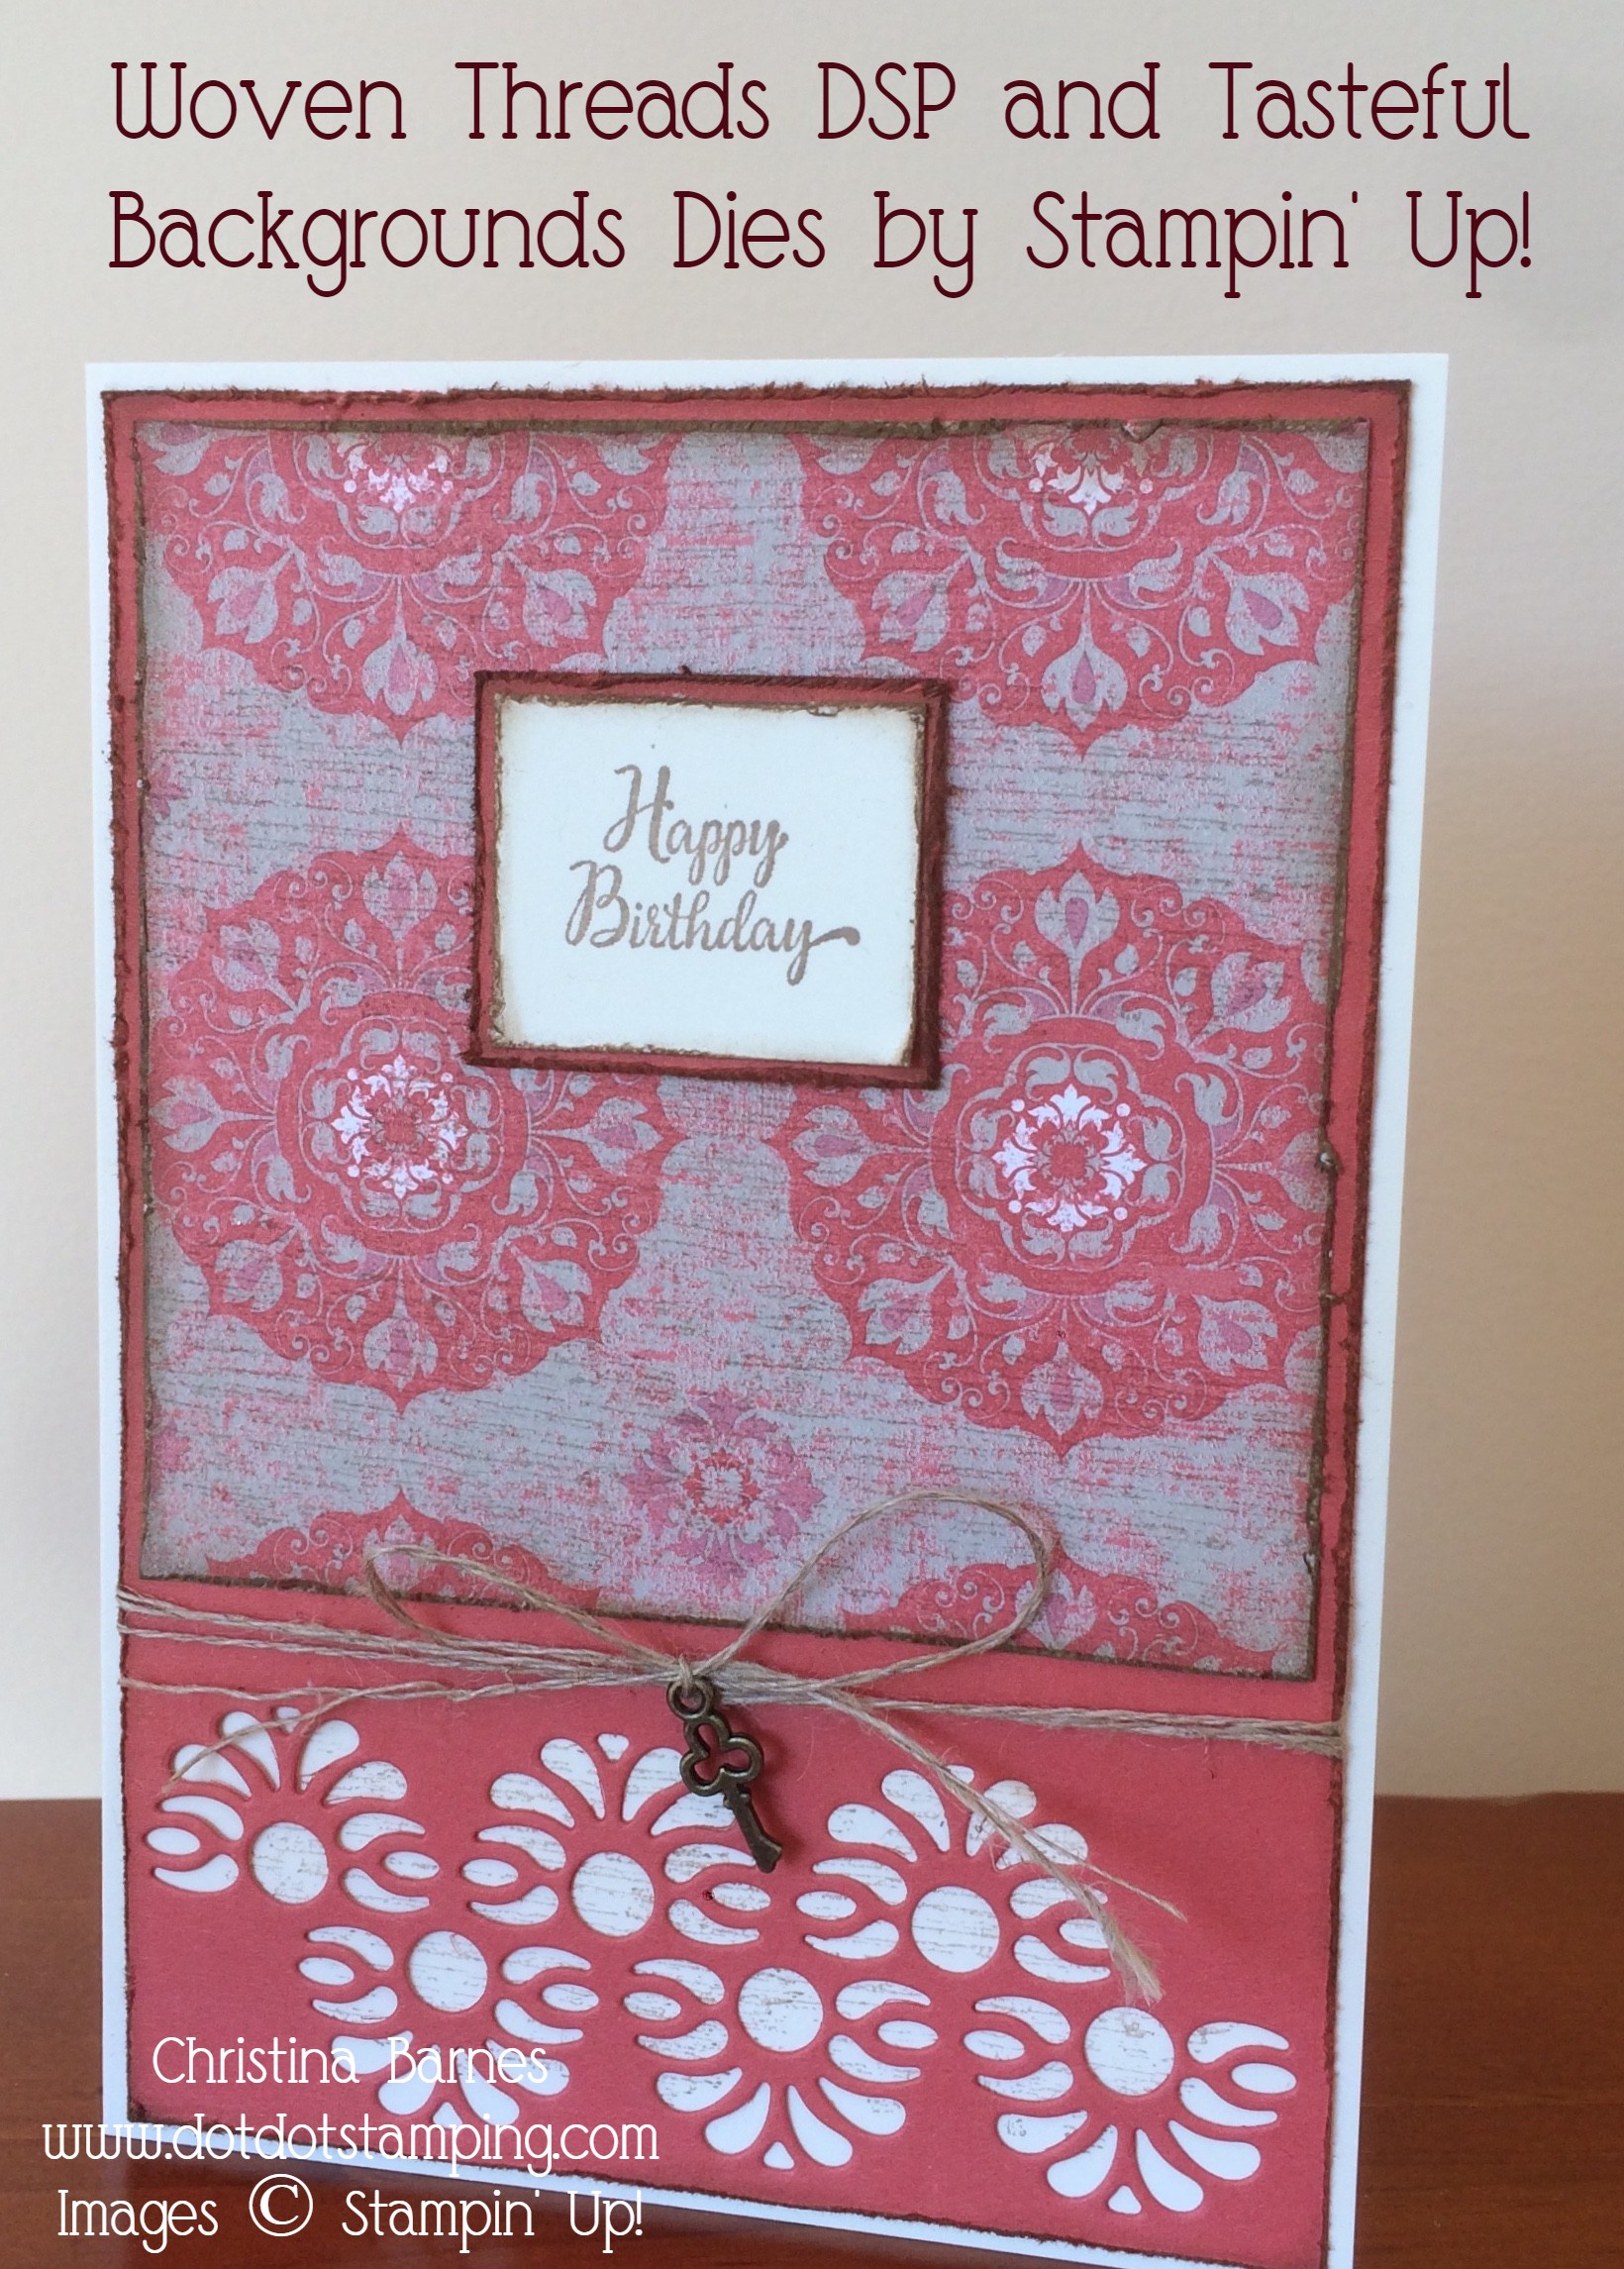
Again, I have used the Tasteful Textures and Tasteful Backgrounds, combined with the Woven Threads DSP, and used Very Vanilla cardstock with Crumb Cake ink.
It may be difficult to see in the photo, but I have stamped on the DSP with the line stamp from Tasteful Textures to give the DSP a little more, well…. texture!
And I have also stamped with the same stamp behind the die cut area.

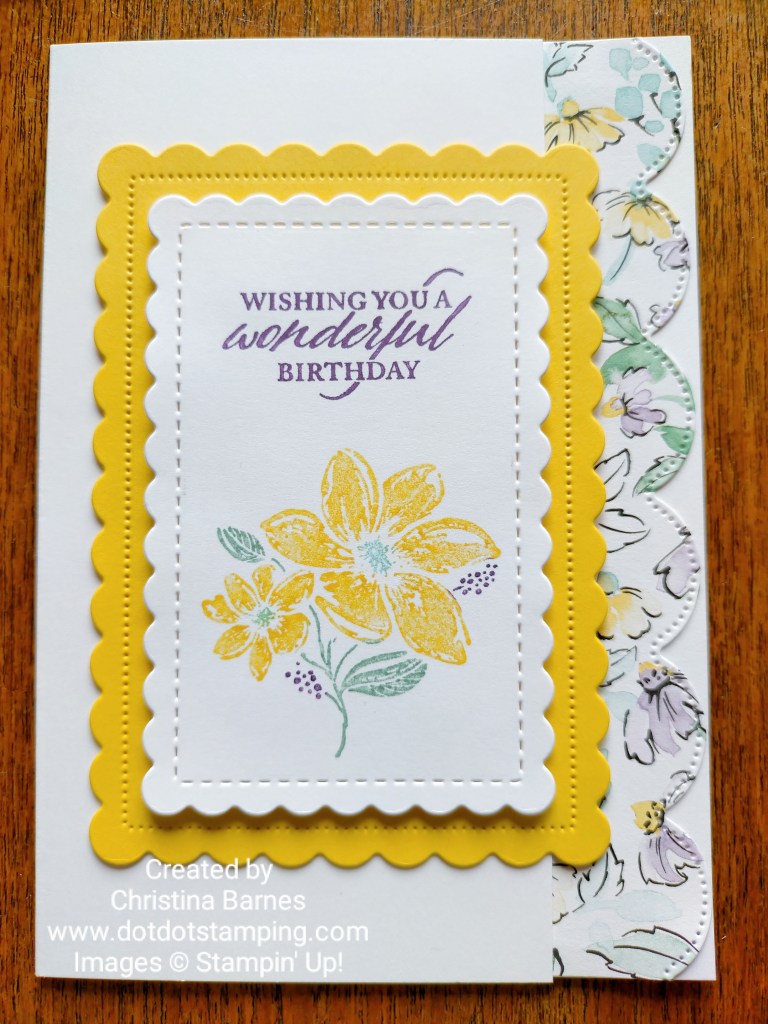
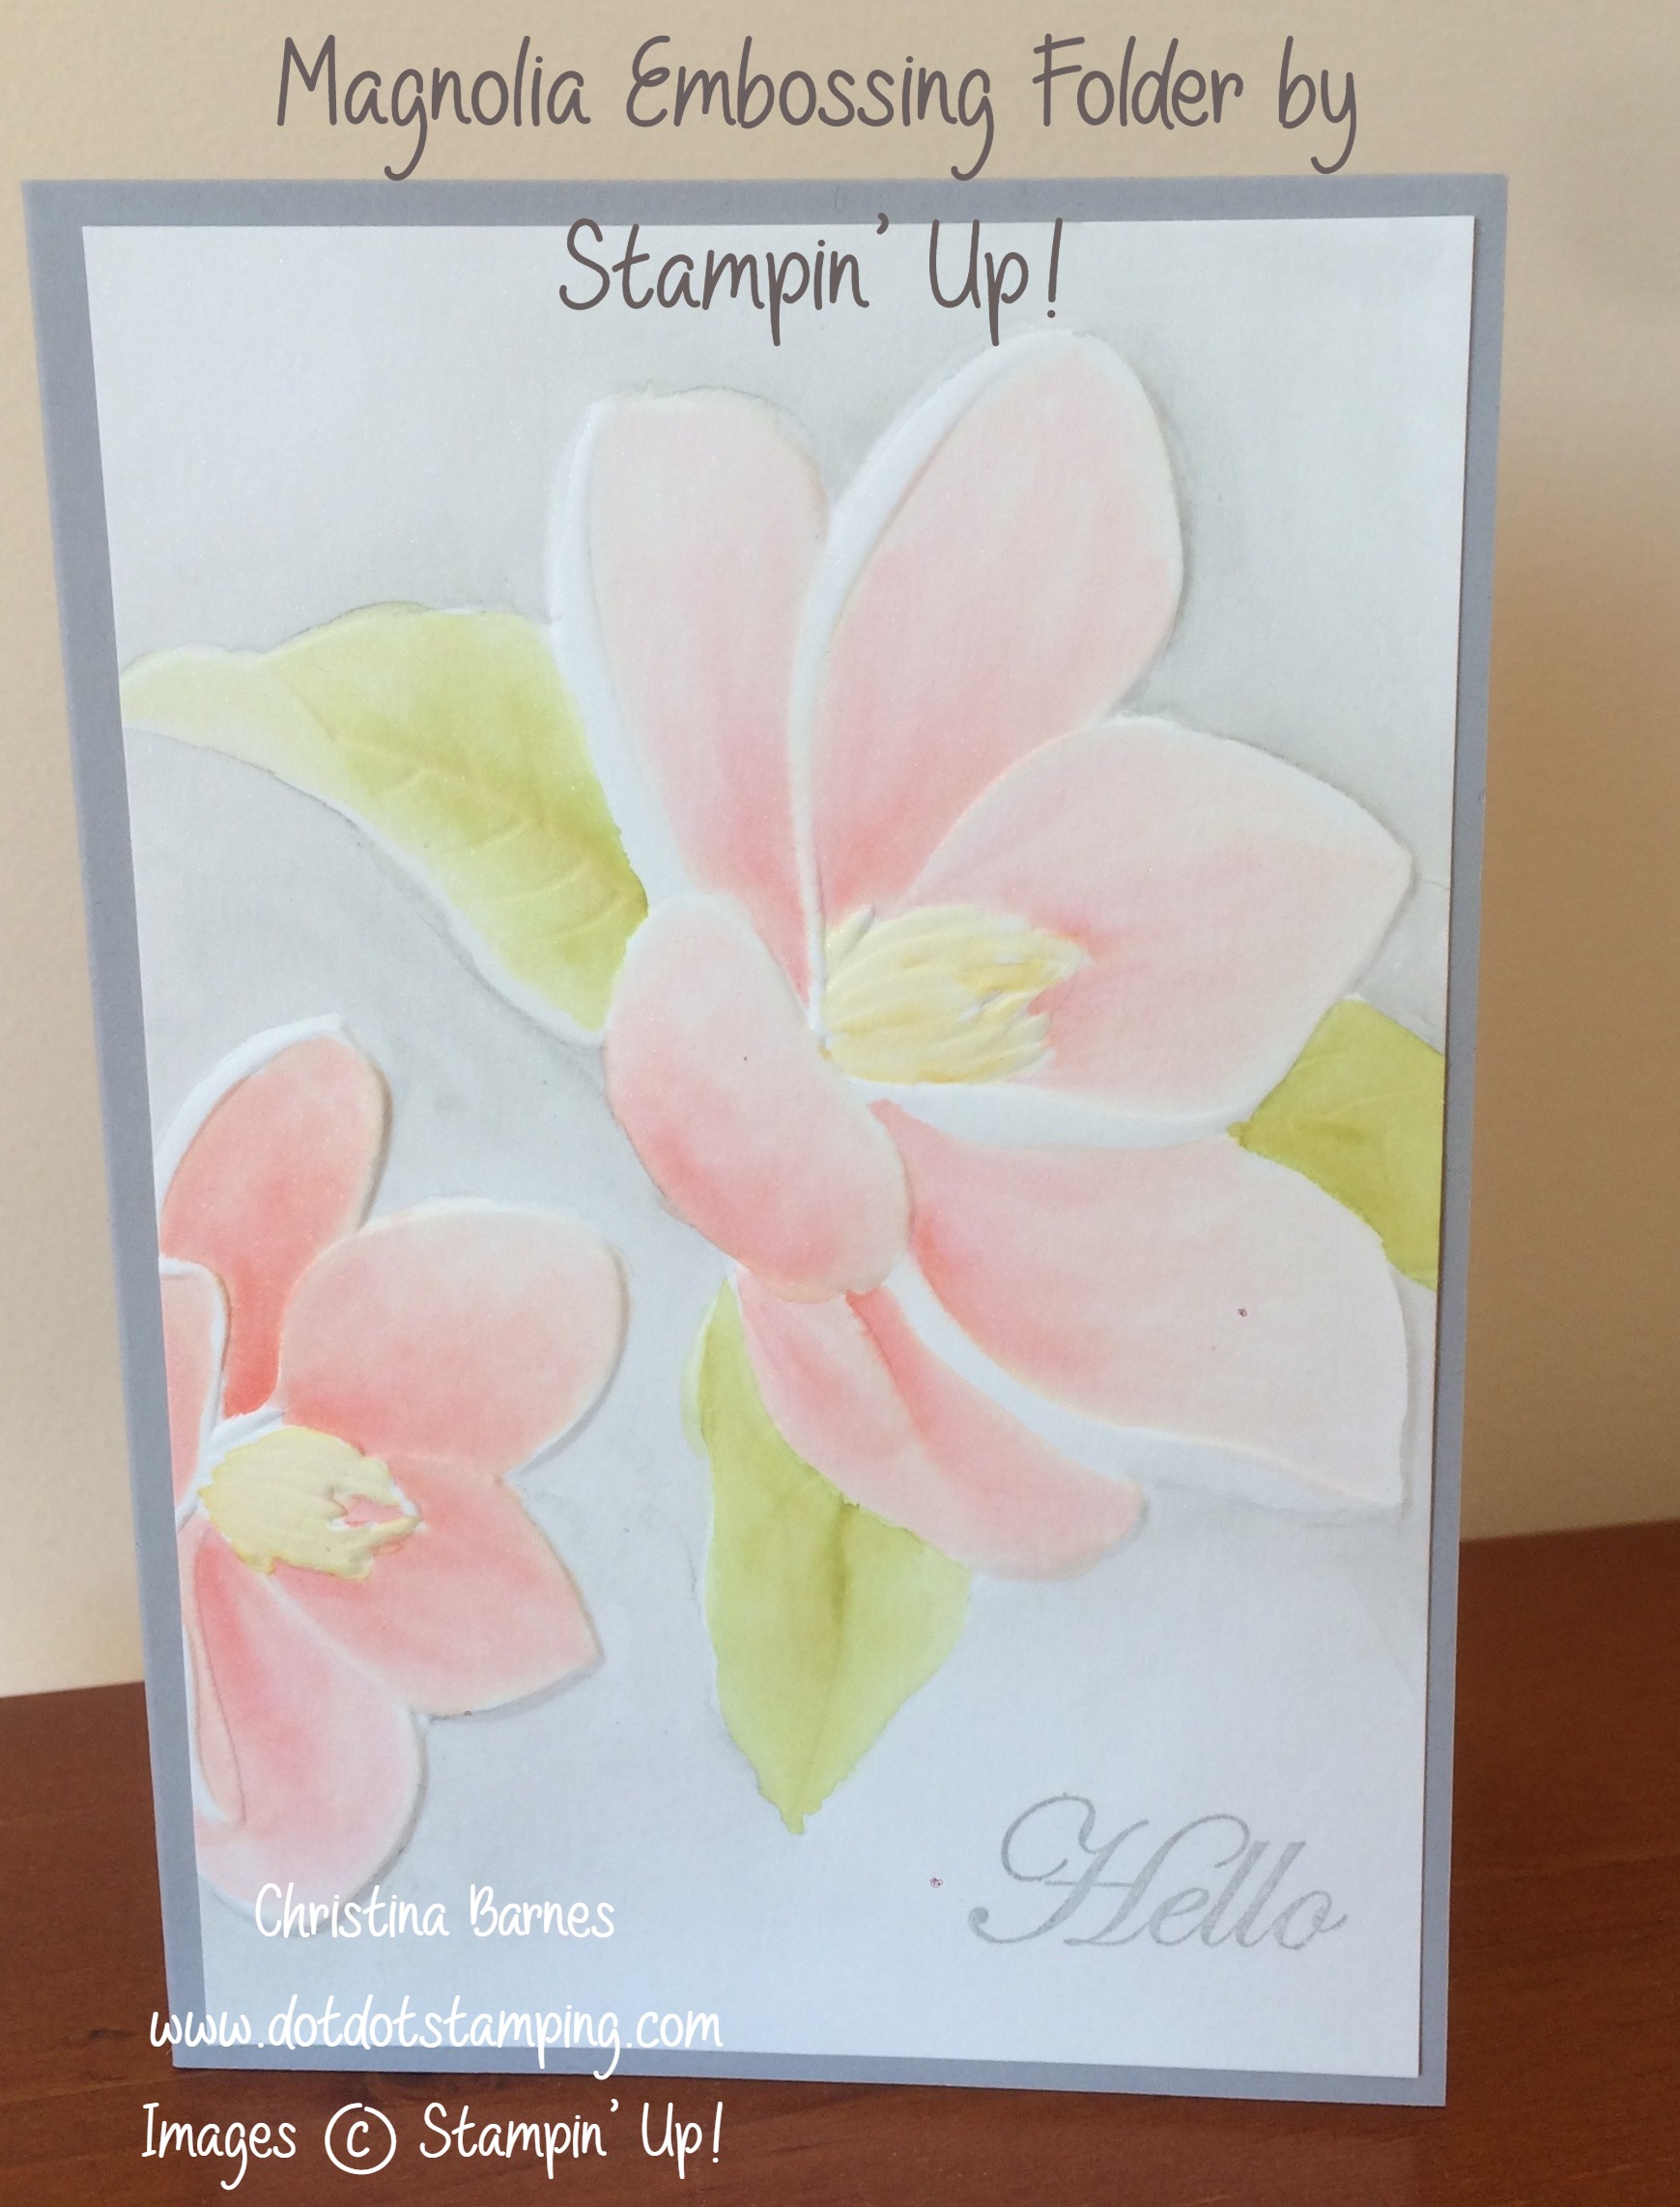
Next, Rococo Rose.  So pretty!
Pressed Petals DSP Card 1
I have gone with a different DSP this time, Pressed Petals DSP.  All of the gorgeous flowers on my card are just panels of the DSP.
Again, heaps of distressing and sponging, and layers but only a very little stamping.

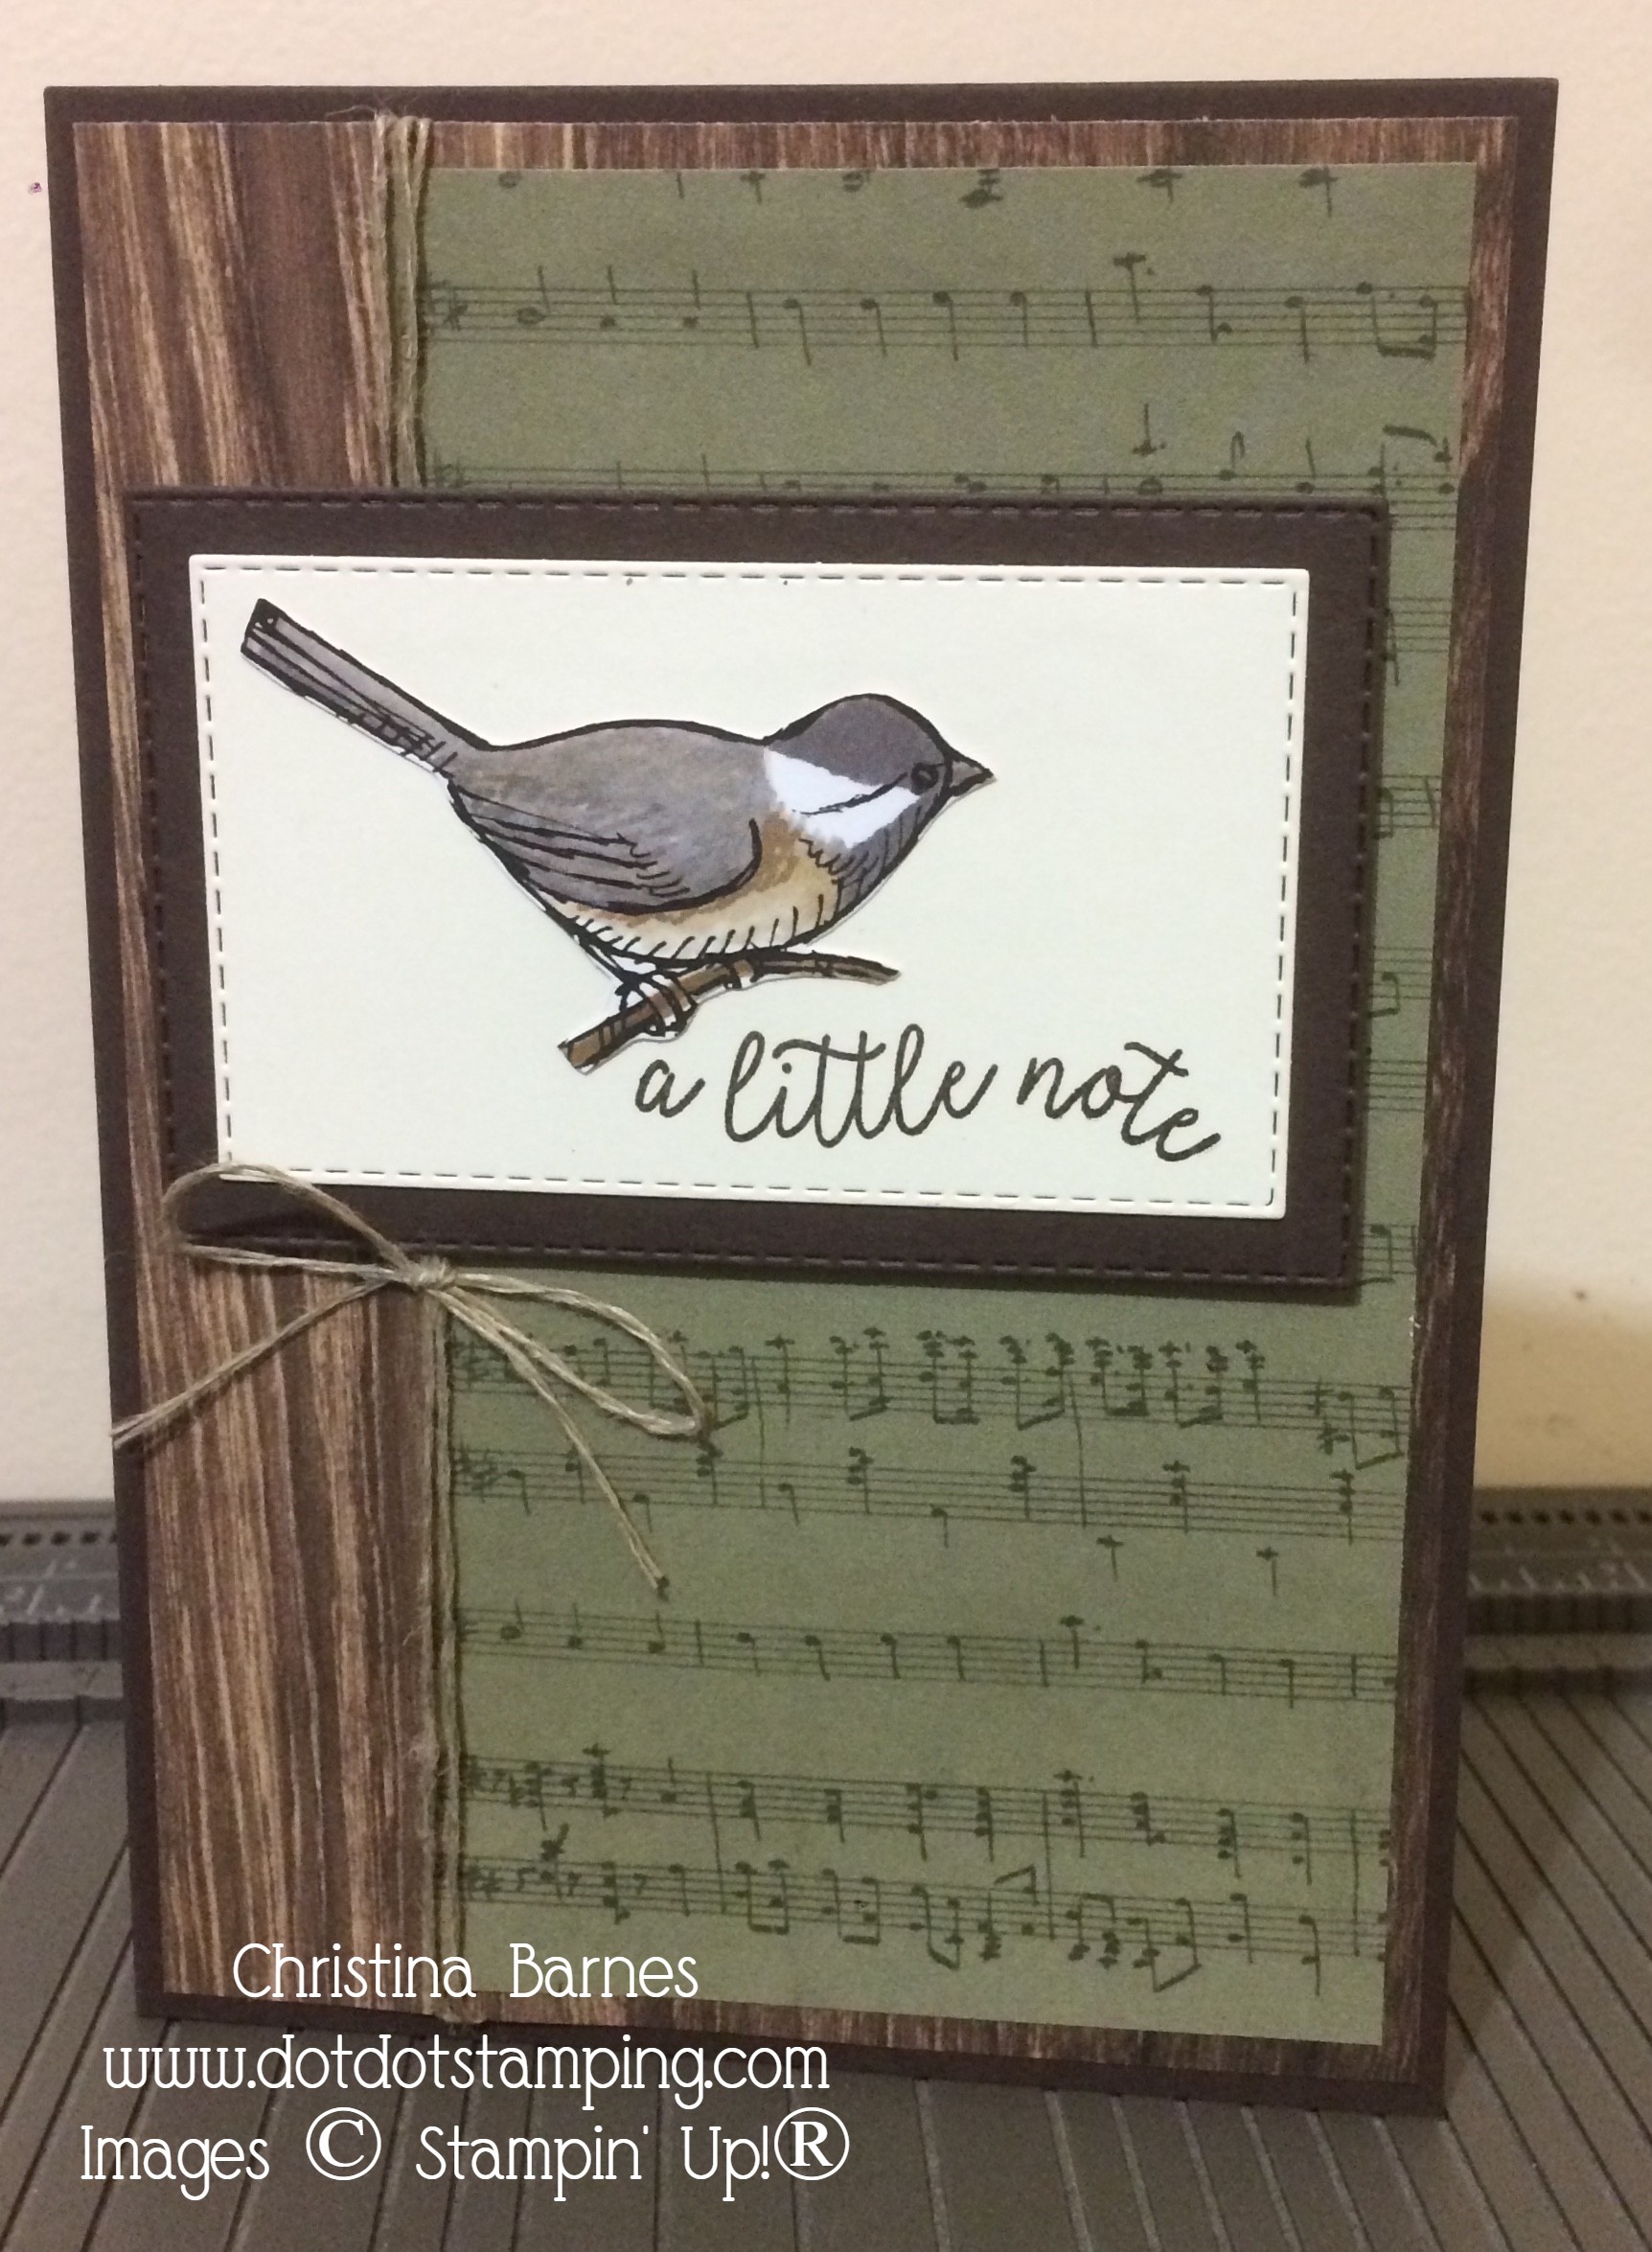
A quick and easy card using Seaside Spray.

Woven Threads Card 1

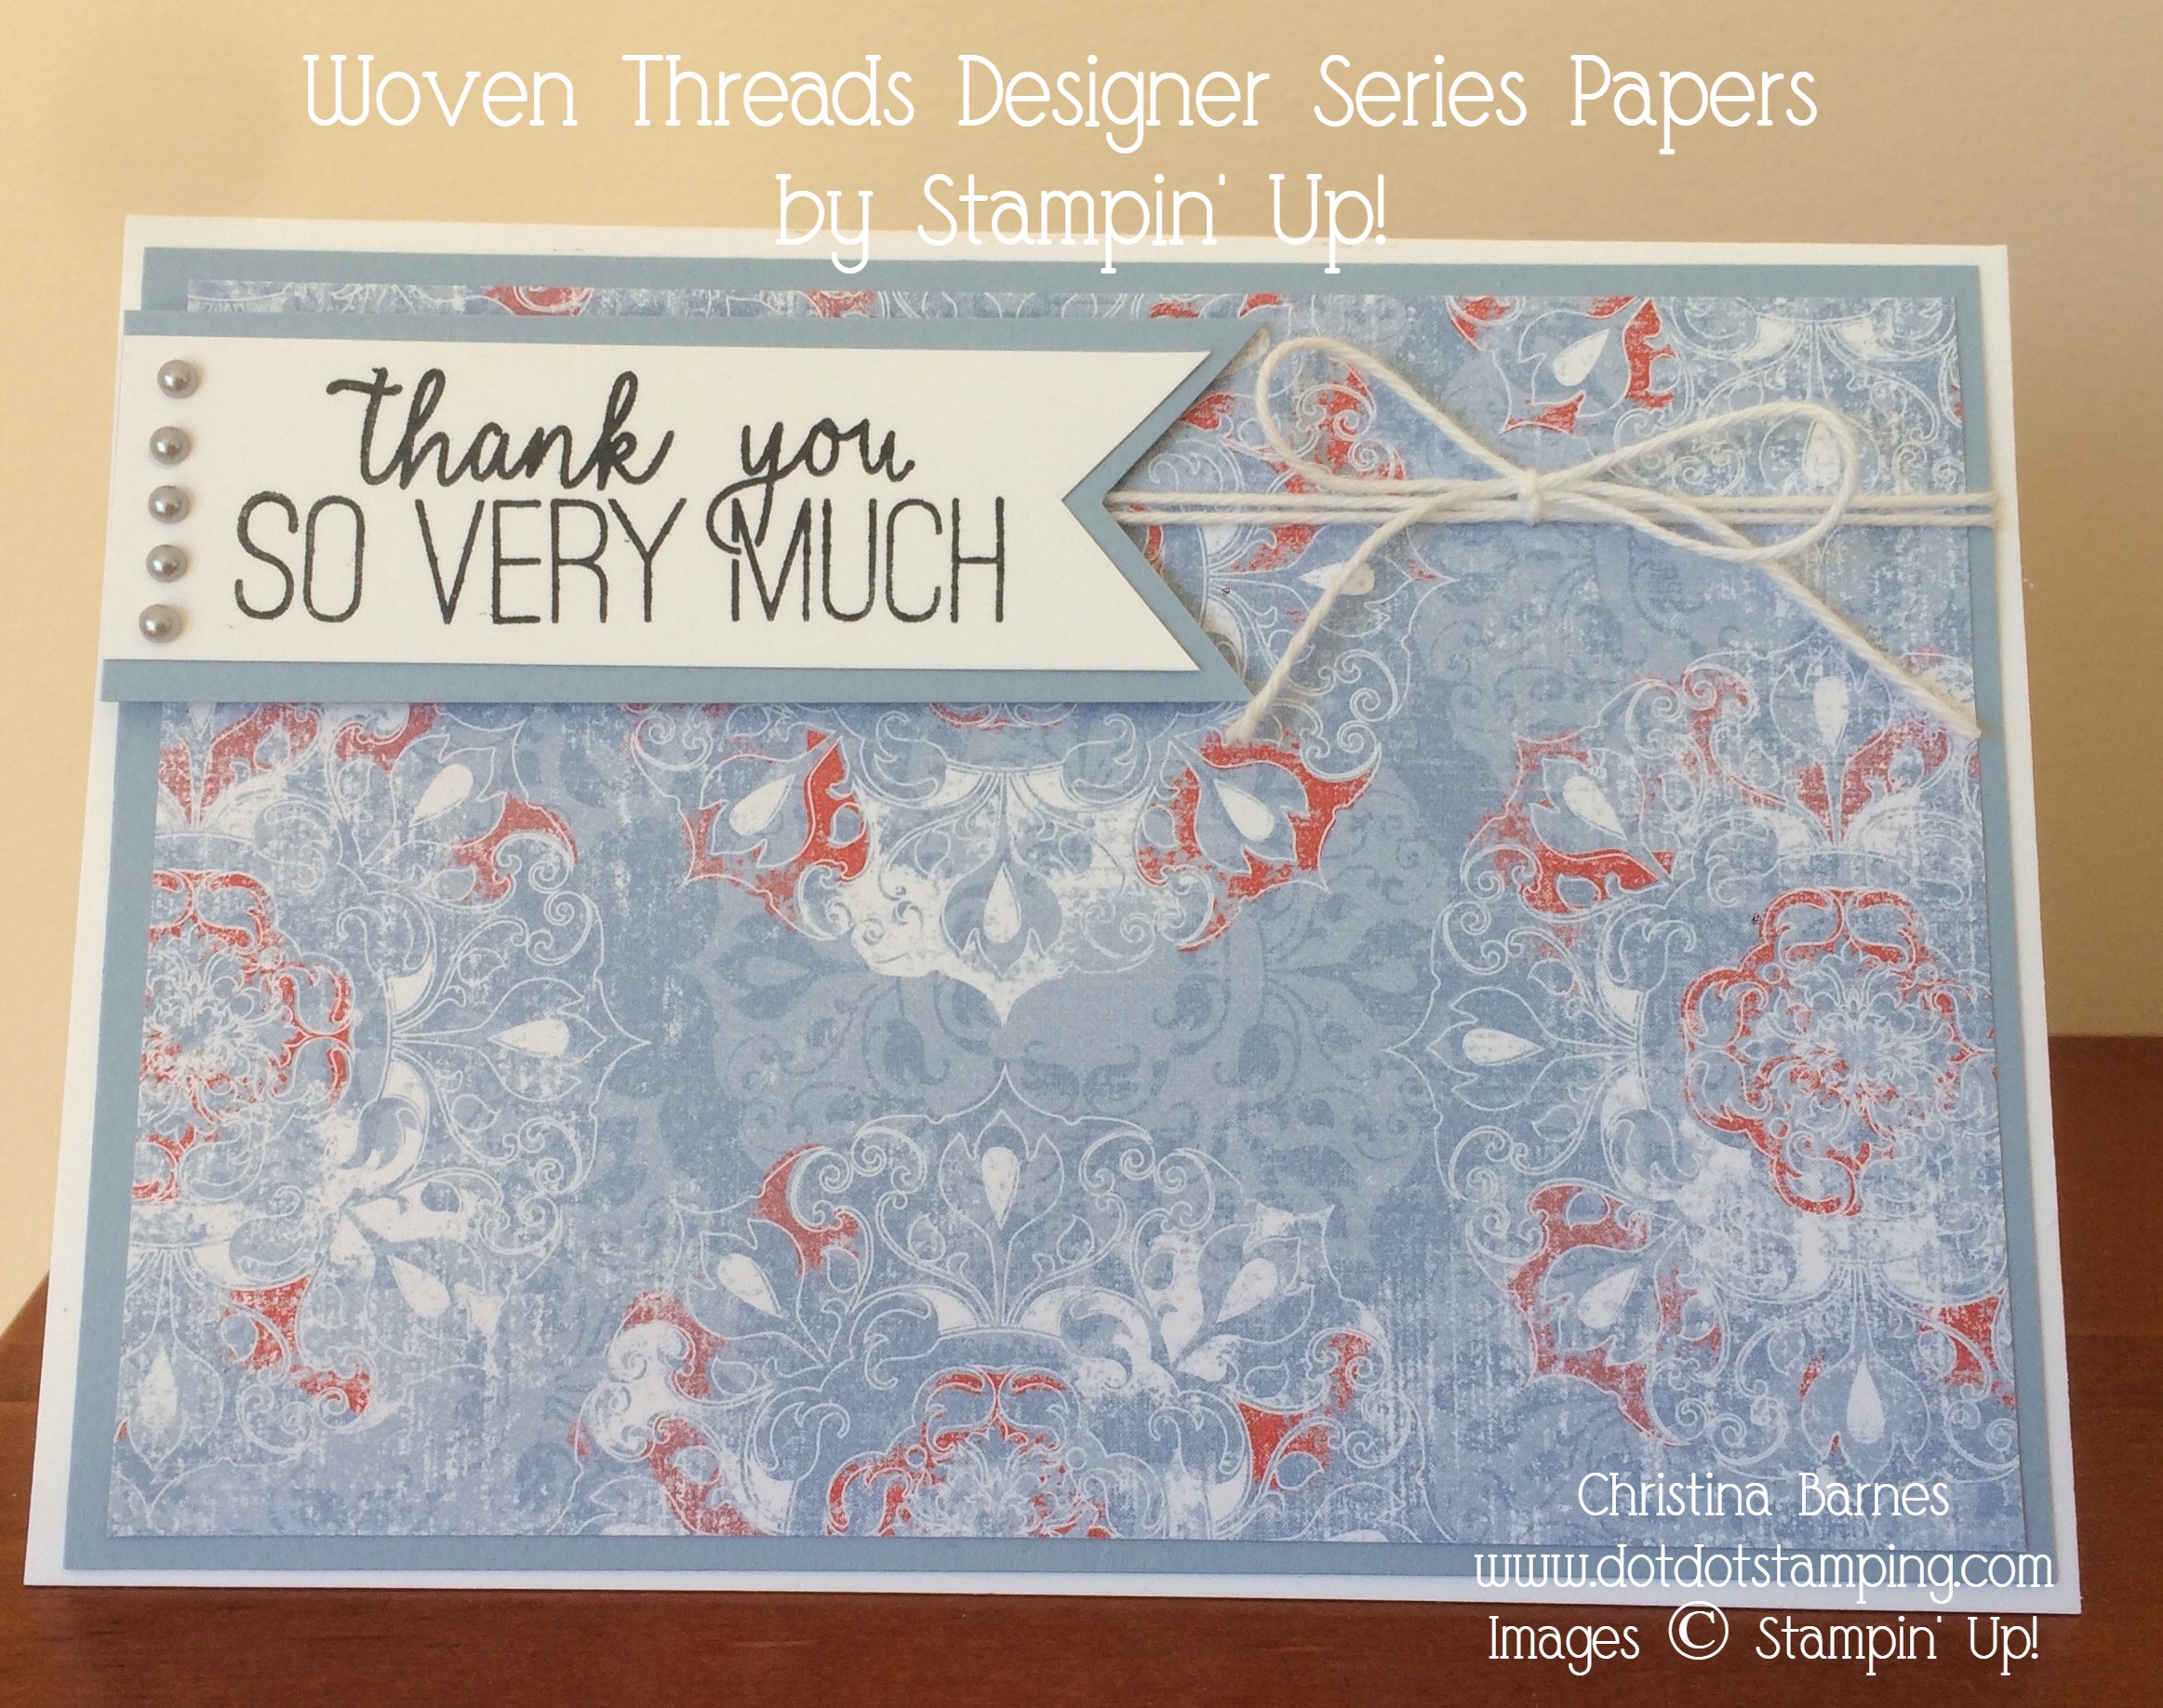
The Designer Series Papers make it so easy to create gorgeous cards with very little effort.  This card has a layer of  the Woven Threads DSP over some Seaside Spray, which is mounted onto a white card base.  Just a little Bakers Twine and some Metallic Pearls. Too easy!

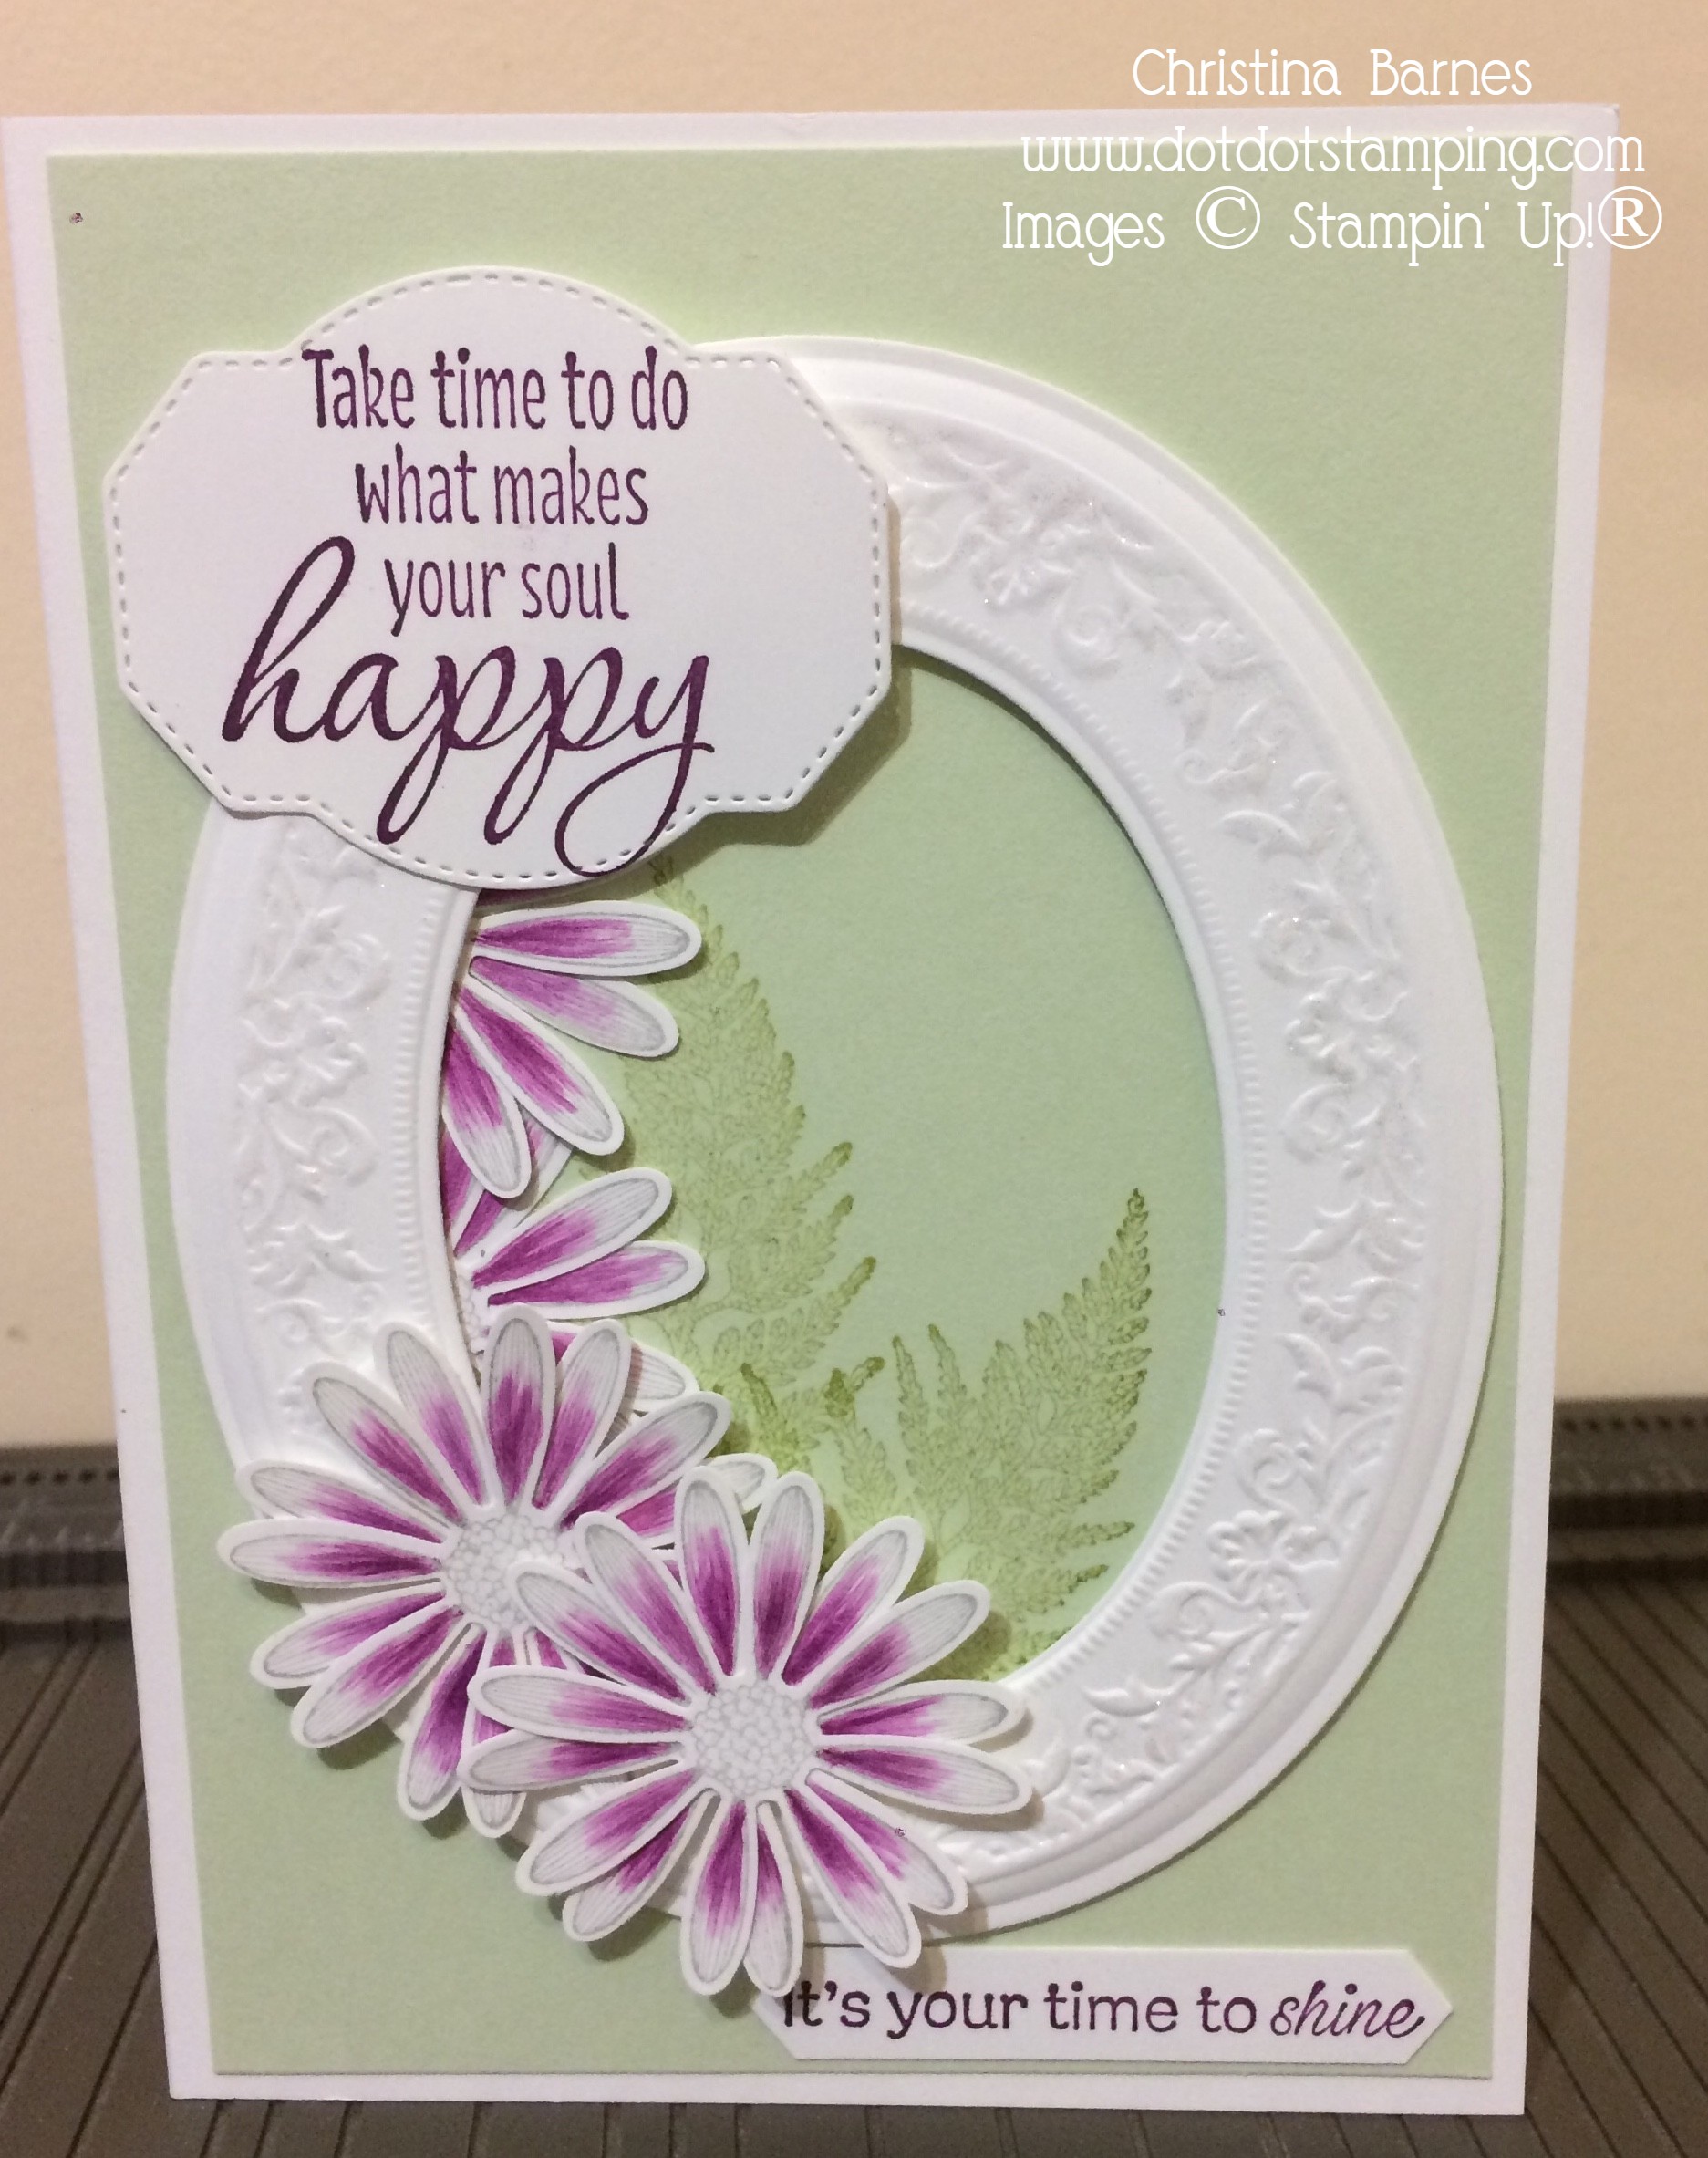
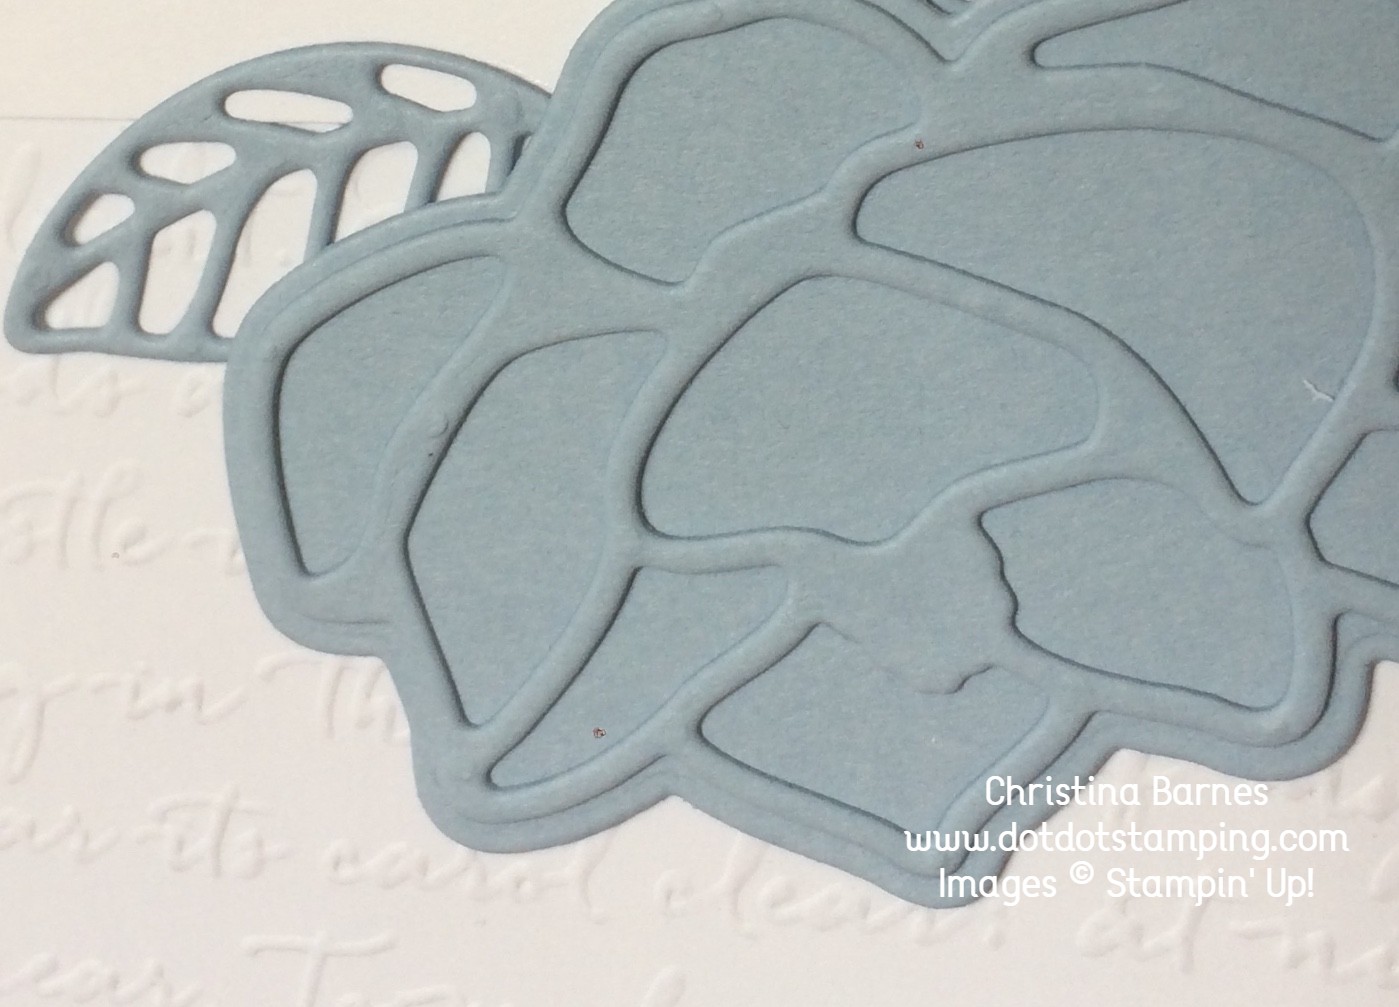
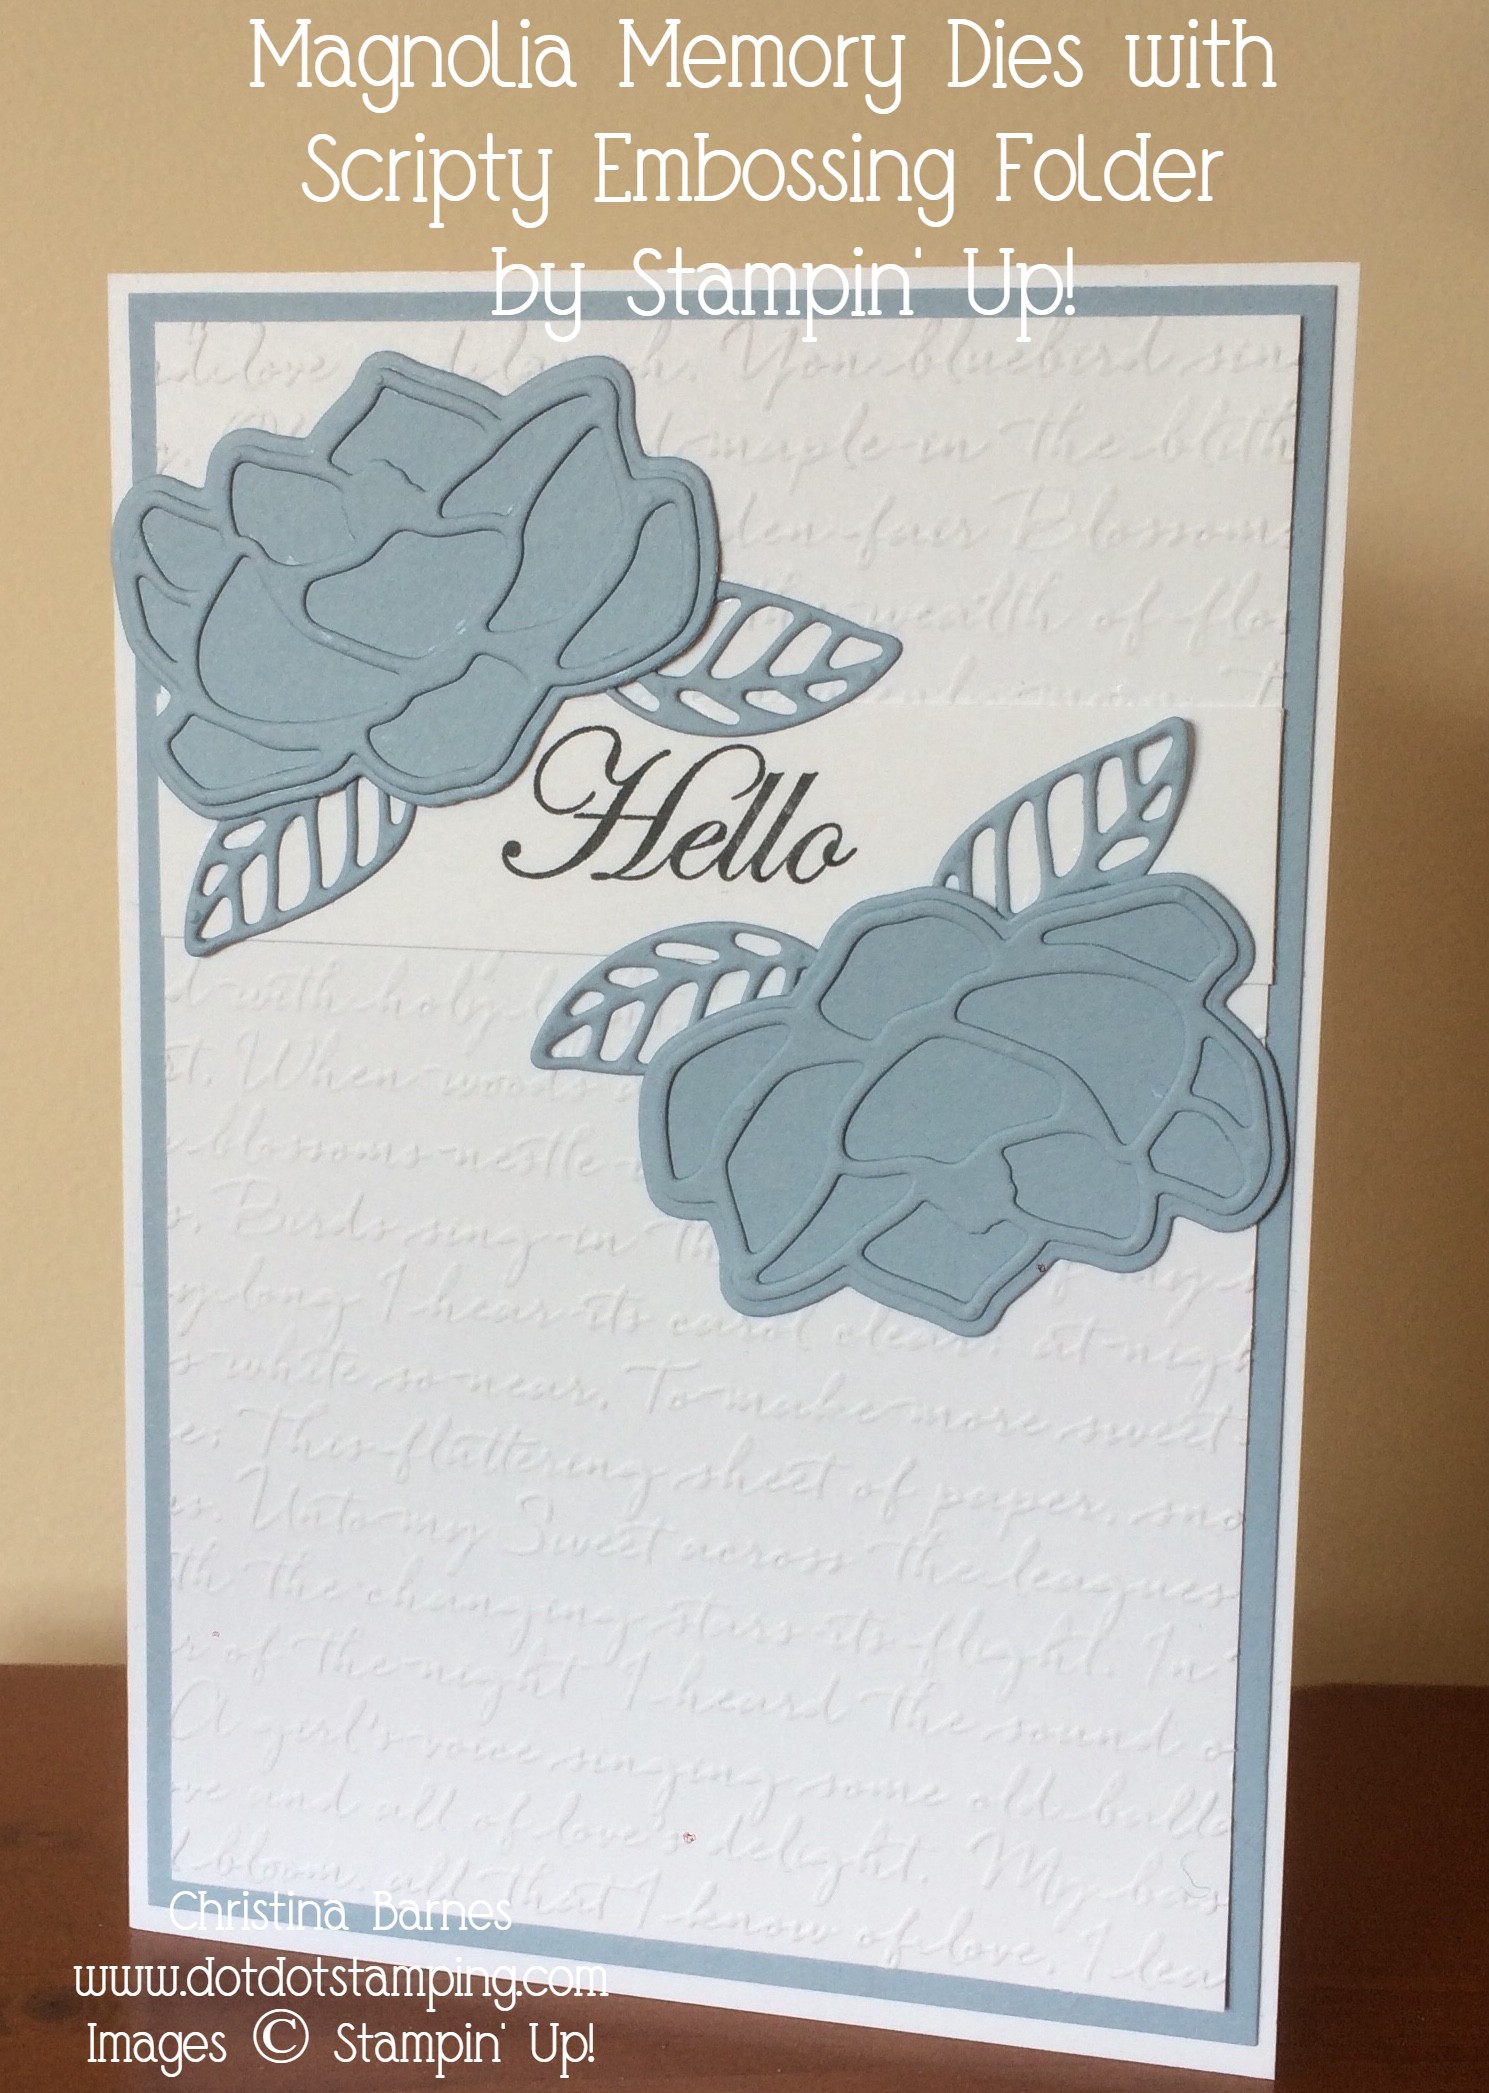
And last but definitely not least, the beautiful Purple Posy.

Tasteful Backgrounds Daisies Card

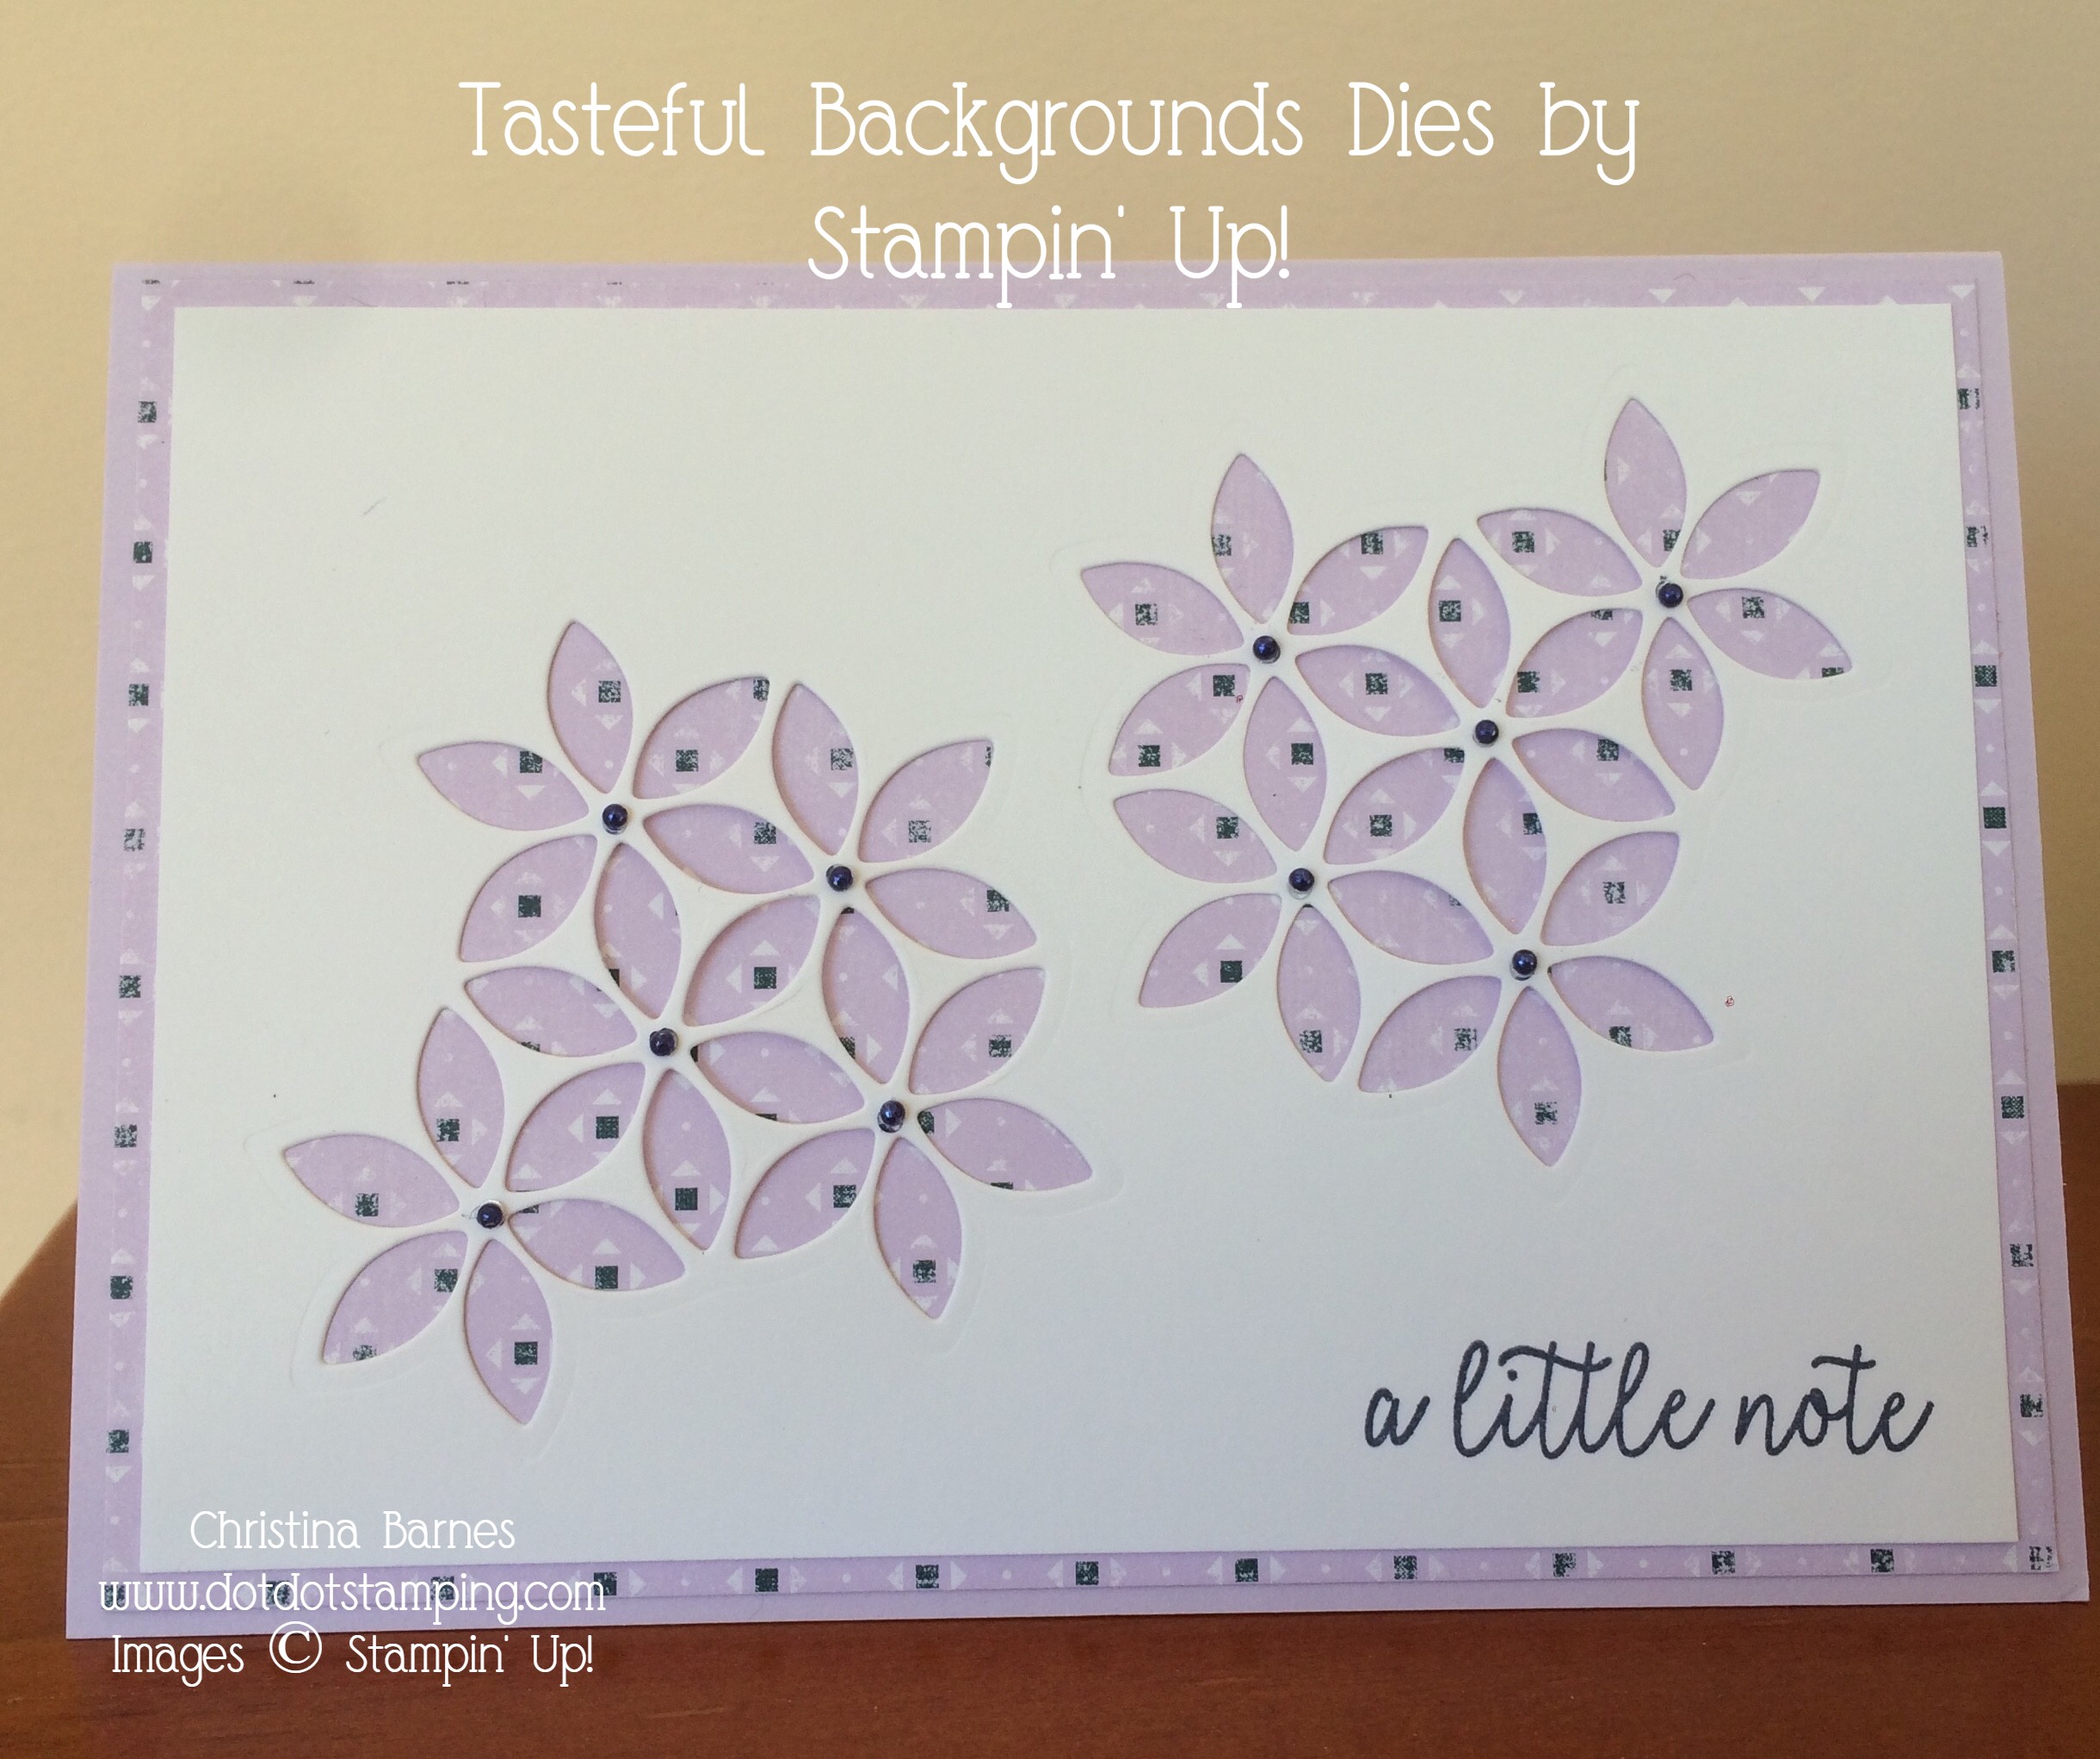
I have used Purple Posy cardstock as the base for this card, then a layer of Woven Threads DSP, and then the white has been die cut using the Tasteful Backgrounds Dies. The pearls in the centre of each flower have been coloured with Stampin’ Blenders to match.

That’s it from me for today.

Now it’s time to hop on over to our next participant, the very talented Tina Gillespie

If you find a broken link or have come to this blog hop from a different entry point, you can view the participants below:

Thanks for hopping along!
and Happy Stamping,
Chris

Watercoloured Magnolia

The Magnolia Embossing Folder is one that is going to get a lot of use here, there are so many ideas and uses for it.  So many ideas in my head that I don’t know which one to choose first!
My card today was inspired by one that the talented Vicki Boucher has on her blog here, which I just loved and thought I would have a go at making.
Watercoloured Magnolia EF Card 1

My colours are similar to the ones Vicki used, I have used Smokey Slate as a background colour to help the flower pop, along with Calypso Coral, So Saffron and Old Olive.  And since I really wanted the flower to be the focal point with nothing to distract from it, I have just added “Hello” from the Good Morning Magnolia stamp set, in Smokey Slate.

First, I have embossed the Magnolia onto Shimmery White cardstock.  I didn’t have any watercolour paper to use, and while it’s not as good as our new watercolour paper, the Shimmery White does hold water quite well, so it’s great as a back up.

To get a really good overall watercolour effect, I have used the Aqua Painter to wash a layer of water over each petal or leaf before I added any colour, then added ink from an ink pad to the areas I wanted darkest first, pulling the colour out.  Then just added more layers of colour if I wanted it darker.

I hope you are having a crafty day,
Happy Stamping!
Chris

Colour Creations – Seaside Spray

55443509_10158296294103098_3790466130875777024_o

Seaside Spray is our colour today, and yes, it’s another pretty colour.
Magnolia Dies close up
My card uses the Magnolia Memory Dies combined with the Scripty Embossing Folder.
Magnolia Dies and Scripty

Another favourite, I love the Scripty Embossing Folder, it creates a lovely, subtle texture to the background.  I am starting to sound a bit repetitive, they all seem to be my favourites!  So many beautiful new things, it’s hard to choose just one favourite.

If you would like to see more ideas using Seaside Spray, head on over the Catherine’s blog where she has a list of everyone taking part.
Happy stamping!
Chris

Pink Embossed Magnolia

Just a quick post today to share one of the cards we will be making at my upcoming Big Shot Basics class on the 6th. 7th or 8th of July.
Pink Embossed Magnolia
Such a beautiful embossing folder, it is just so elegant, and works for any occasion.
I will be sharing some other ideas for this one at the class and also here in a couple of weeks.
The Petal Pink layer of this card has been run through the Big Shot with the Magnolia Embossing Folder, and then sponged with Whisper White craft ink to give the white areas of the petals.  The centres of the flowers have been coloured with Blender pens and So Saffron ink.

Happy Stamping!
Chris