Hi and welcome back.
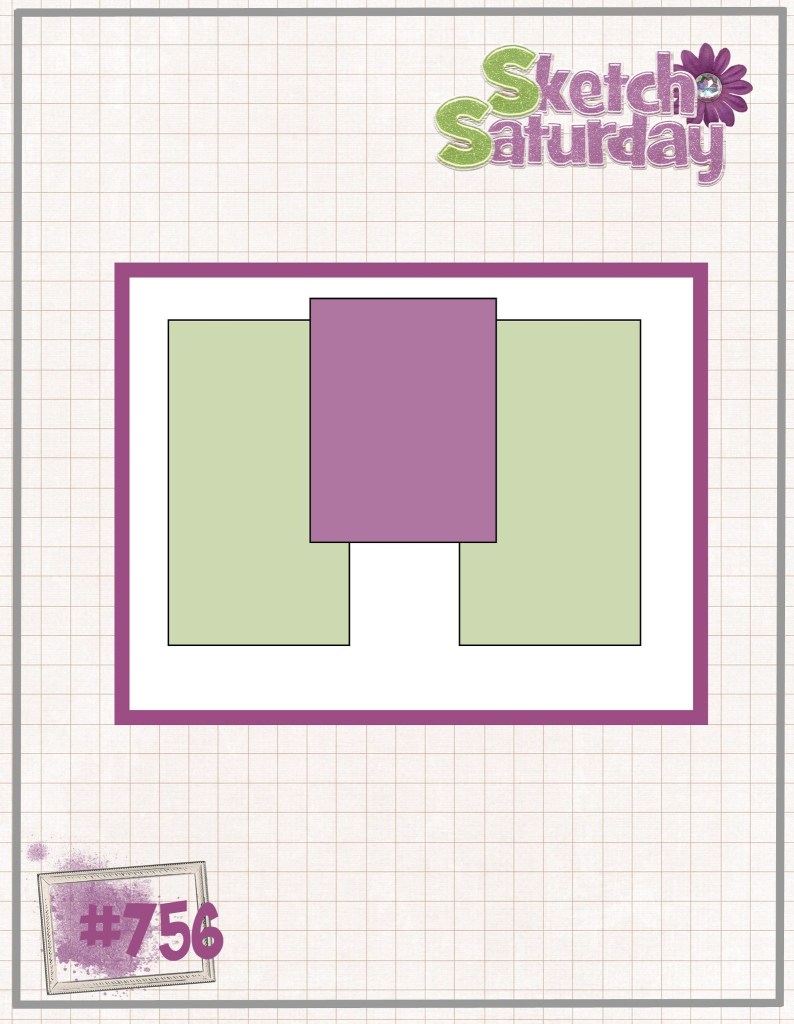
If you have seen the Stampin’ Up! Annual Catalogue, you may have seen that there are quite a number of card sketches through the catalogue, and on Page 22 there are 22 sketches to use as inspiration for cards.
So I am challenging myself!
I plan to share a blog post every day with the sketches in the order they are in the catalogue, along with a sample of how I made that sketch PLUS the measurements I have used.
I have seen a few different people sharing PDFs of the sketches with measurements in Imperial, but I am in Australia, and we use different size card fronts here. So my measurements will be in centimeters and based on our card size.
I have been busy on Canva recreating the sketches from the catalogue, so they are not exact copies of what is in the catalogue but close enough. And since I have put my time and effort into creating these I would appreciate acknowledgement of where you got them from if you plan on using them.
I hope you enjoy them. Here is the first one!
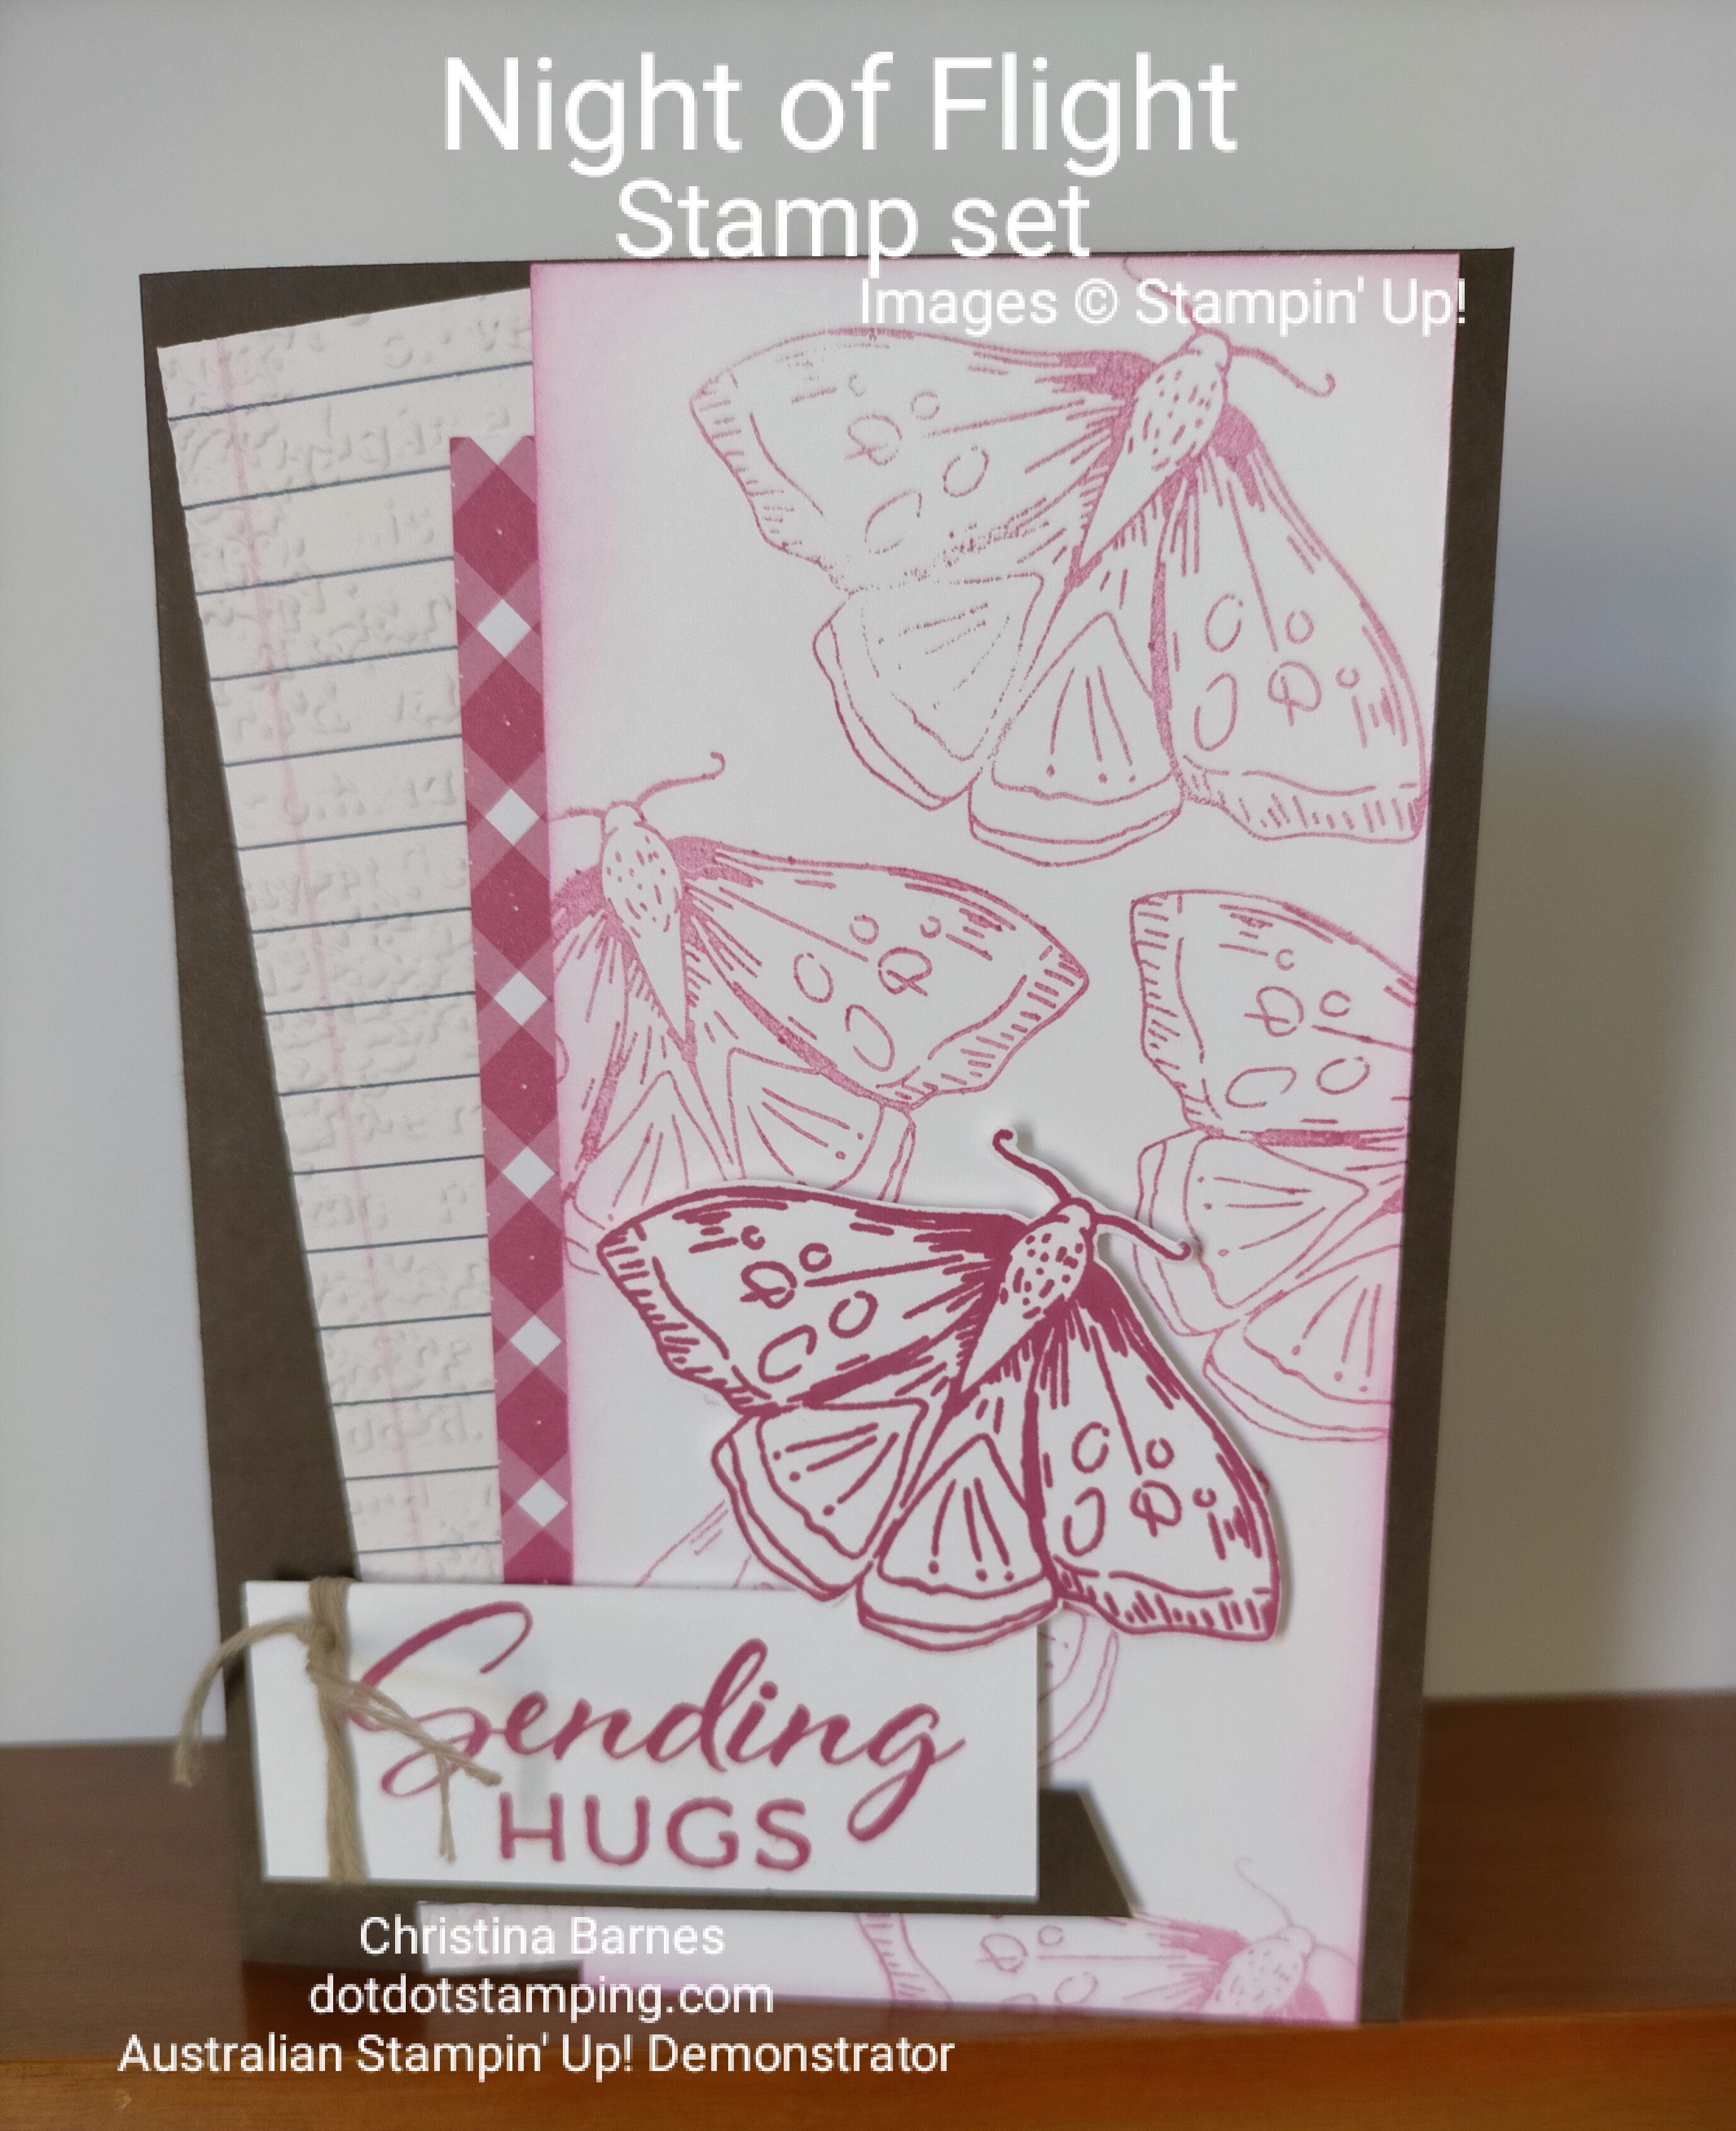
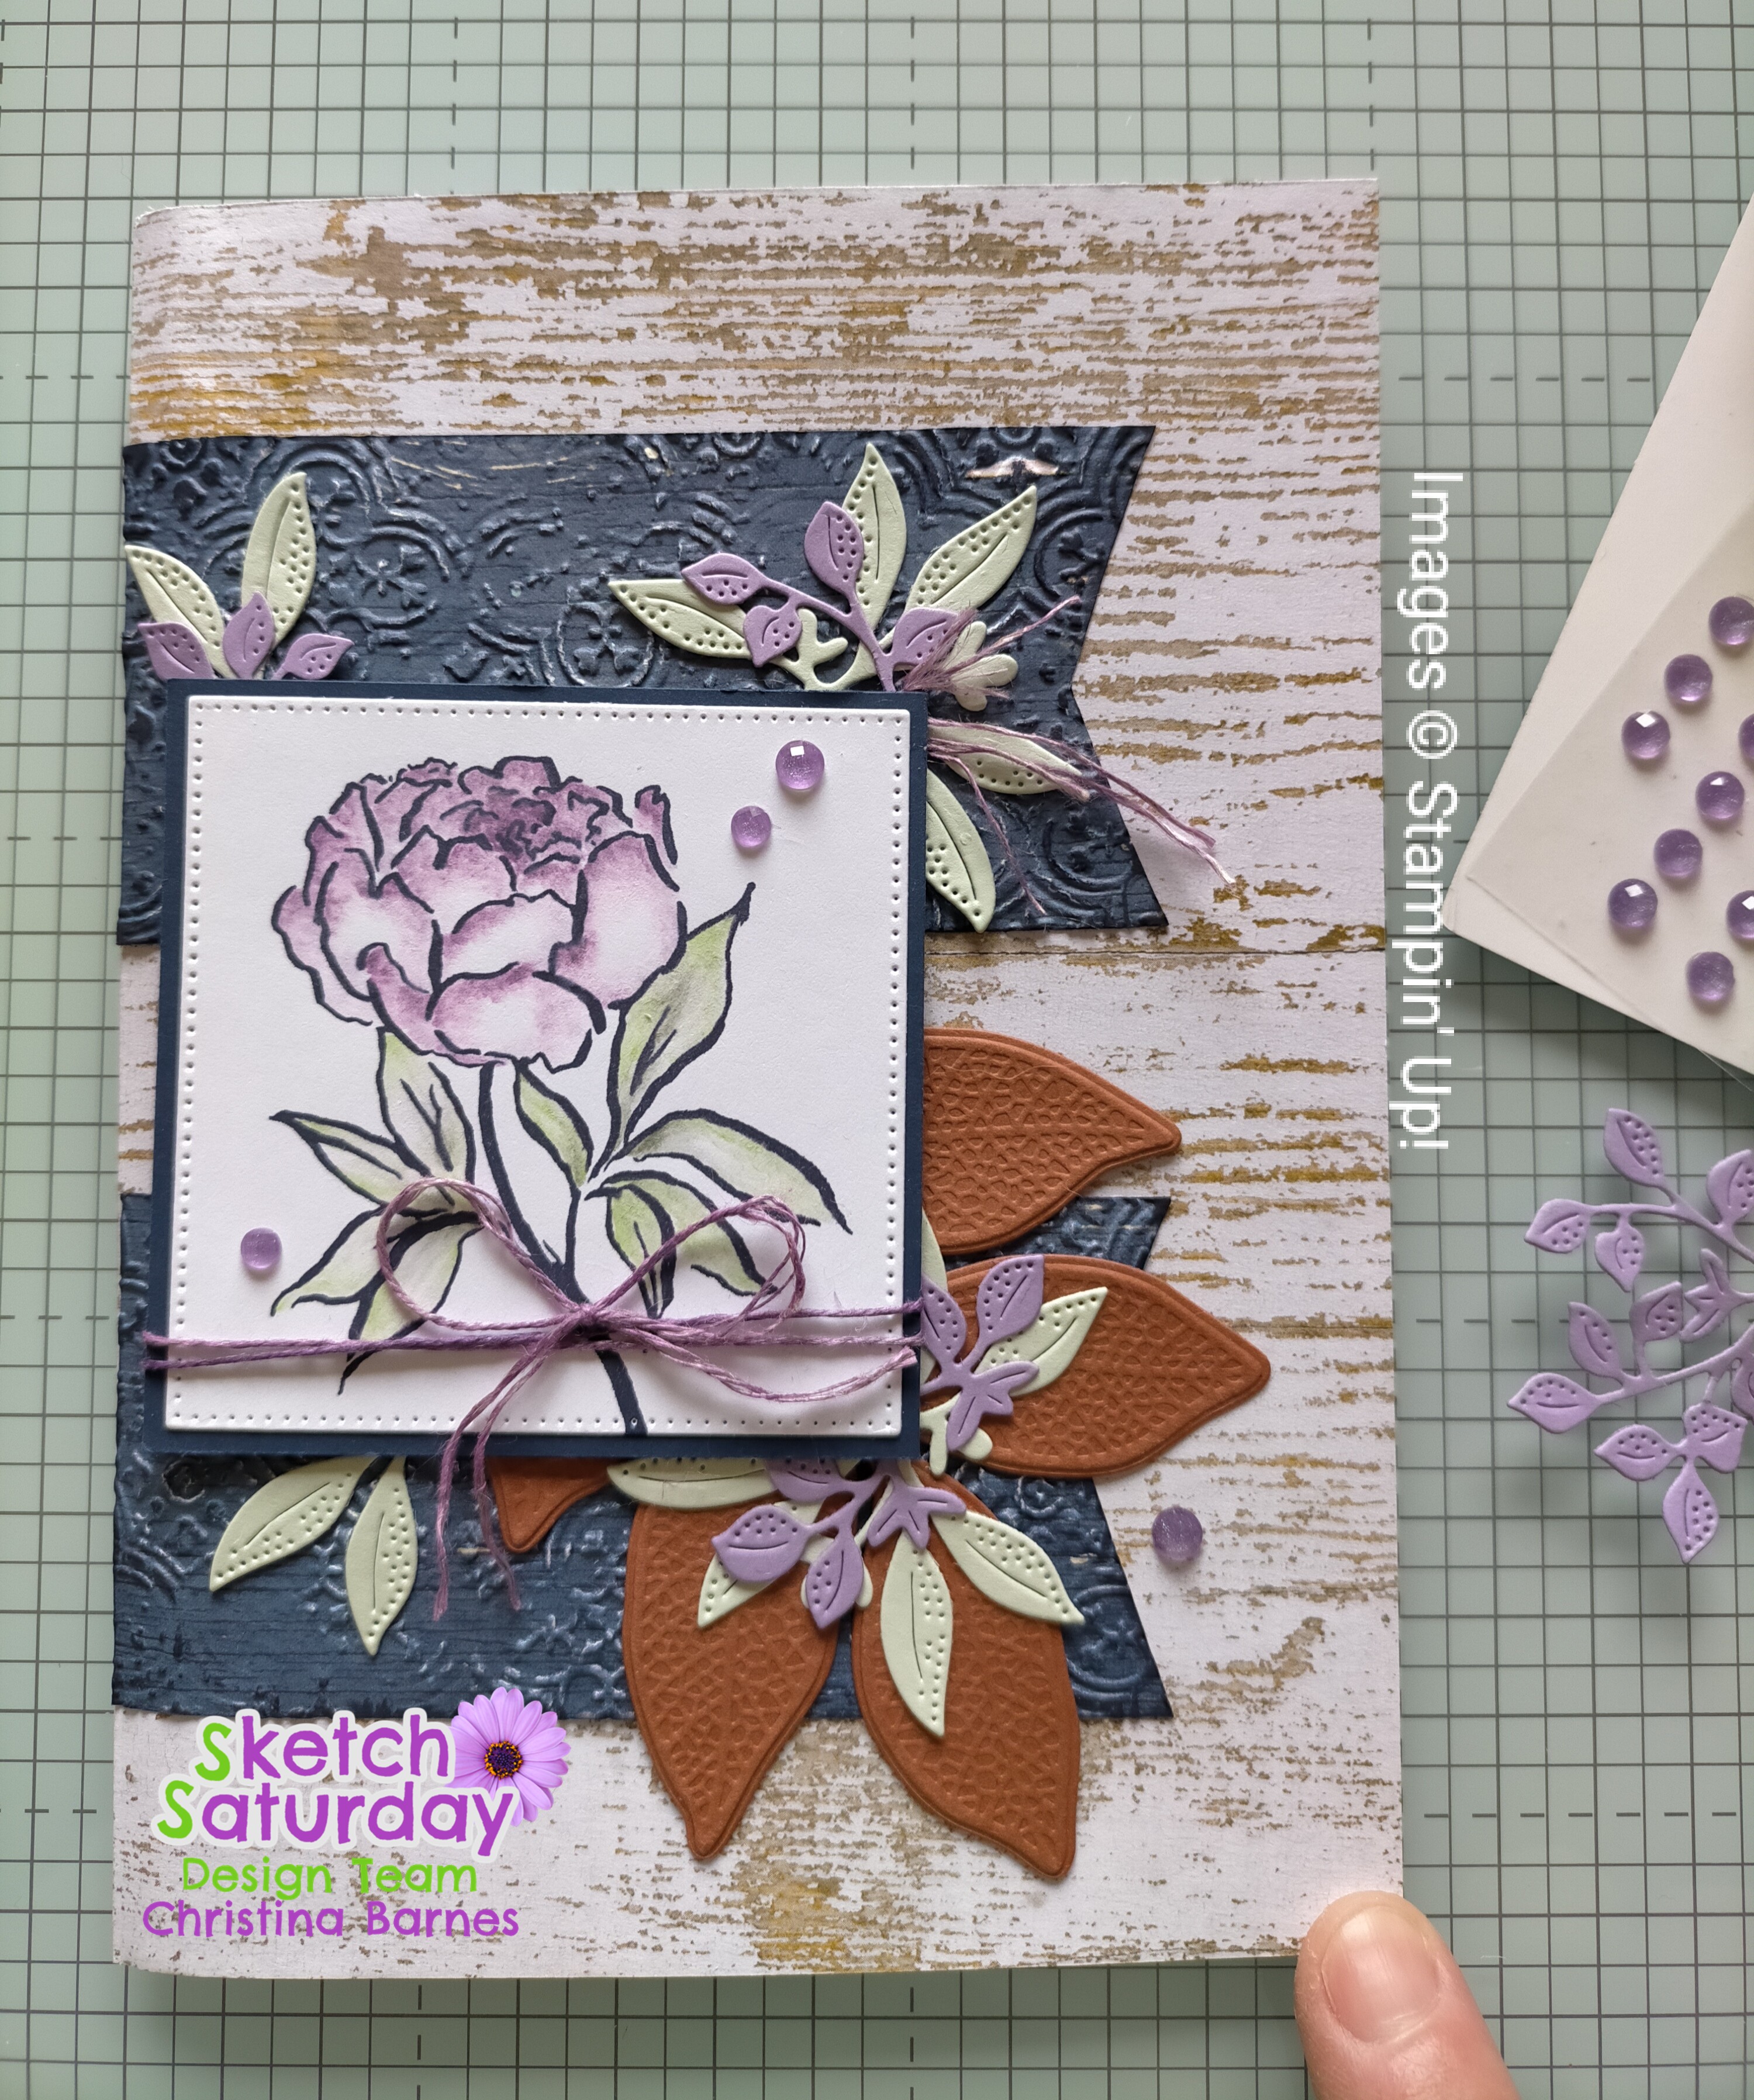
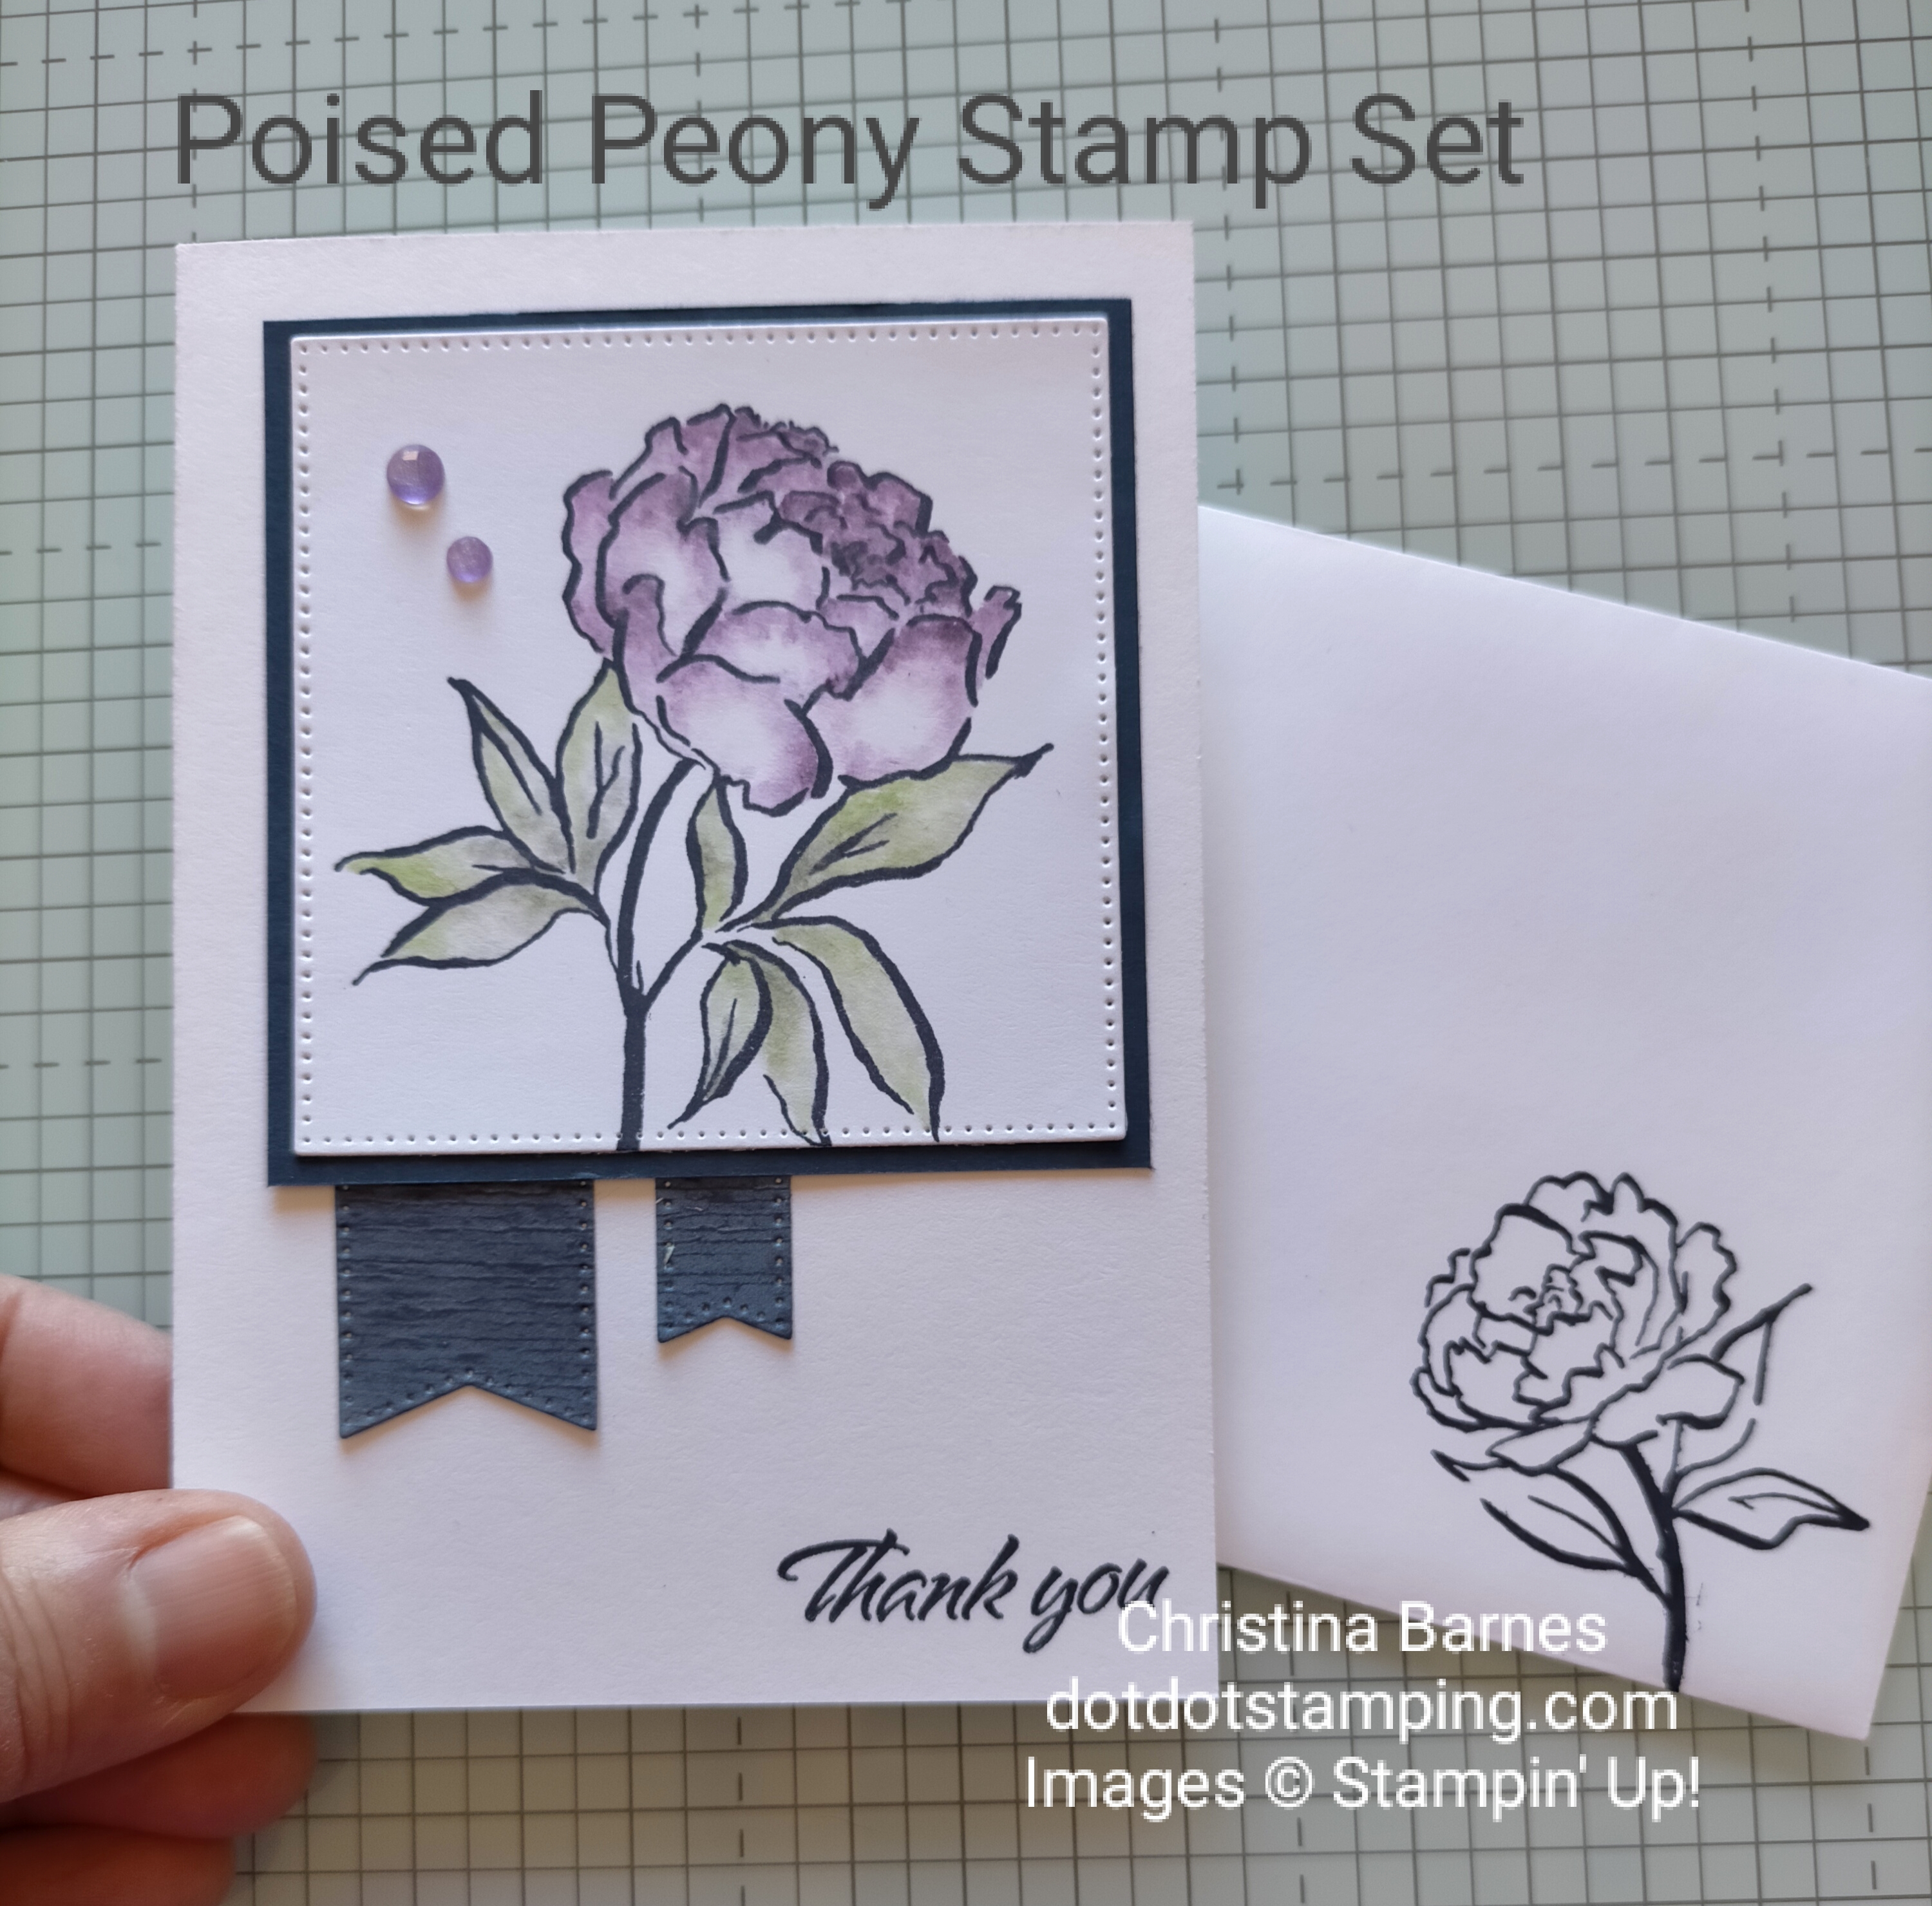
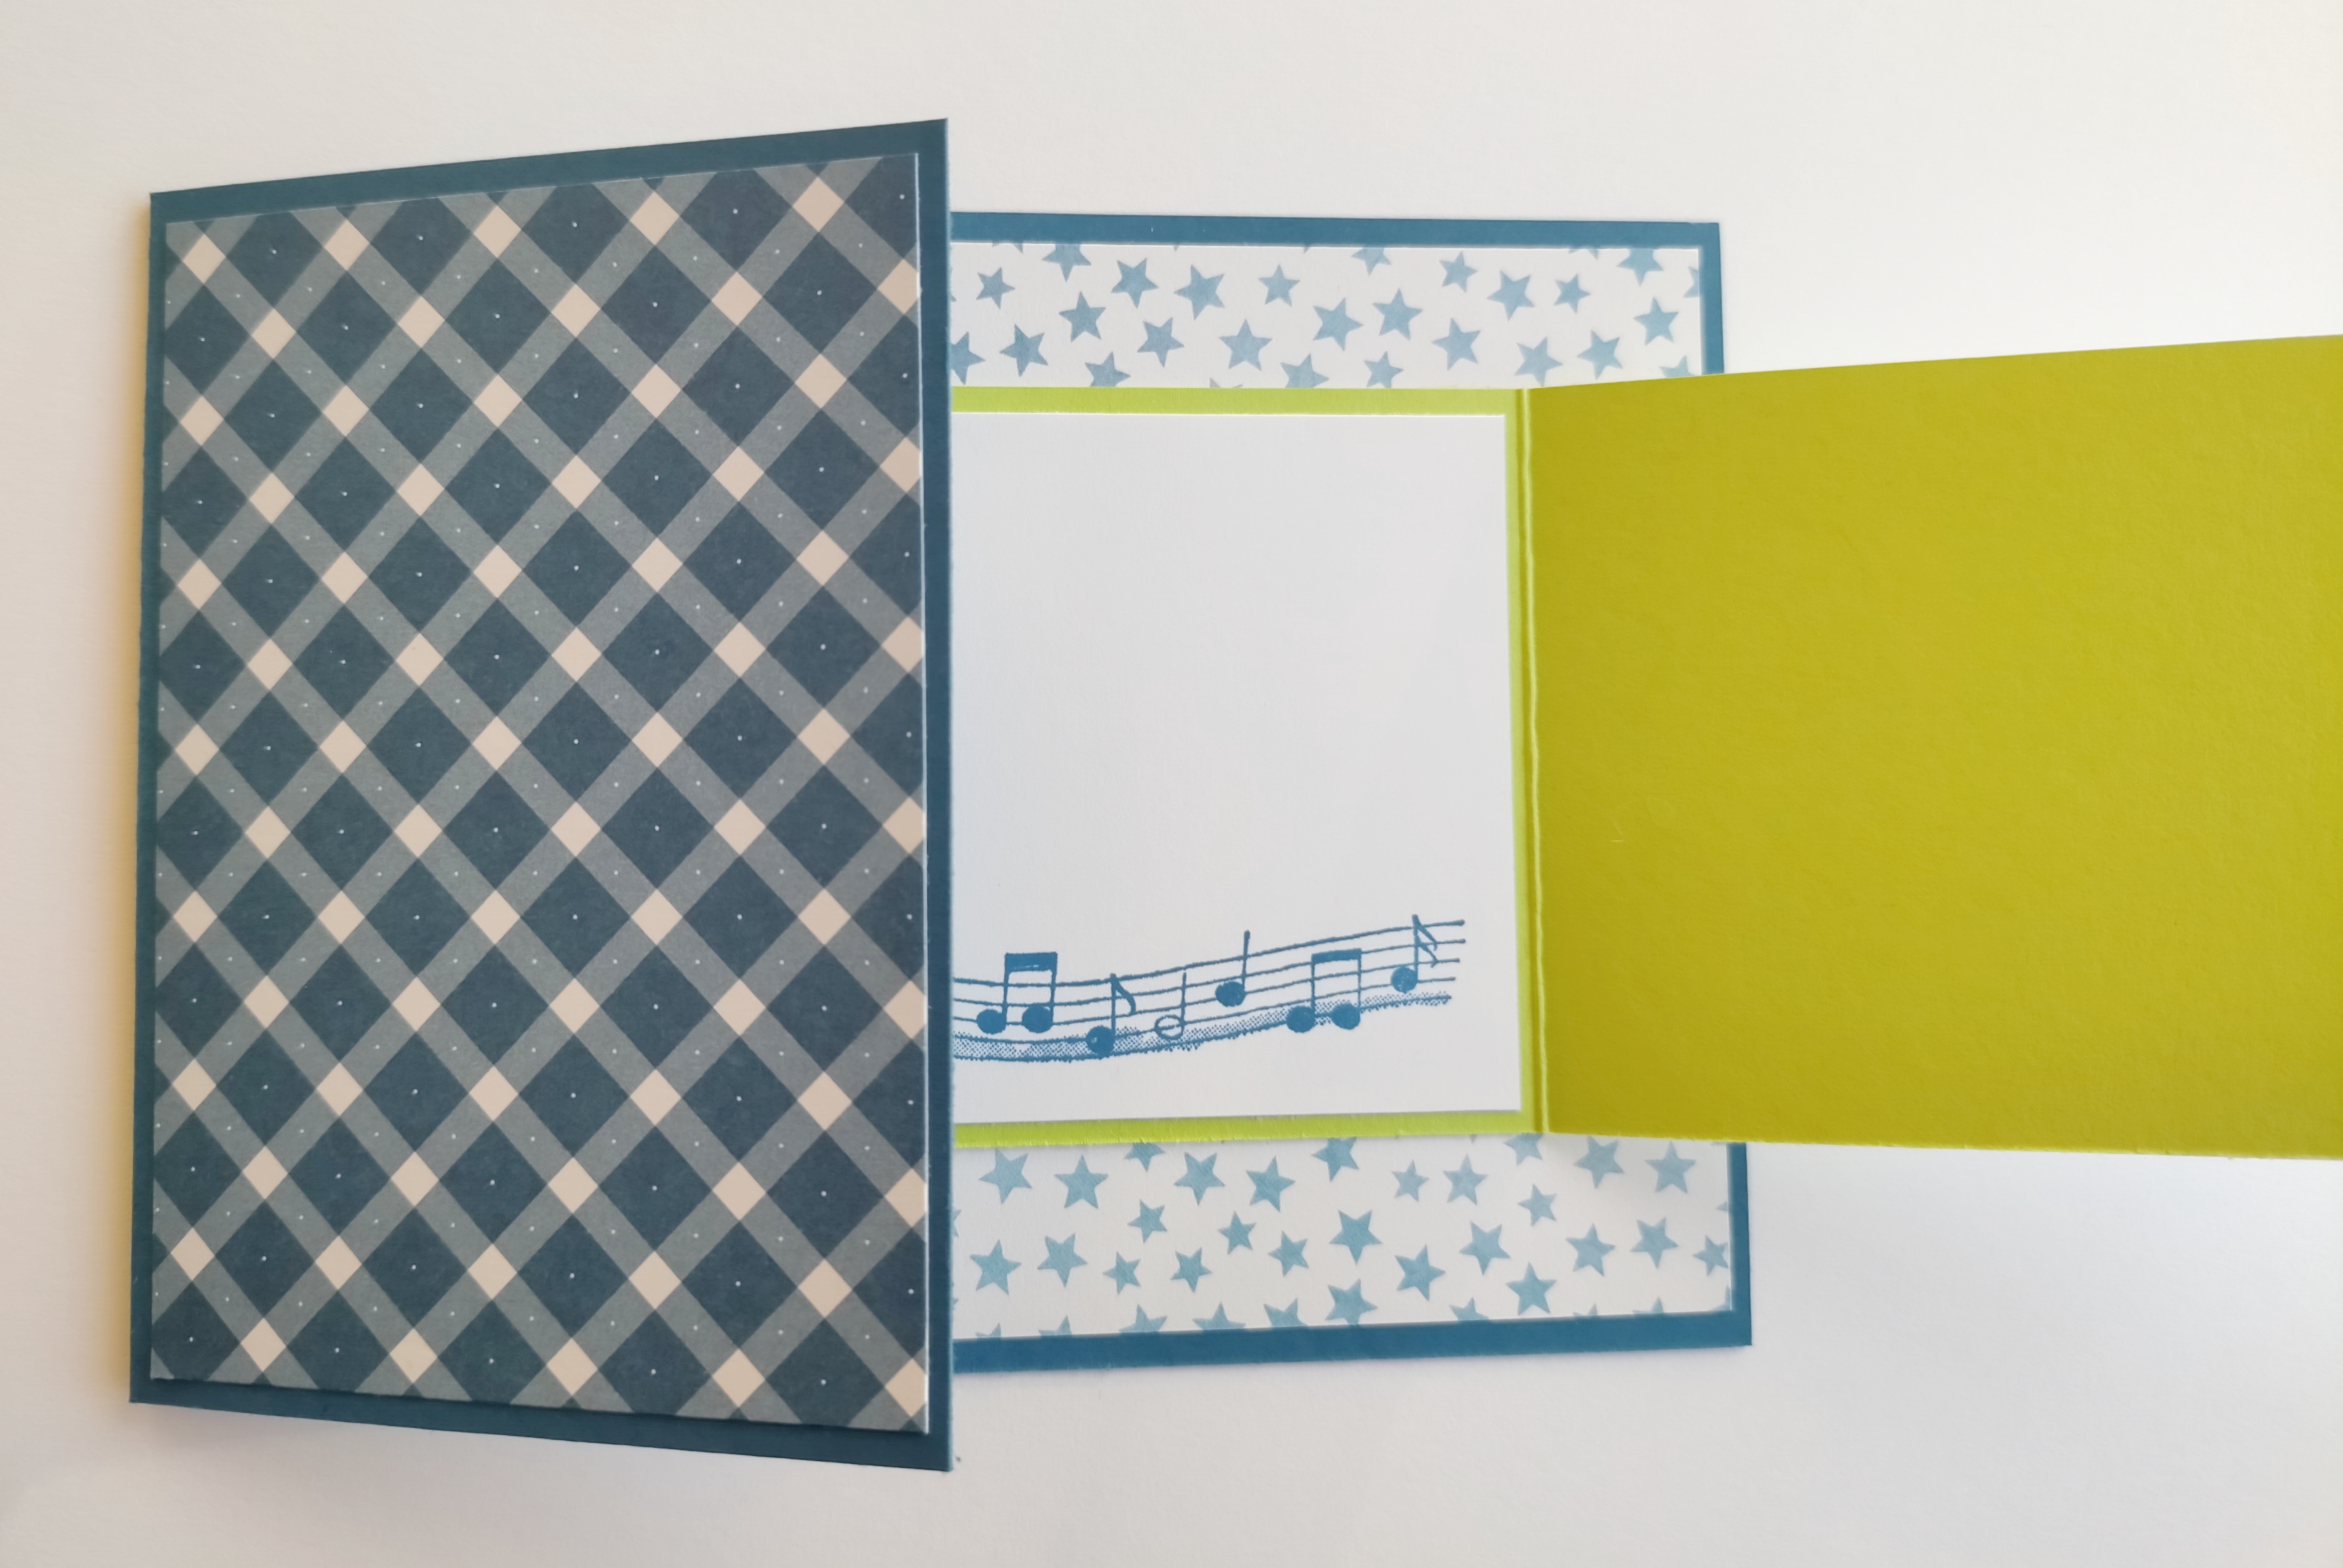
My card using this sketch features some of the beautiful Designer Series Paper which was only available to Stampin’ Up! demonstrators (but is too beautiful not to share) along with the Poised Peony stamp set.

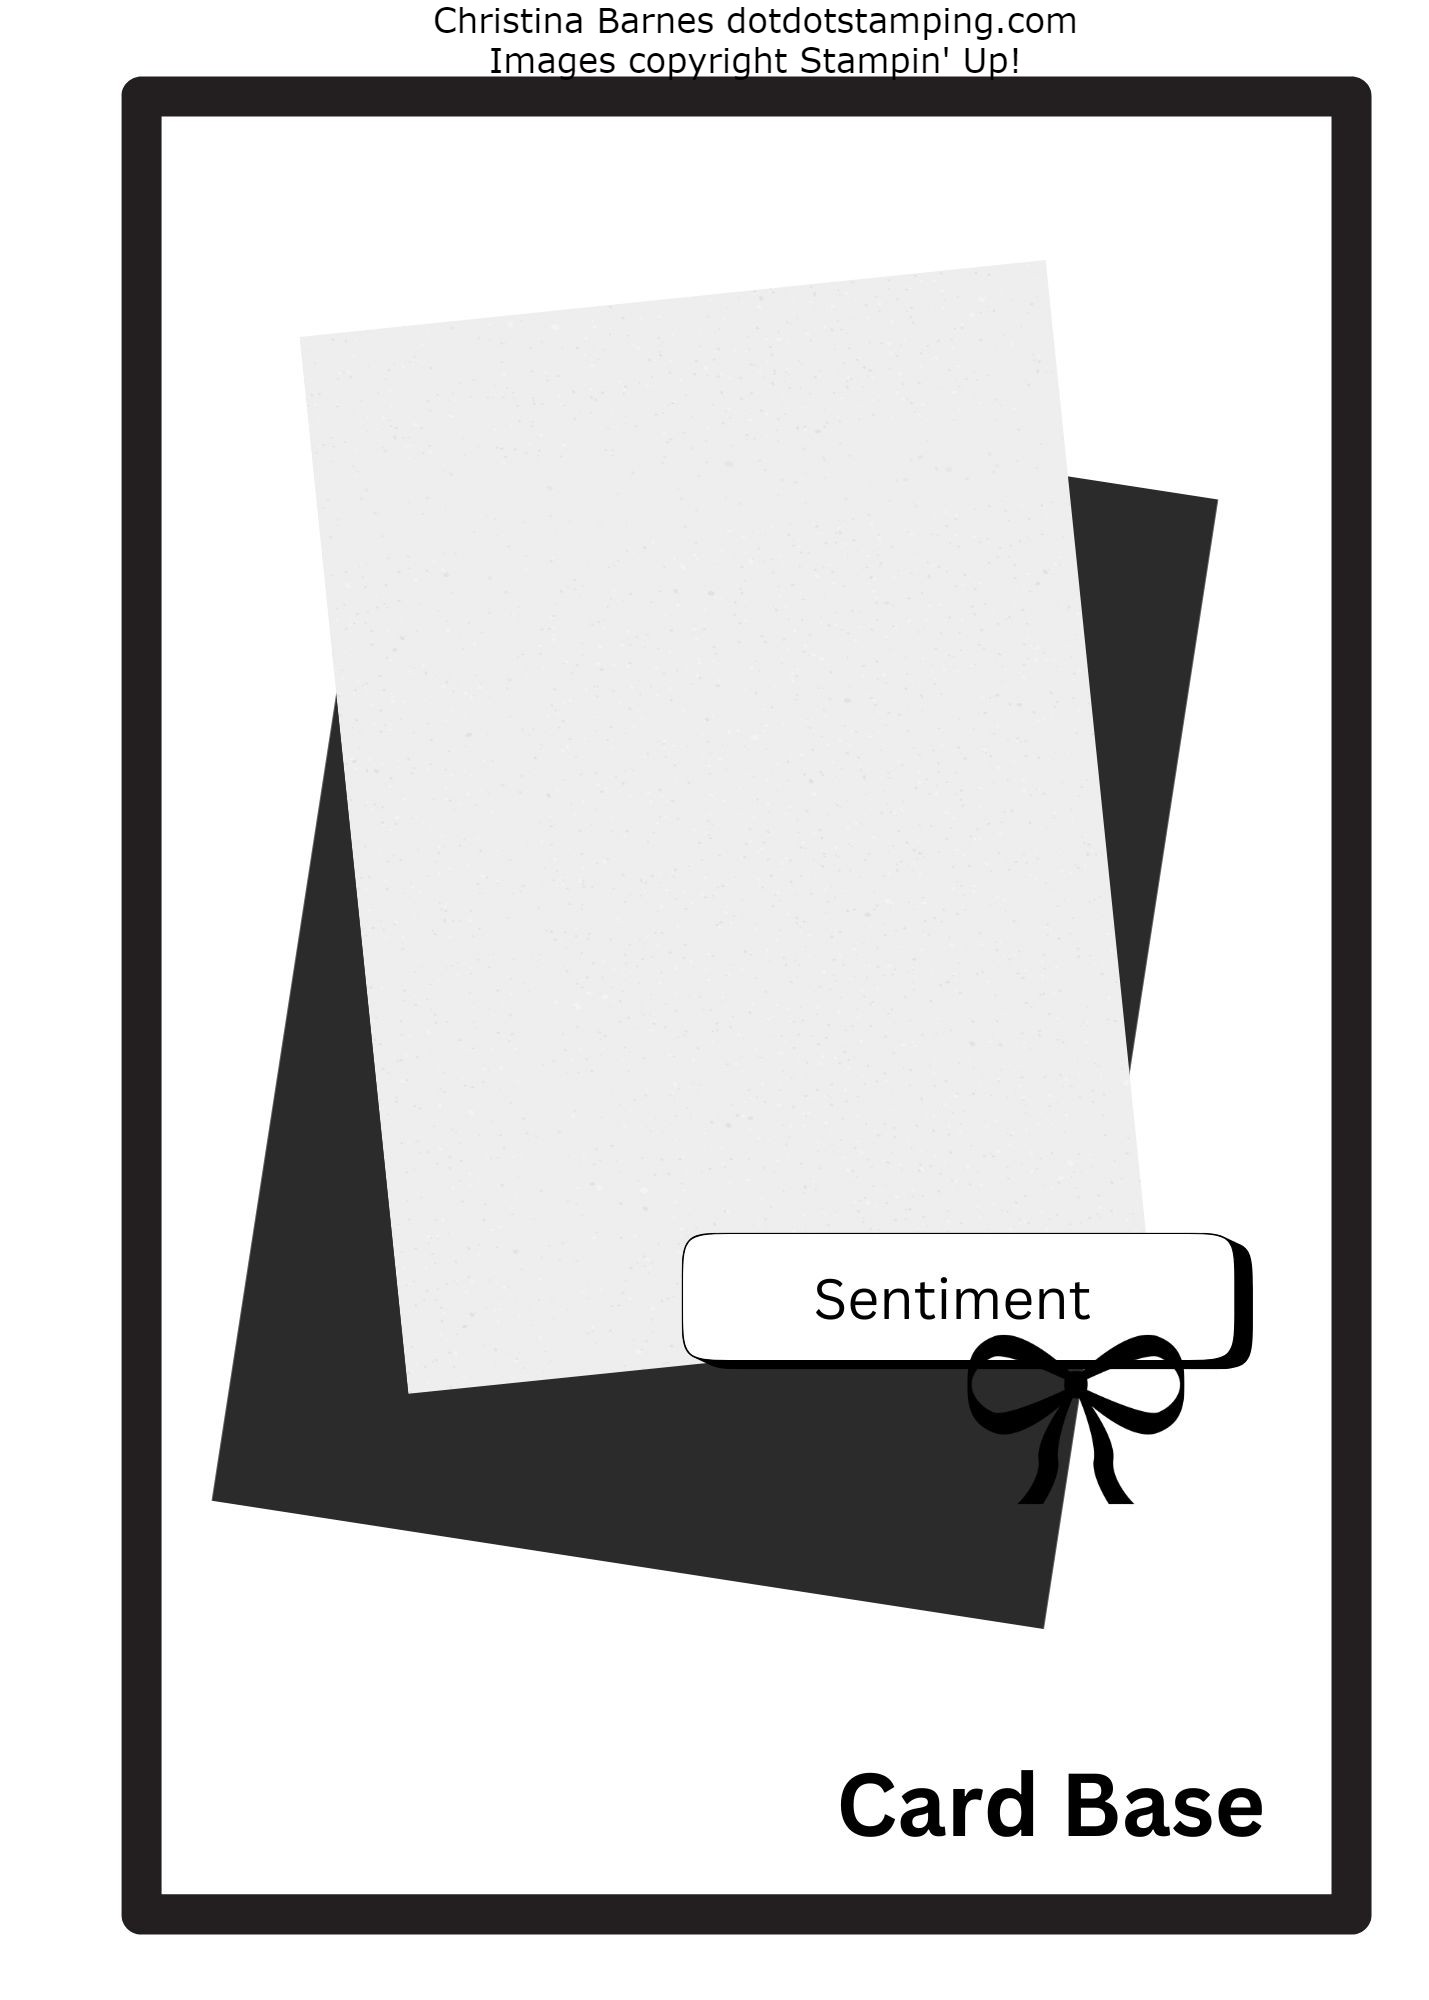
In Australia our card bases are basically half of an A4 sheet of cardstock.
However, I have found that it is much easier, especially for beginners to measure it slightly differently, and have a small strip left over.
So for my card base, I cut 21cm x 14.5cm – you should be able to get two card fronts from one piece of cardstock. Then along the long side, score at 10.5cm and fold, so when it’s folded, your card front will be 10.5cm x 14.5cm. I have used some Pretty in Pink cardstock for my card base.
I have then taken a piece of Designer Series Paper (patterned paper) the same size – 10.5cm x 14.5cm and adhered it onto the card front.
The next layer of Designer Series Paper (the darker pink) is 8.5cm wide x 9.5cm.
The Basic White focal layer is 7cm x 9.5cm.
I decided not to put my sentiment onto a separate piece but rather to stamp it directly onto the panel with the main image, and also to add some Linen Thread, and some Purple Fine Shimmer Gems.
I hope that these will be helpful to someone, and hopefully I can get through all of them for you.
Please feel free to leave a comment or reach out to me if you have any questions.
Happy stamping,
Chris


")

 Designer Series Paper")

")


")


")


")

 Designer Series Paper")
 Designer Series Paper")

")


")

 Designer Series Paper")
 Designer Series Paper")