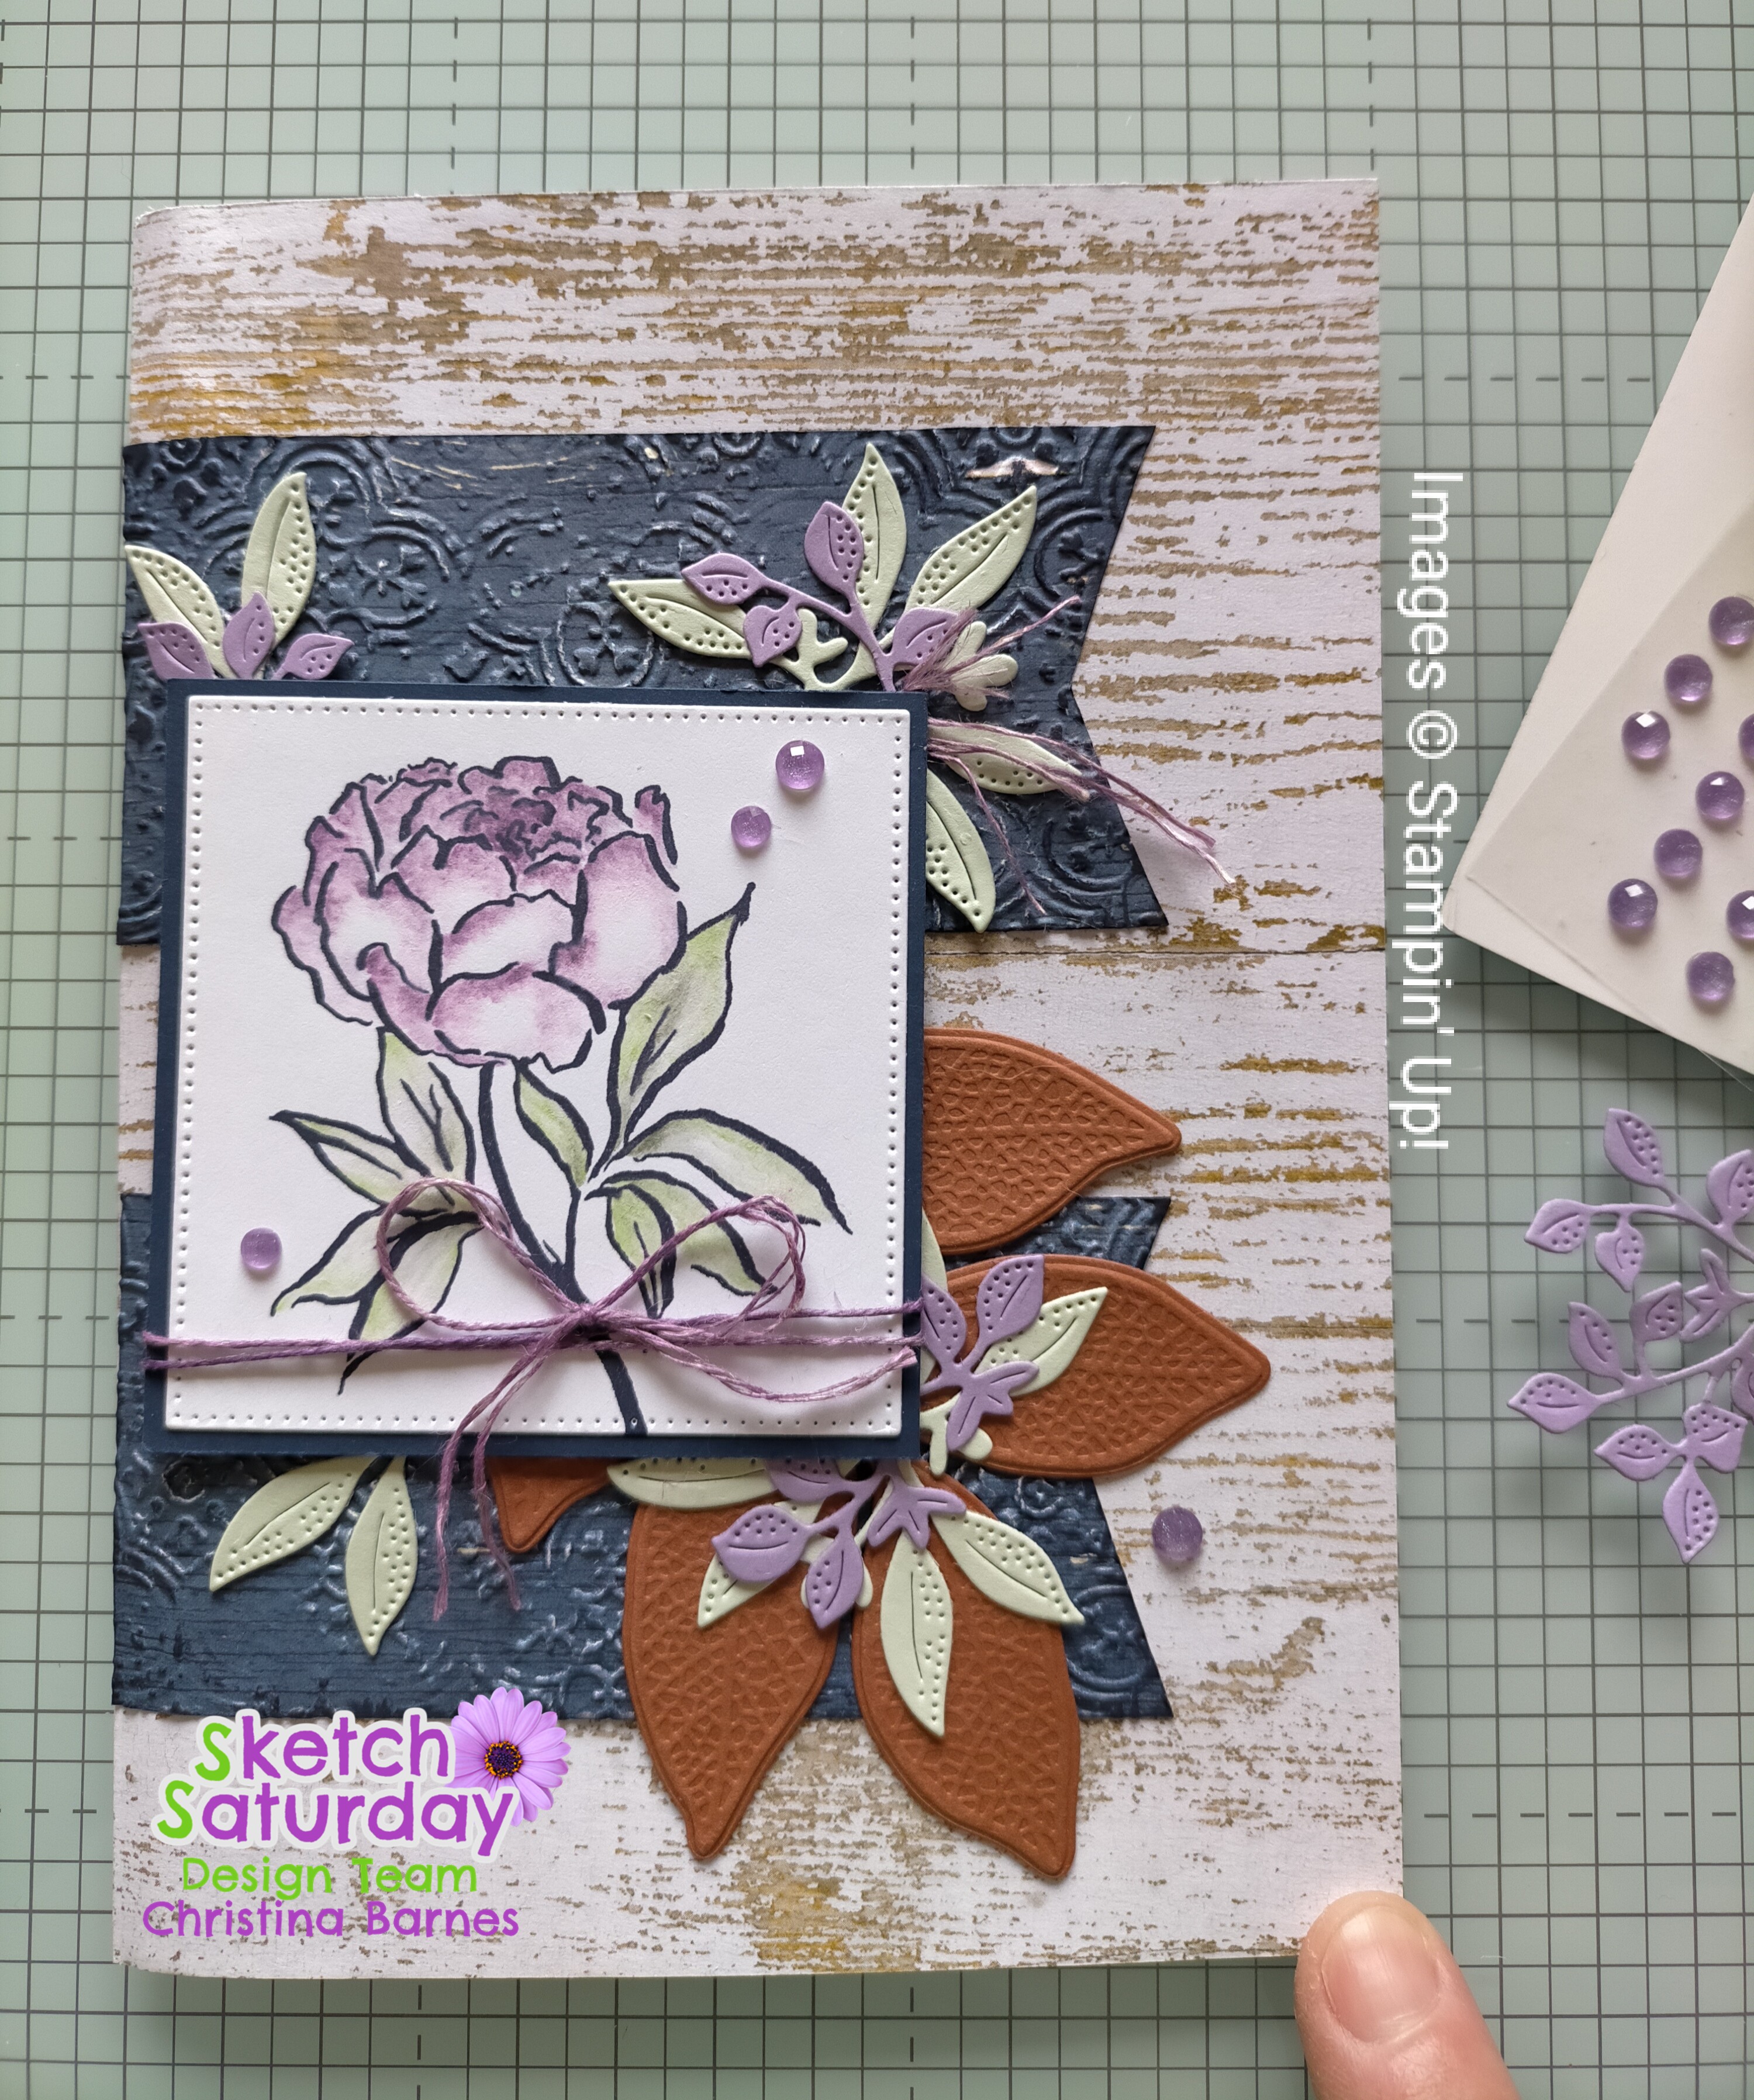
I have started with a cardbase in Cherry Cobbler cardstock, then a layer of Basic White Cardstock before adding the two different patterned papers, which are actually the same sheet of paper reversed. And the images are some of the die cuts that come with the papers, so this is a really quick and easy card to make. The sentiment comes from the Trucking Along stamp set, which was stamped with Cherry Cobbler ink, and then die cut with some of the Stylish Shapes Dies. I have used a Corner Rounder punch which retired a long time ago, but I like to use still.
We love to see your take on our sketches so please share your projects with us on the Sketch Saturday blog. Happy stamping, Chris
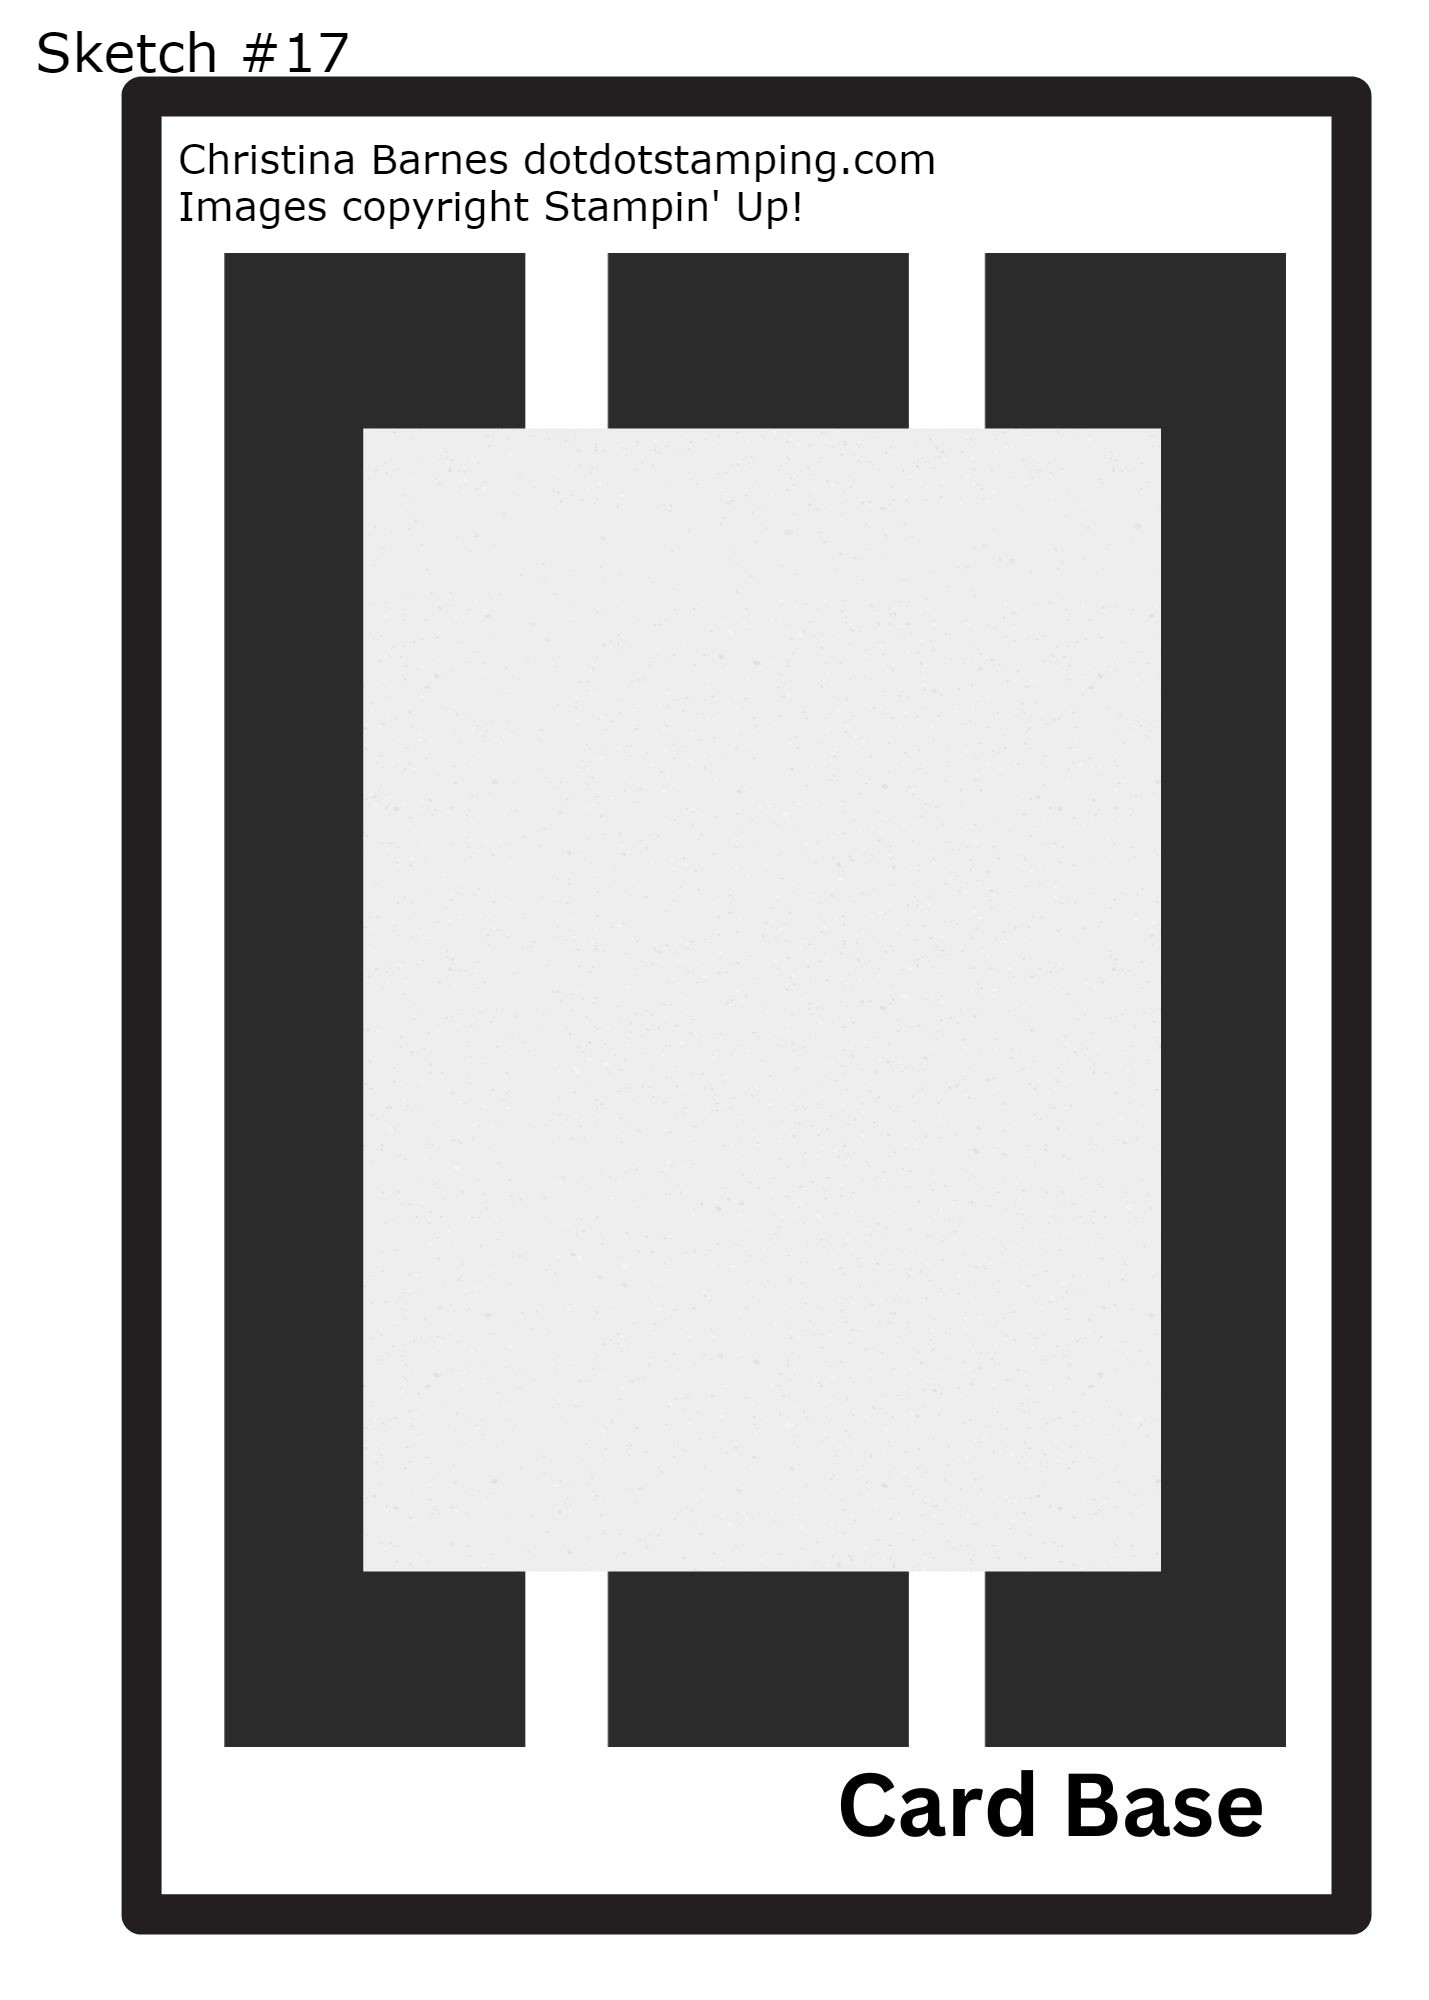
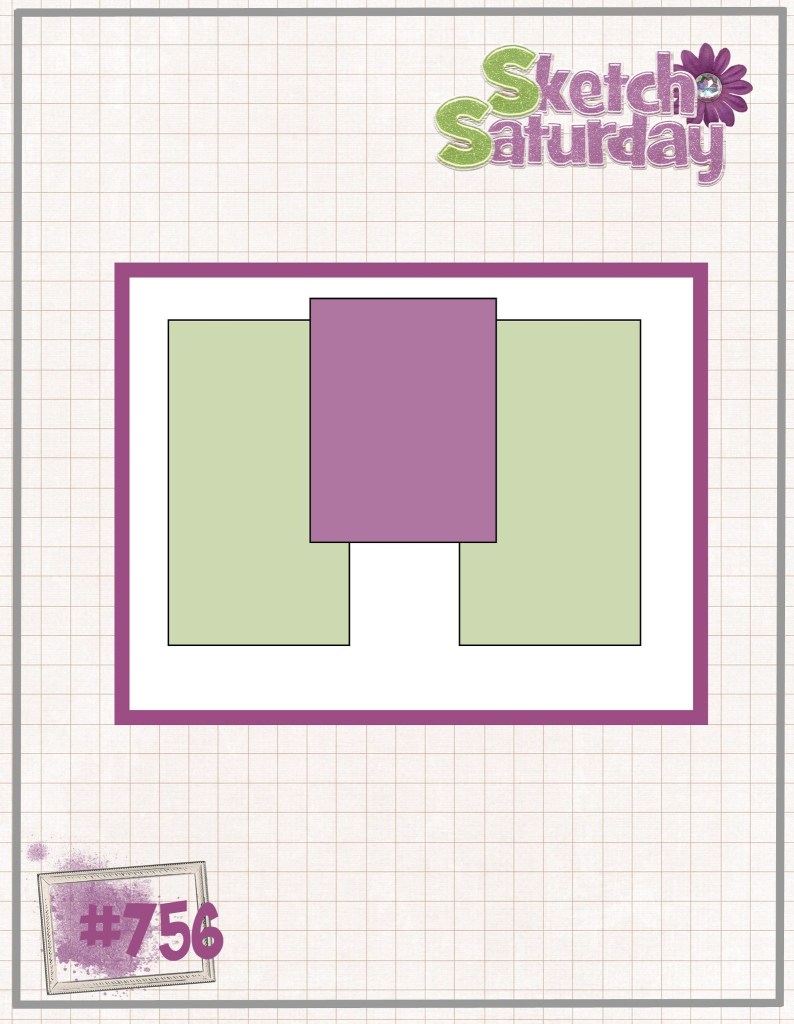
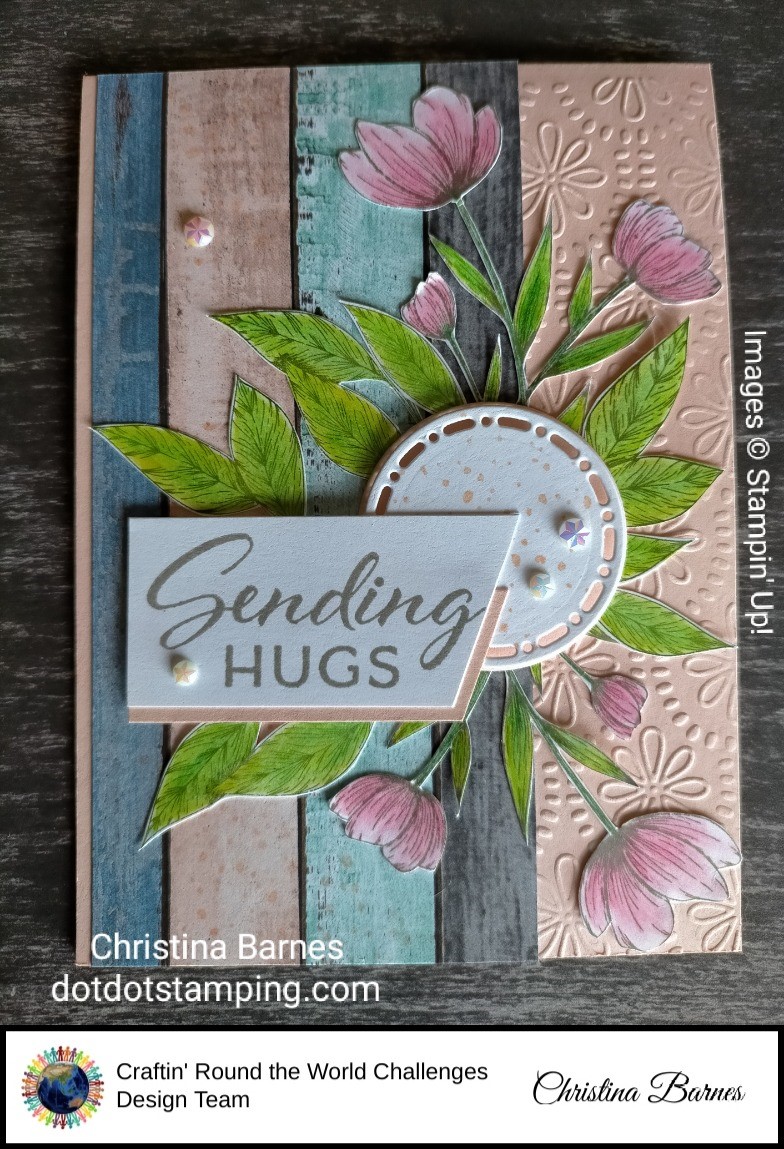
Hi and welcome back to day 17 of my sketch challenge. My card today uses the 17th Sketch from the Stampin’ Up! Annual Catalogue and is my card for this month’s challenge at Craftin Round The World. Here is sketch number 17 from Page 22 of the catalogue. If you would like to find Day 1 of the sketch challenge for the month of August, just click here.
The flowers and leaves have all been coloured with watercolour pencils and then fussy cut. Yes, there’s a lot of fussy cutting there. So what’s the trick to fussy cutting? (fussing cutting is cutting around an image using scissors rather than using a die to cut). The trick is to move the piece you are cutting, rather than moving your hand around the piece, so keep your scissors in one direction as much as possible, and move the piece of cardstock, paper or whatever else it might be. I’ve found that to do this successfully I need to keep the piece of cardstock as small as possible, so I usually do two cuts, one to reduce the size and then one around the image. The other trick is to make sure your Paper Snips (scissors) are nice and sharp. And I enjoy fussing cutting, I find it quite relaxing, a little like meditation.
I’ve made a Winter themed card for this challenge, and since I am in Australia, we are in the middle of winter now. Winter is not aligned with Christmas for us here, so I wanted to make a winter card that is not also a Christmas card.
I have used some of the retired One Horse Open Sleigh Designer Series Papers along with a piece of Die Cut fence from something else that retired some time ago – sorry, I can’t remember what the name of that one was. Sometimes it’s good to use up those random bits and pieces that are around.
We love to see your creations, so come and share your projects with us. Craftin’ Round the World is a Facebook group that is closed, so is a safe place for you to share your projects. Come and join in the fun. The link to the group is here.
Happy stamping! Chris
Don’t forget the Earn and Redeem promotion that is happening for the rest of July – simply spend $90 and receive a $9 coupon to spend in August,. Scan the QR Code below or click here to go to my online store.
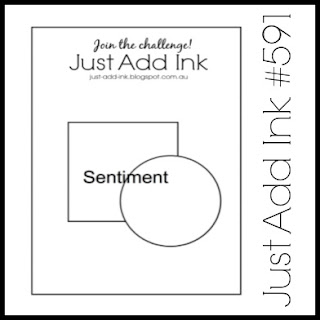
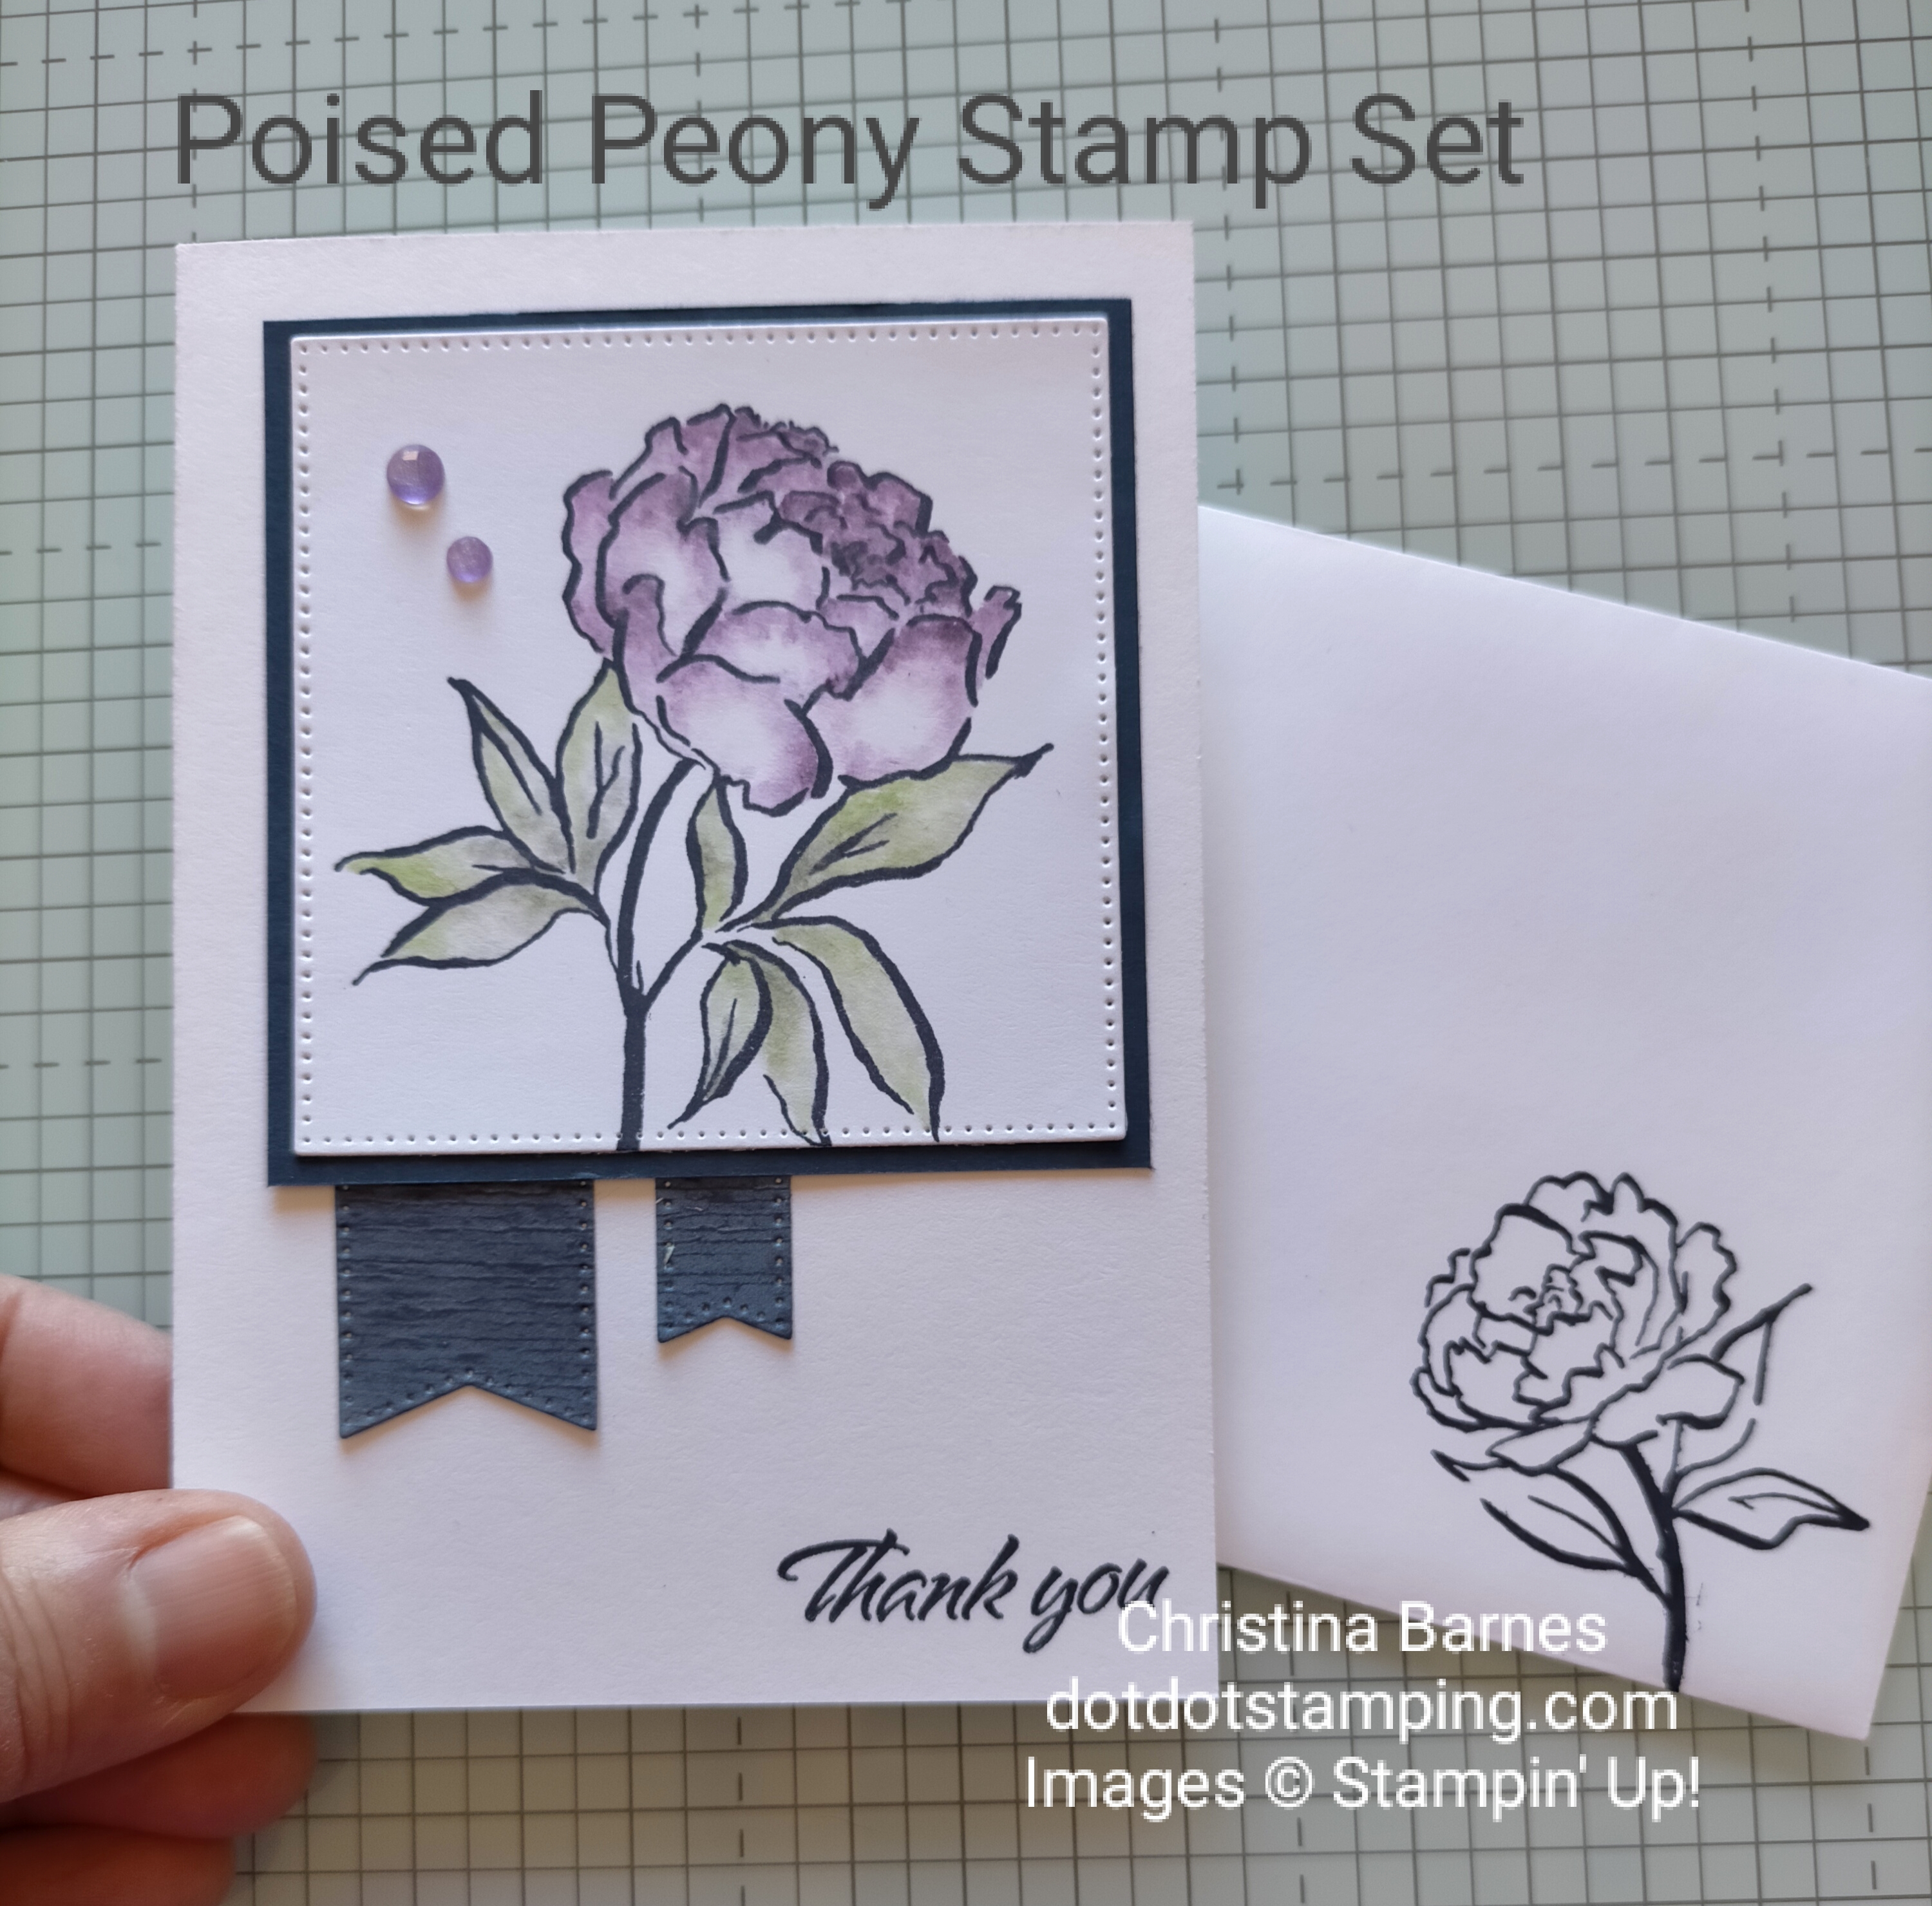
Hi and welcome back. For those who have been following along with my blog posts for a while, you will know just how much I enjoy taking part in challenges, and I do particularly enjoy a Sketch challenge. So I decided to use the current Just Add Ink challenge to inspire my card today. Here is the sketch:
My card features the mushroom image from the Inspirational Sketches stamp set. I was a little sad when the new Catalogue first came out, I thought that this gorgeous stamp set had retired, but you will find it sneaks in with some images on pages 110 and 111. I am very glad it’s a current stamp set, it’s a lot of fun to use.
I have used some Grey Granite cardstock as my base, and the background layer has been embossed with the Timber Embossing Folder, and then I have run the Grey Granite ink pad over it to highlight the embossed parts. I have taken one of the large die cut circles from the Spotlight on Nature Dies, cut it in half, and then stamped the image in Grey Granite. The red mushrooms were stamped in Black Memento ink, which I stamped off on scrap paper before stamping onto the cardstock, just to make the outline a little lighter. The image as been coloured with Stampin’ Blends in Crumb Cake for the stems, Ivory for the underneath of the mushroom caps, and Dark and Light Real Red. And yes, the image was fussy cut (I love fussy cutting!). The white dots….. there are several ways to achieve the white dots on the mushroom caps, which do make them look more realistic. If you have White Craft Ink, you can use a stylus, dip that into the ink on the ink pad, and dab it onto the image. You may have to do this several times to give a good coverage. Alternatively, you can use a white gel pen or similar and that is much easier to do. Did you know that Stampin’ Up! used to sell these? I’m talking way, way, way long ago in the deep dark past, not long after I first joined as a demonstrator. And believe it or not, I still had one that I bought from Stampin’ Up!. It doesn’t work any more, not surprising, since they do dry out after a while. Perhaps it’s time to do a very big clean out.
The Beatles Song “And Your Bird Can Sing” is the inspiration for my Design Team project for Craftin’ Round The World Challenges today, and I had so much fun creating this card.
I have used the new Basic Beige cardstock for the card base and also the next layer, which has been stamped tone on tone with Basic Beige ink and the Stippled Roses stamp set. I have taken a piece of old sheet music – I’ve been a musician since I was very young, so there’s plenty of it lying around – and I have scrunched it up before sponging some Crumb Cake ink around the edges and on the raised areas.
I’ve used some of the Country Woods Designer Series Paper and the Country Birdhouse Dies to create the bird house. For those cute little birds I have used the reverse image technique, of stamping the image from the Country Birdhouse bundle onto a Silicone Craft Sheet in Memento Black ink, and then pressing a piece of white cardstock over the image, which in effect, reverses the image when it goes onto the cardstock. Perhaps this is a good time for me to get back into doing Facebook Live and YouTube videos to demonstrate that one.
If you are on Facebook (or even if you are not), come and share your projects with us at Craftin’ Round the World Challenges, we love to see what you have been creating.
And don’t forget that the Country Birdhouse Bundle, and all the Bundles are an extra 10% off the already discounted price until the end of June, and you can find them in my online store. Happy stamping! Chris
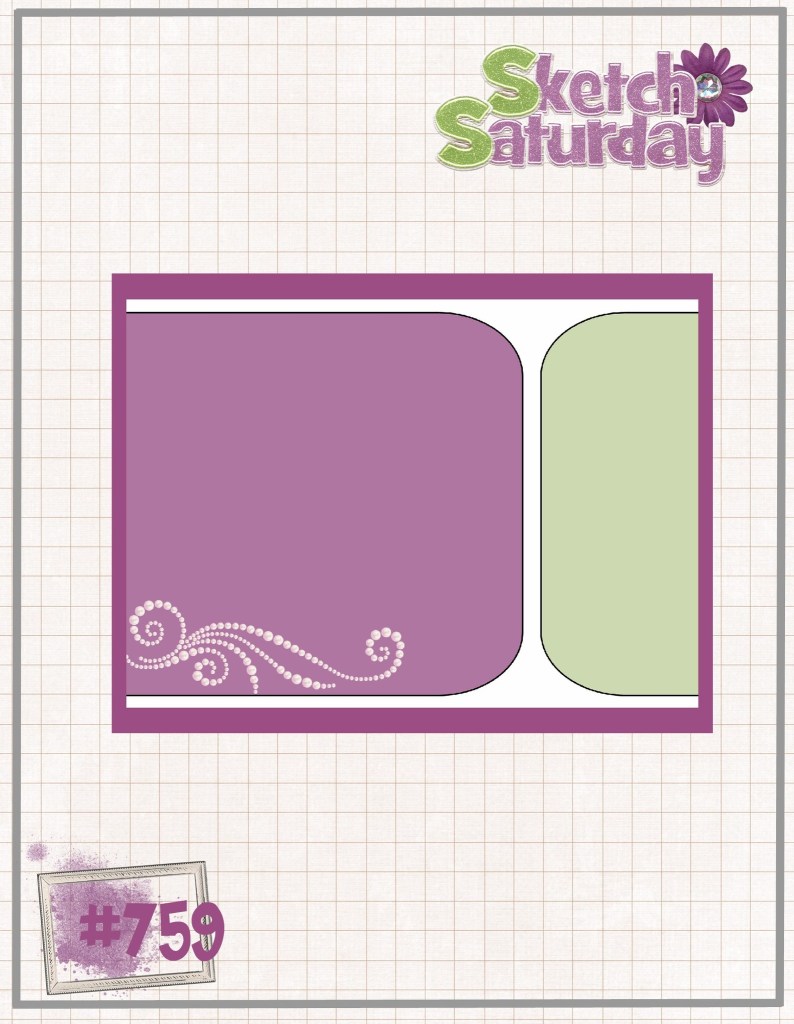
This week at Try Stampin on Tuesday, we are using this sketch for our projects, with the option of adding some Metallics.
For the background of my card I have used some of the Symbols of Fortune Designer Series Paper which has the gold foil embedded in it. The circle element is a die cut from the Encircled in Beauty Dies, with a strip of the Layering Designs Vellum to the right.
The main stamped image I have kept soft and subtle by using Stampin’ Write Markers to colour the stamp from the Elegantly Said stamp set. The colours I have used are Fresh Freesia for the flower, Soft Succulent for the leaves, and then some Basic Grey and Smokey Slate. Make sure you come over to Try Stampin on Tuesday blog to see what the rest of the Design Team have created with this sketch, and please join in, we love to see your creations. Happy stamping! Chris
Hello again and welcome back. The Stampin’ Up! Crane of Fortune stamp set is the set I have used for my card today, in particular the pretty flower image. I stamped the flower with Fresh Freesia ink, and then to add some vibrancy and intensity to the colour of the centre of the flower, I have added some Rich Razzleberry ink using a Blending Brush, just gently and with a very small amount of ink, but it makes that colour pop out just a little more.
Here is the sketch for this week’s challenge for Try Stampin On Tuesday, along with an extra challenge to make something see through.
I am using the Stampin’ Up! Calming Camellia stamp set for this card, along with some of the Heart and Home Designer Series Paper.
It’s always difficult to take photos when there is Window sheet involved, however, the right hand side of the front of my card is Window Sheet which the small squares have been adhered to. The Camellias have been stamped in Fresh Freesia ink and then coloured with White Craft Ink and Blender pen. I love the subtle look of this technique.
The inside is stamped with leaves and swirls in the lovely soft green Soft Sea Foam which you can see behind the Window Sheet panel.
And I have also stamped on the back of the card.
The small squares and ovals have been die cut with the retired (unfortunately) Stitched Shapes Dies.
Such a fun sketch! Why don’t you make a card using this sketch and share it with us at Try Stampin On Tuesday, we love to see all your ideas. Happy Stamping! Chris


")


")
 Designer Series Paper")


 Specialty Designer Series Paper")

 Layering Designs")