Stampin’ Up! Wild and Sweet for Crafty Addicts

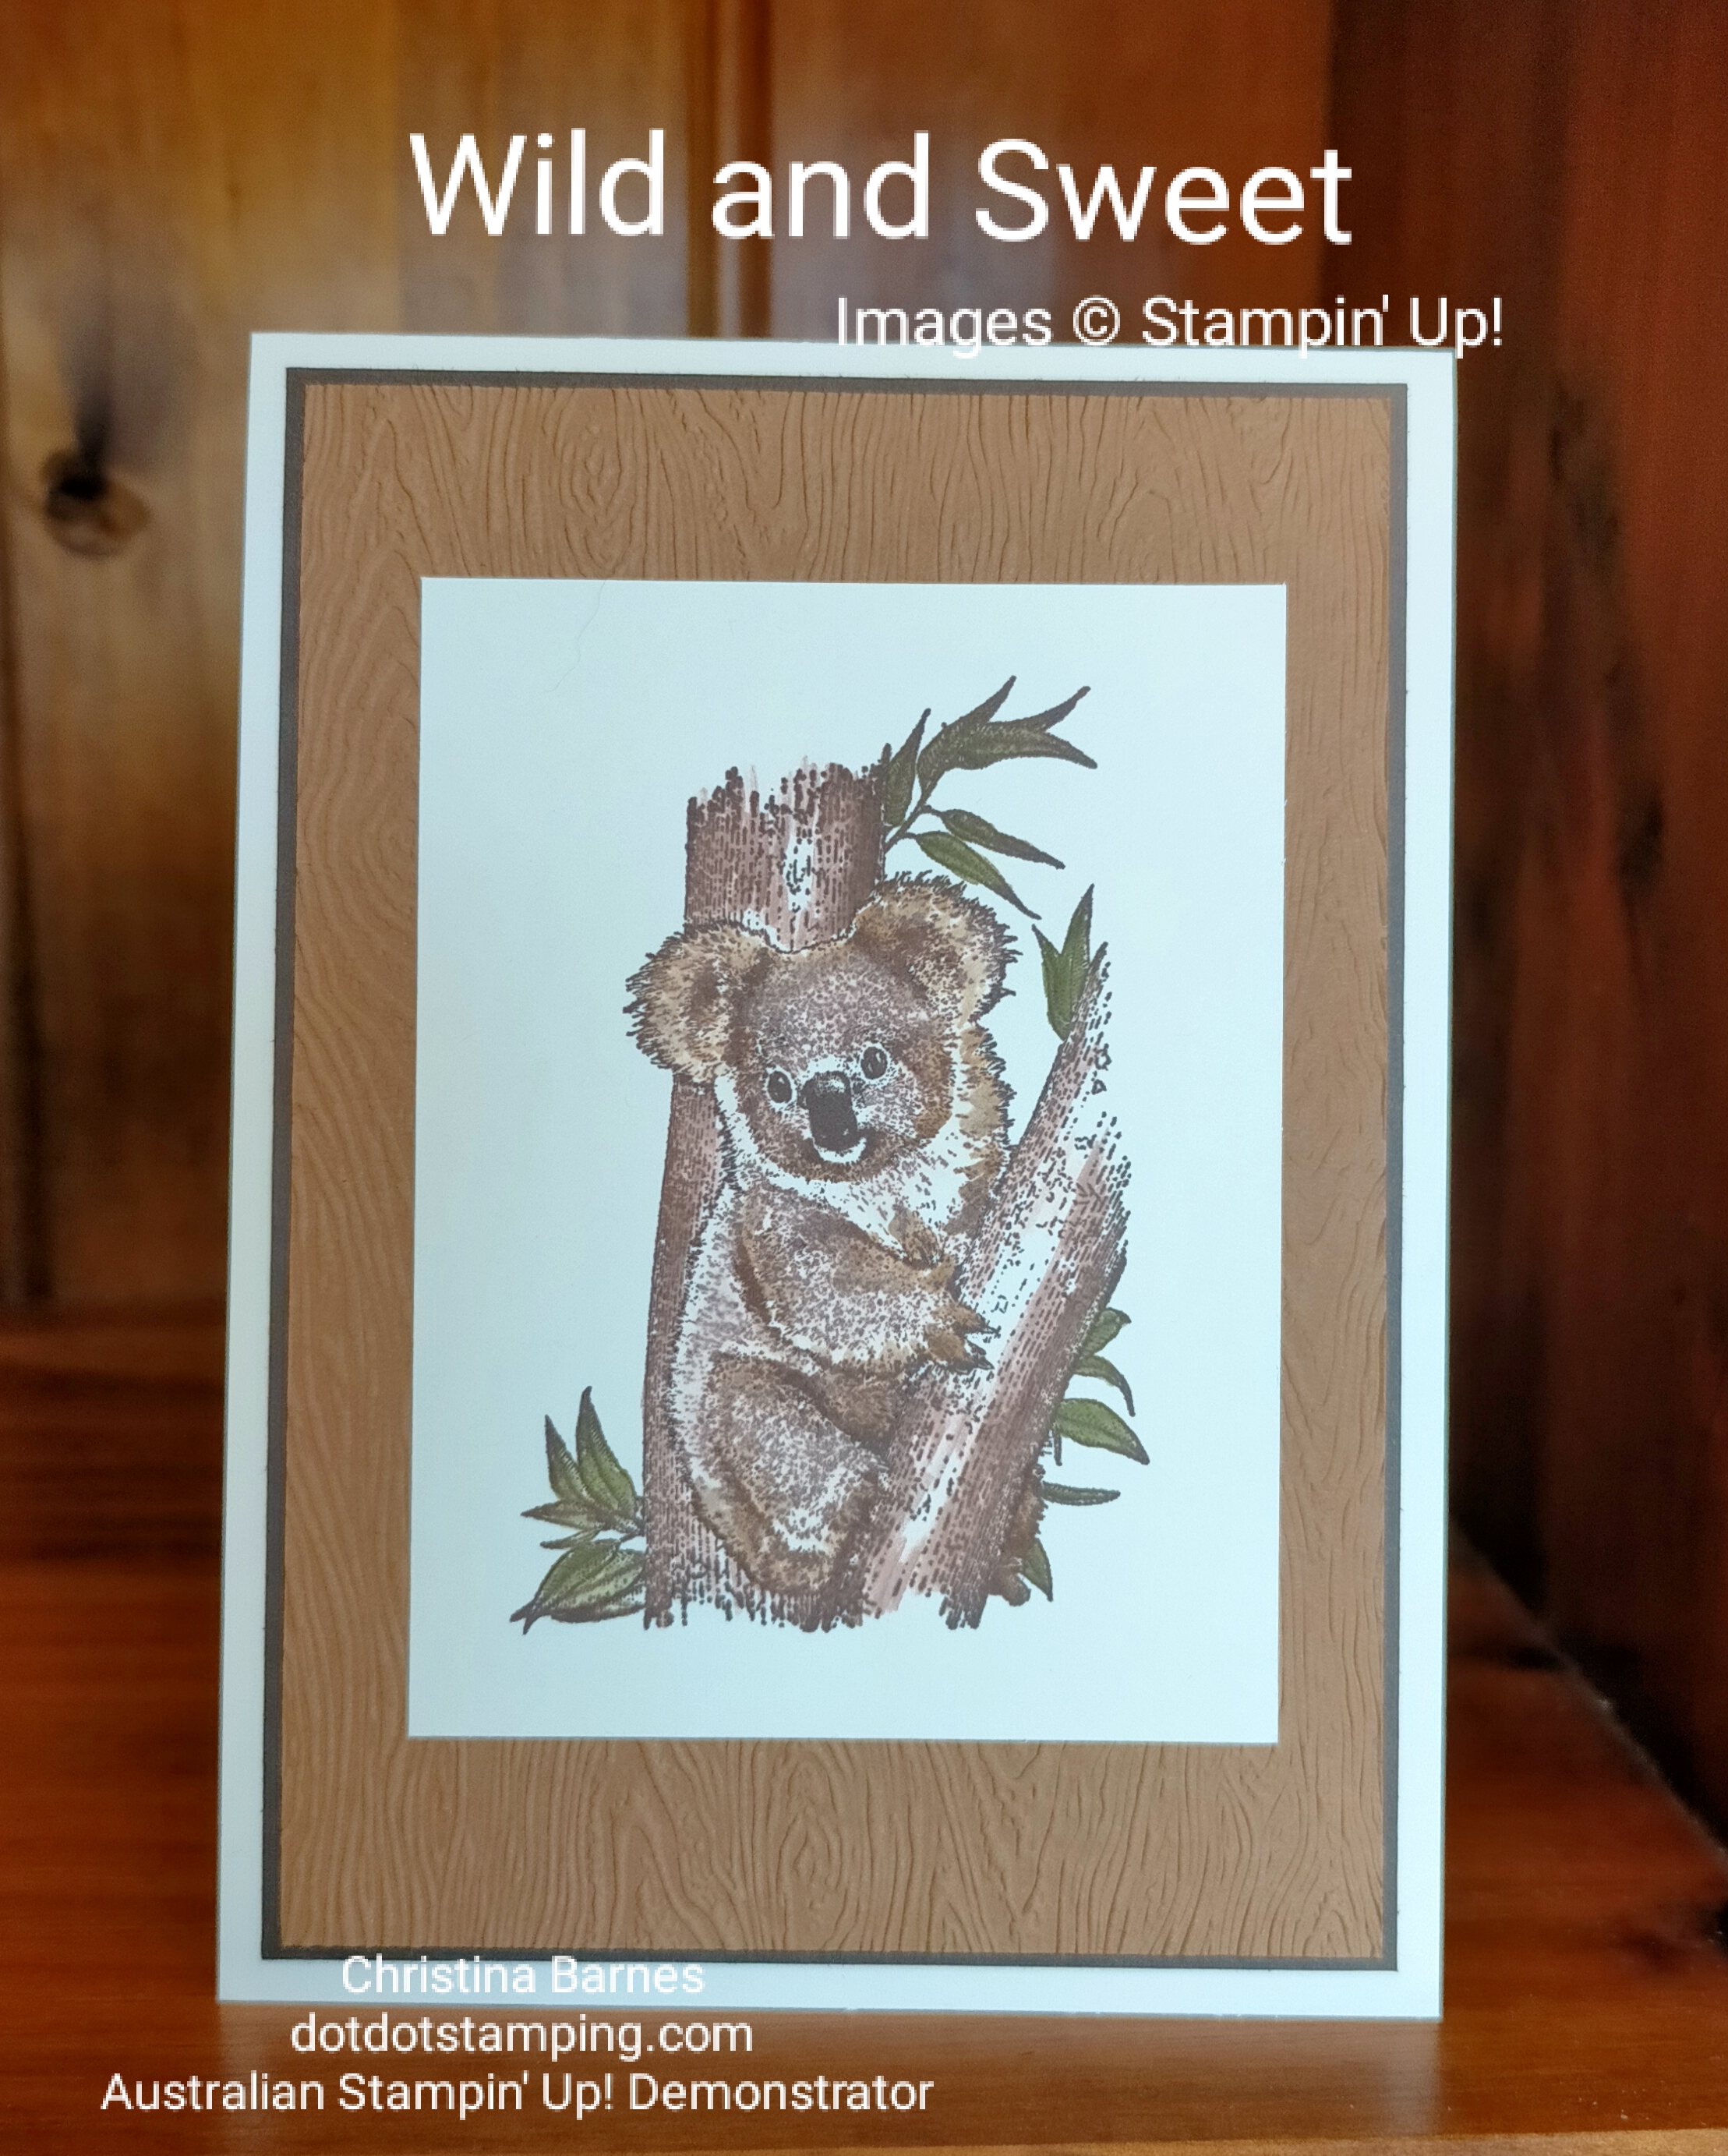
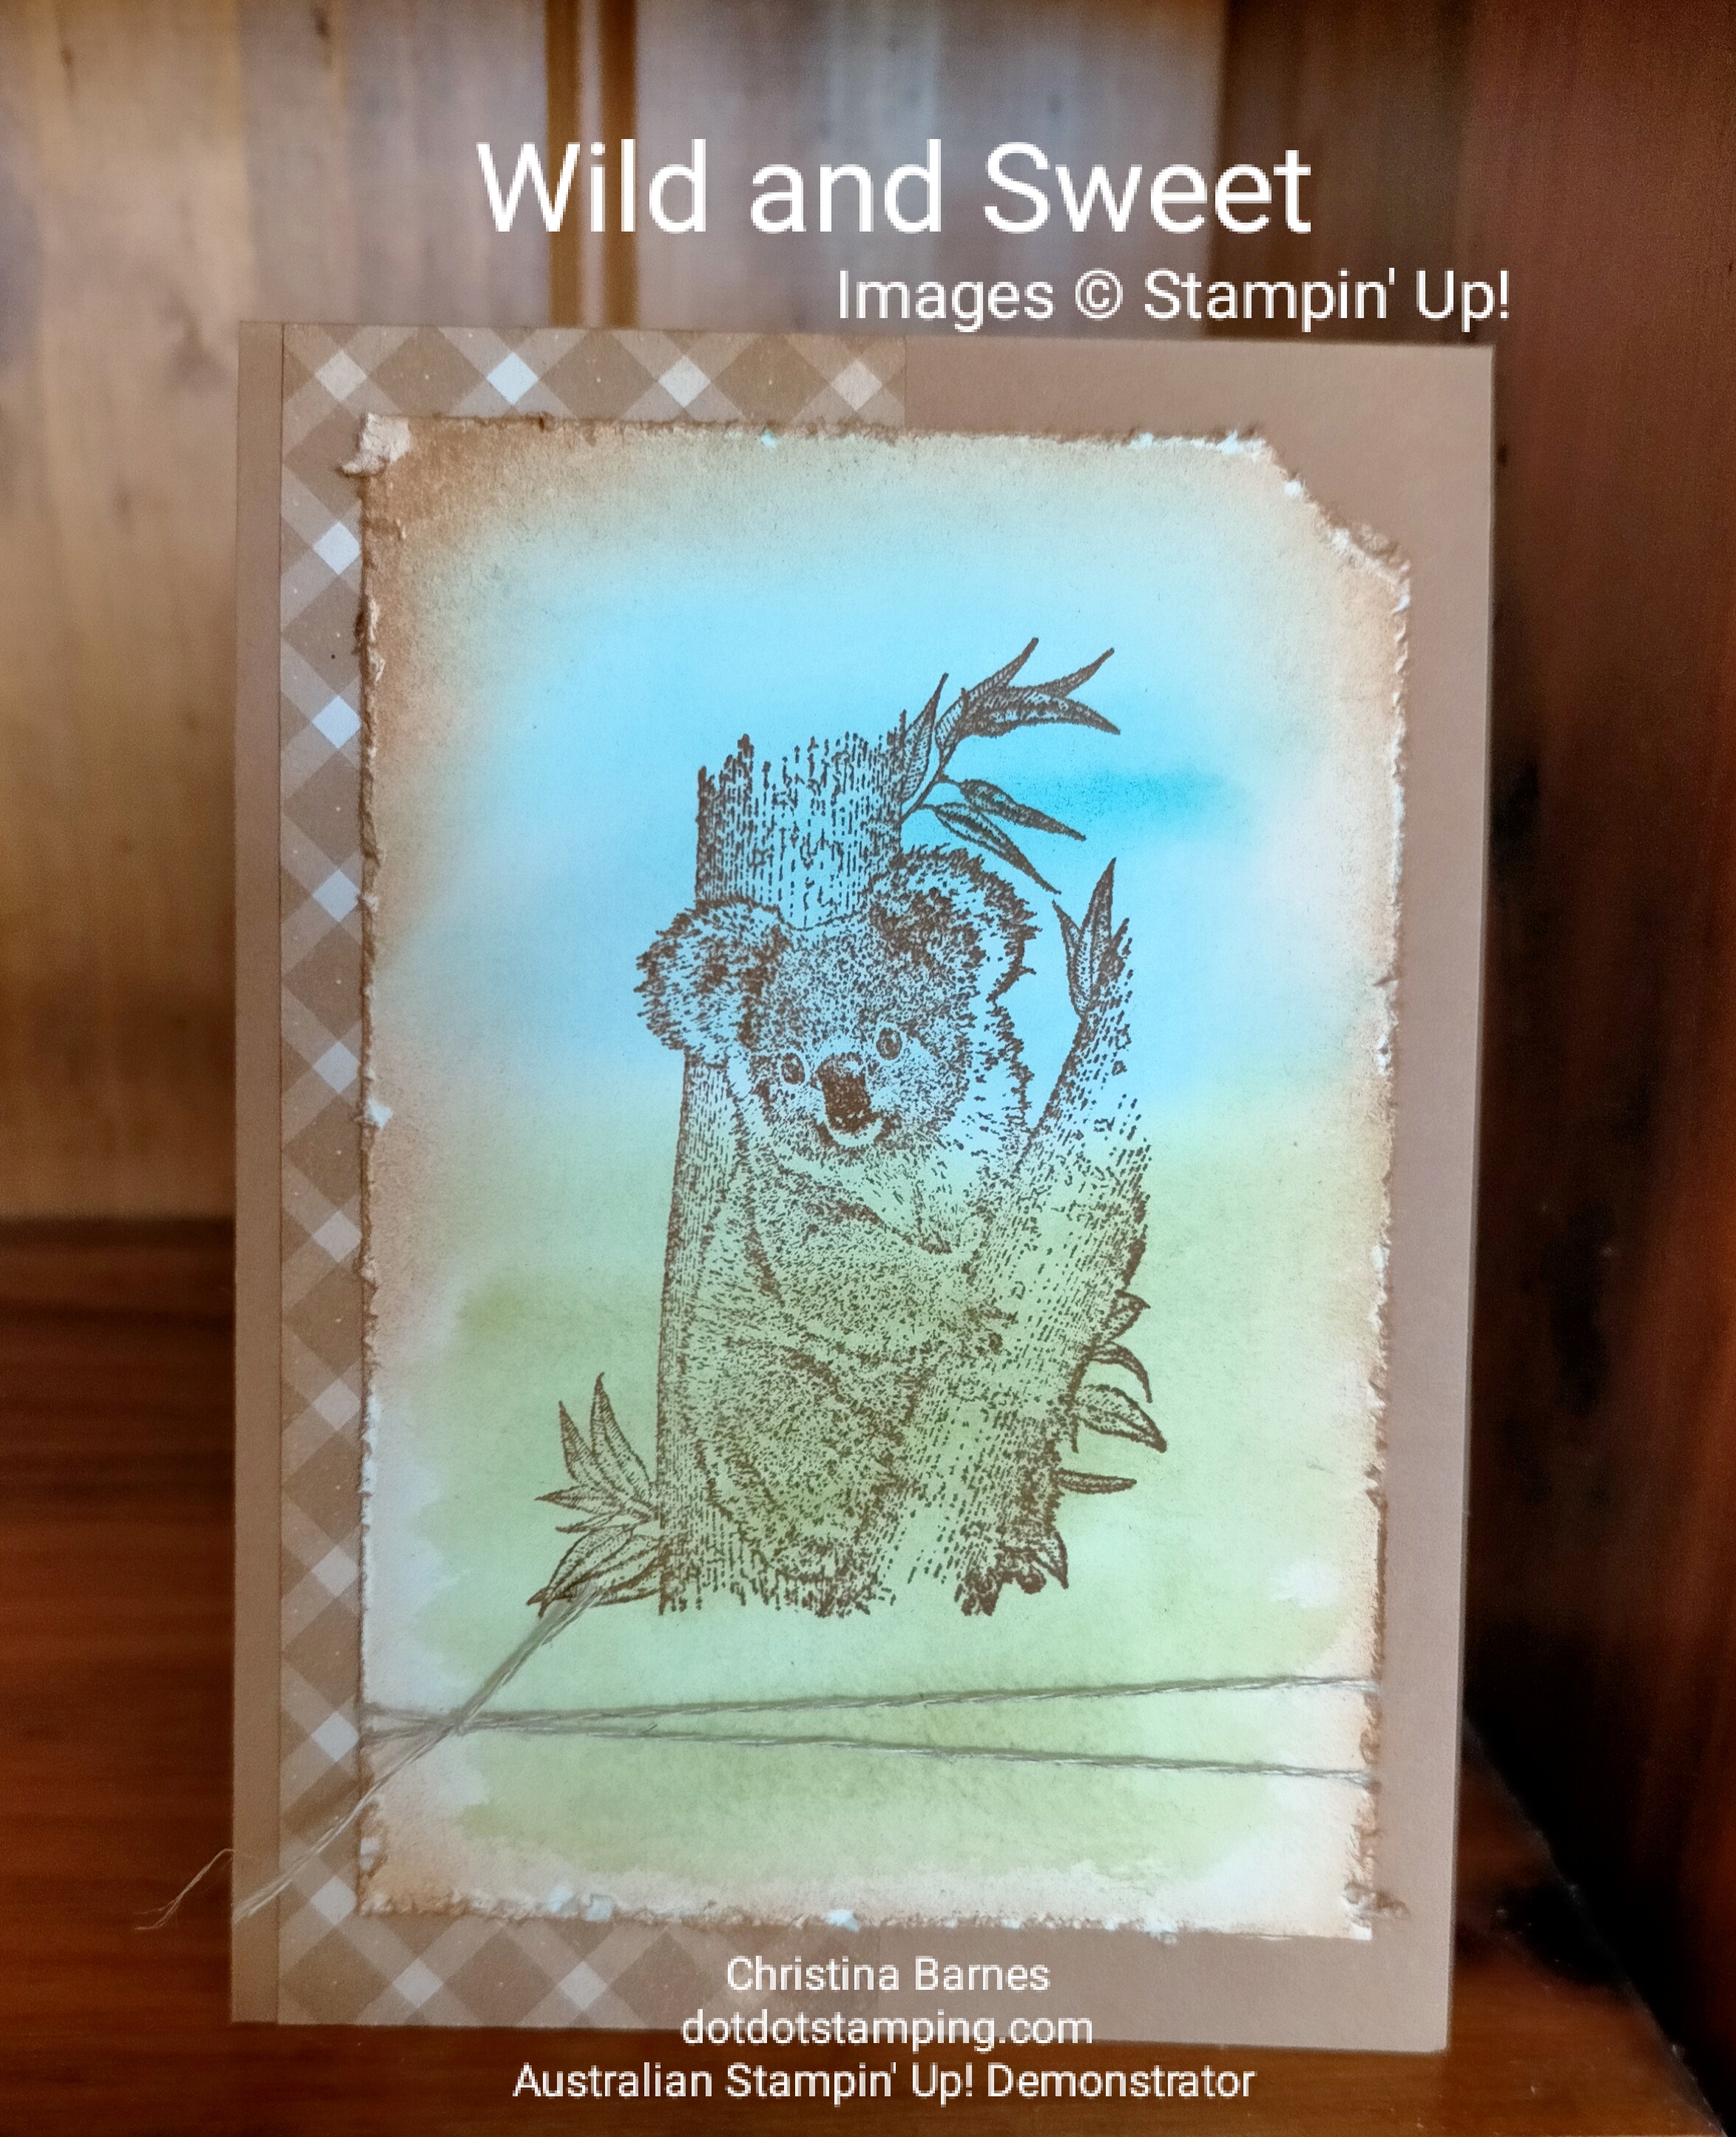
This month for the Crafty Addicts Design Team, I have again used the gorgeous Koala image from the Wild and Sweet stamp set. I just love it, it’s soooo cute! But I promise to start sharing some cards using the rest of images from the set soon.

The background on my card is a piece of Pecan Pie cardstock which has been embossed with the Timber 3D Embossing Folder.
The koala has been stamped with some Early Espresso Ink, and very gently coloured with Blender pens in Mossy Meadow, Pecan Pie, Early Espresso and some white Craft ink.

I did make a youTube video of creating this card, the lighting is not great but hopefully you can get an idea of how I have made it. And I’ve been working on fixing the lighting situation, I’m going to try that out shortly.

Make sure you check out what the rest of the Crafty Addicts Design Team have made this month, and please feel free to share your creations with us, we love to see what you have been making.
Happy stamping!
Chris

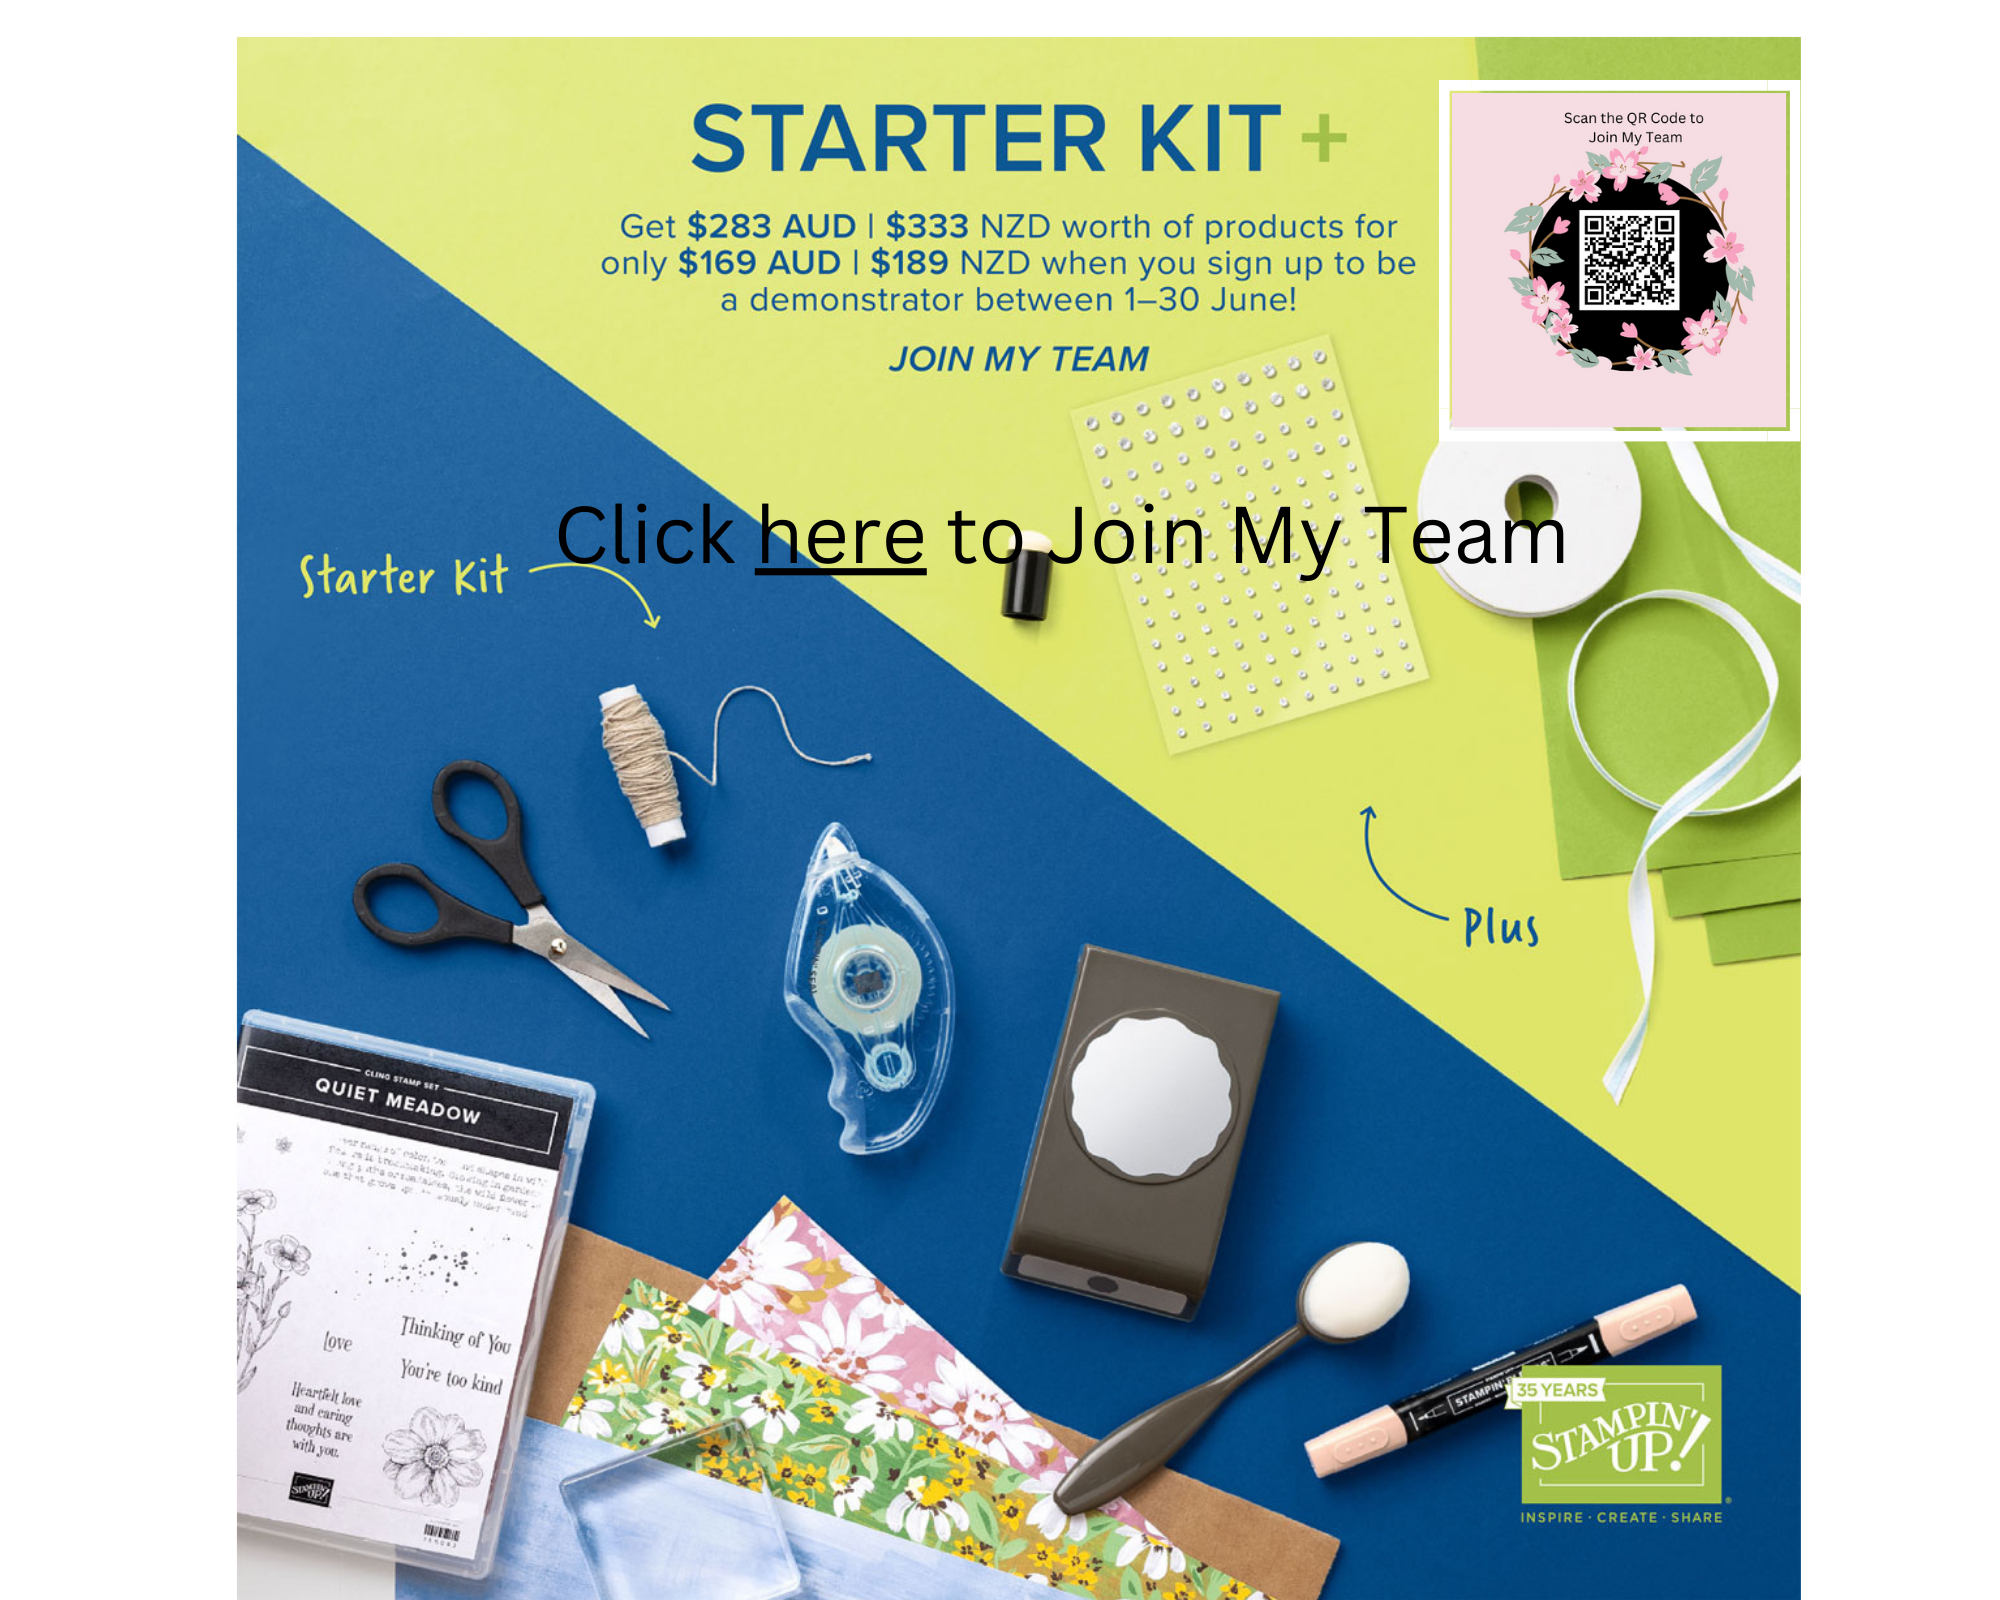
If you live in Australia, and would like to order the items used in the card I have made, you can click on the images below. Alternatively, you can use your device to scan the QR Code below to go straight to my online store. Don’t forget the fantastic July Promotion, spend $90 of product and receive a $9 coupon to spend next month. My favourite promotion! That’s the equivalent of getting 10% discount on your gorgeous Stampin’ Up! products. Love, love, love!!

Product List
Blender Pens
[102845]
$23.00

Links by TheseAreMyStamps.com

Colour Creations Stampin’Up! Pecan Pie

We are creating projects using the gorgeous neutral Pecan Pie for this week’s blog hop, and I have chosen the sweet koala image for the Wild and Sweet stamp set for my projects.
The first card I am sharing is a very simple one, great for those just starting out in cardmaking and stamping.

I have used a card base of Pecan Pie, with a strip of gingham in the same colour from the Glorious Gingham Designer Series Paper. The white panel is die cut using the Deckled Rectangle Dies, and the koala stamped in Pecan Pie ink. I’ve added a couple of gold adhesive backed dots from the Festive Pearls for a finishing touch.

My second card uses the same elements, and Pecan Pie cardstock base, this time with a strip of the gingham down the right hand side. I’ve used some of the Fluid 100 Watercolour paper with a water brush, and added some Balmy blue and Mossy Meadow ink across the paper. Then once it dried, I have again stamped the koala in Pecan Pie ink, and added some Linen Thread. The focal panel and the gingham layer have all been sponged with Blending Brushes around the edges with Pecan Pie ink.

If you would like to watch the video of how to make the second card you can find it on my youTube channel. You can get a better idea of the colours in the video.
I will also be uploading it to my new facebook group. It is a very new group and I would love to have more of you join us at The Dotty Stampers.

Next on our blog hop is the talented Kate Morgan.

If at any time you find a broken link, please go to the blog of our Colour Creations host, Catherine Proctor, who will have a list of all of the participants in the Blog Hop.

Happy stamping, and happy hopping,
Chris

You can click on the indiviual items listed below to go straight to my online store, or click here. Alternatively, you can use your device to scan the QR code below.
Don’t forget there are only a few more days to make the most of the fantastic June promotions, 15% off Designer Series Paper, and a wonderful joining offer if you join my team, which you can find details of here.

Product List
Aqua Painters
Aqua Painters
[103954]
$20.00

Links by TheseAreMyStamps.com

Stampin’ Up! Translucent Florals Part 3

In the past two days I have been sharing some of the wonderful projects myself, along with other Stampin’ Up! demonstrators around the globe, were making together as part of the Creativity Now event.
I shared the first project with it’s stepped up version along with my own alternative here.
And the second project and alternative here.

For project 3, I only made my own version of the project, using similar aspects but changing a few things.

I have embossed the piece of white cardstock using the Elegant Eucalyptus Embossing folder and mounted it onto a piece of Fresh Freesia cardstock before adhering it to the white cardbase.
The flowers and small leaves are pieces of Vellum Basics which have been coloured on the reverse side using Stampin’ Blends, in Shaded Spruce and Fresh Freesia. The flowers have then been die cut and layered together using glue dots.

I hope you have been inspired by all the projects we created together at our online event. I know I am inspired.
If you would like to chat and interact with me, make sure you come on over to my Facebook page where you will find more inspiration and ideas.
Happy stamping!
Chris

Product List

Links by TheseAreMyStamps.com

Stampin’ Up! Translucent Florals Part 2

You may have seen my blog post from yesterday where I mentioned having taken part in a Stampin’ Up! Demonstrator only event, where we made projects using the Translucent Florals Bundle (currently only available to demonstrators who took part in the event).
Today I am sharing the second project we were given to make. I didn’t put together the first card in this series, preferring the stepped up version, and even then I made my own adjustments.

A mask was made using some of the leaf dies from bundle, and this was used to add texture paste to the card base. However, before applying the texture paste, I lightly sponged some Gray Granite ink directly to the cardbase, and using the same coloured Stampin’ Write marker, outlined the edge of the sponged leaves and added some veins.
The sentiment is stamped in Copper Clay, with a tiny strip of Copper Clay cardstock along the bottom edge of the sentiment. And because I really liked the Copper Clay with these colours, I have added some of the In Color Dots.
And here is my alternative idea for this project.

For this card I have added a white layer (cut with the Deckled Rectangle Dies) over the Gray Granite cardbase, which gives it a brighter look, and had an odd shaped scrap of Garden Green cardstock which I have cut down and added behind the white to the top corner.
Again, I have sponged some leaves, this time in Garden Green ink, before adding the green die cut leaves over the top.

As you can see, we had a lot of fun at our Creativity Now Demonstrator event. You can take part in these events too, there is a wonderful opportunity this month to join at a great price with a lot of extras, so all you need to do is to take the plunge and make the most of that opportunity. You won’t regret it.
Reach out to me if you would like to chat more about it. (Australian residents only, please).

Happy stamping!
Chris

Use your device to scan the QR Code below.

Product List

Links by TheseAreMyStamps.com

Stampin’ Up! Creativity Now Translucent Florals

Today I feel so grateful to be a Stampin’ Up! Demonstrator. Or perhaps I should say today I feel even more grateful than I normally do.
Yesterday I took part in a Demonstrator only event called Creativity Now, where there was a heap of crafting and creativity, so much inspiration and heaps of ideas. Too much to describe here, it was a wonderful day.
We created some cards using a stamp set that is not available yet (but will be in the upcoming Mini Catalogue), called Translucent Florals.
Here is the first card we made, in a lovely combination of Poppy Parade and Garden Green.

The second card stepped up the first card and we added some Berry Burst to the colour combination. It also has a layer of stamped Vellum cardstock layered over the stamped images on the white layer.

And, it wouldn’t be me if I didn’t create something of my own, inspired by those two cards but with my own touches, I can’t help myself. I’ve included some sponging through one of the Foursquare Decorative Mask, and changed the layout a little.

I will freely admit that I wouldn’t have thought to put Poppy Parade and Berry Burst together, but I love the bright and vibrant look.
These three cards were just the first project of three, so I will share my versions of the other projects in later posts.
Happy stamping!
Chris

#SUCreativityNow

Translucent Florals Bundle is not available to purchase yet, but here are some of the other items used to create these projects. You can click on the items below to go to my online store, or click here. Alternatively, you can scan the QR code below with your device.

Product List

Links by TheseAreMyStamps.com

And don’t forget the sale on Designer Series Paper which only goes for the next few days.

Colour Creations Stampin’Up! Lemon Lolly

This week’s Colour Creations is all about Lemon Lolly.
I have used two Designer Series Paper sets for my card, Zoo Crew DSP and Bright and Beautiful DSP.

I have used a strip of Lemon Lolly coloured stars from the Bright and Beautiful DSP along the left side of my card, and have used a black marker to outline some of the stars. On the right side of my card, I have used the black and white stars from the Zoo Crew DSP, and have coloured the centre of the stars with Lemon Lolly ink and a Blender Pen.

The cute main image is a piece of the Zoo Crew DSP, which I have cut to size, then mounted onto a piece of Lemon Lolly cardstock.

Next along on our blog hop is Amie McIlroy.

If at any time you find a broken link, please go to the blog of our Colour Creations host, Catherine Proctor, who will have a list of all of the participants in the Blog Hop.

Happy stamping, and happy hopping,
Chris

Product List

Links by TheseAreMyStamps.com

Free Shipping Today!!

Stampin’ Up! have free shipping today (21st June 2023), so if you are in Australia, and would like to make the most of this, click here to go to my online store. https://www.stampinup.com.au/?demoid=4020972

Or use your device to scan the QR code below.

Colour Creations Stampin’Up! Bubble Bath

This week in our Colour Creations Blog Hop we are featuring the beautiful pale pink, Bubble Bath.

I have used some of the Bright and Beautiful Designer Series Paper for my background, a gorgeous ombre look, adhered to a thick Basic White cardbase. The reverse side of this sheet of DSP has bubbles in pink and if you look closely at the top where the very pale pink and white areas are, you can just see the bubbles from the reverse side – not intentional on my part, but I like the added dimension.

Over the Designer Series Paper, I have used various elements from the Gorgeously Made Dies, ( which I may be a little obsessed with at present), in Smoky Slate and Night of Navy, as well as Bubble Bath. The sentiment is from the Wildlife Wonder stamp set, stamped in Night of Navy ink.

Next along on our blog hop is Ros Davidson.

If at any time you find a broken link, please go to the blog of our Colour Creations host, Catherine Proctor, who will have a list of all of the participants in the Blog Hop.

Happy stamping, and happy hopping,
Chris

If you are in Australia and are interested in purchasing any of the items used in the project, you can click here to go straight to my online store, or click the items listed below.

Product List

Links by TheseAreMyStamps.com

Alternatively, if you would like to scan the QR code using your device here it is.

And don’t forget the fantastic sale on Designer Series Paper, during June 2023.

Delightfully Eclectic Covered Notebooks

It’s been a very busy few days in our house with two different markets in different towns, along with all the preparation and travel that goes along with that, it makes for quite an exhausting few days.
We began doing market stalls as a way to sell my son’s beautiful woodturned items, and since I had to be there (as designated driver, since he hasn’t got his driver’s licence yet), and like to be there to support him, I thought I would try selling some of my own items.
And these covered notebooks have been the most popular items.

These notebooks have been covered with the Delightfully Eclectic Designer Series Paper, the large flowers fussy cut from it using my trusy Paper Snips, and that has been paired with some retired Dainty Flowers Designer Series Paper.
They are a great way to use up retired DSP as well as bits and pieces of all sorts of things, and they make lovely and useful gifts – great for customer gifts, there’s plenty of room for a long Wish List!

I hope you are having a lovely relaxing weekend, and getting some crafting time.
Happy stamping,
Chris

Delightfully Eclectic Designer Series Paper is on sale right now, and you can find it in my online store here.
You can browse the rest of the store here.
And don’t forget the fantastic special available if you would like to join Stampin’ Up! as a demonstrator.

If you prefer to scan a QR Code with your device, here they are……


Colour Creations Stampin’Up! Azure Afternoon

This week’s Colour Creations Blog Hop features the gorgeous blue, Azure Afternoon. It reminds of the sky on a clear day here in my beautiful part of Australia. I will share a photo later and you will see what I mean. But first to my card.

I have kept my card quite simple, using the Foursquare Decorative Masks and Blending Brushes to create a background, and then stamping and punching out the boat, which is the Let’s Set Sail stamp set, and matching Sailboat Builder punch. And I’ve used some Starry Sky ink for the boat and sentiment and cardstock for the frame for my boat.

I made this card for my wonderful 17 year old son, he has had so much going on over the last few months, some amazing things, and some disappointments as well. So I really wanted to give him a few words of encouragement to keep believing in himself and in his dreams.

I’ve been wanting to get back into some Scrapbooking / Smashbooking / Scrap Journalling for some time now, and when I was tidying and reorganising my craft space recently, I came across one of the 6 x 8 Albums which are on Page 135 of the Annual Catalogue, and I decided it was time to use it and create some pages to fill it. So here is the first one, based around the card above.

The only addition I have made, is to use some of the Let’s Go Fishing DSP and some Linen Thread. The opposite page will have the journalling.
You may have noticed there is something missing from the page. I went to get the photo developed that I wanted to use for this, plus some other’s for the next couple that I am planning, only to find that the only place that used to develop photos in my town, no longer does it. So I will have to use an online service and get the photos sent to me. One of the down sides to living in regional areas.
However, the photo below shows the upside to living where we do.

This is a photo of my son sailing his boat on the lake near to where we live, and that sky is a beautiful Azure Afternoon colour. This is the photo that will eventually go on the page, once I get the photo developed.

Next along on our blog hop this evening is Kate Morgan.

If at any time you find a broken link, please go to the blog of this week’s host of the Colour Creations Blog Hop Catherine Proctor, who will have a list of all of the participants in the Blog Hop.

Happy Stamping
Chris

If you would like to browse my online store click here, or alternatively, if you would like to use your device you can scan the QR Code below.

Product List

Links by TheseAreMyStamps.com