When I first started stamping in 2008, this was one of the first techniques I was taught . I’m sure there are other names for it but that’s what we called it, the Darth Vader (from Star Wars, for those that don’t know) Technique.
The reason this was one of the first techniques I was taught is because it uses Stampin’ Write markers to ink the stamp, and at the time, you could buy these markers individually, making it a cheaper way to get more colours in my stash.

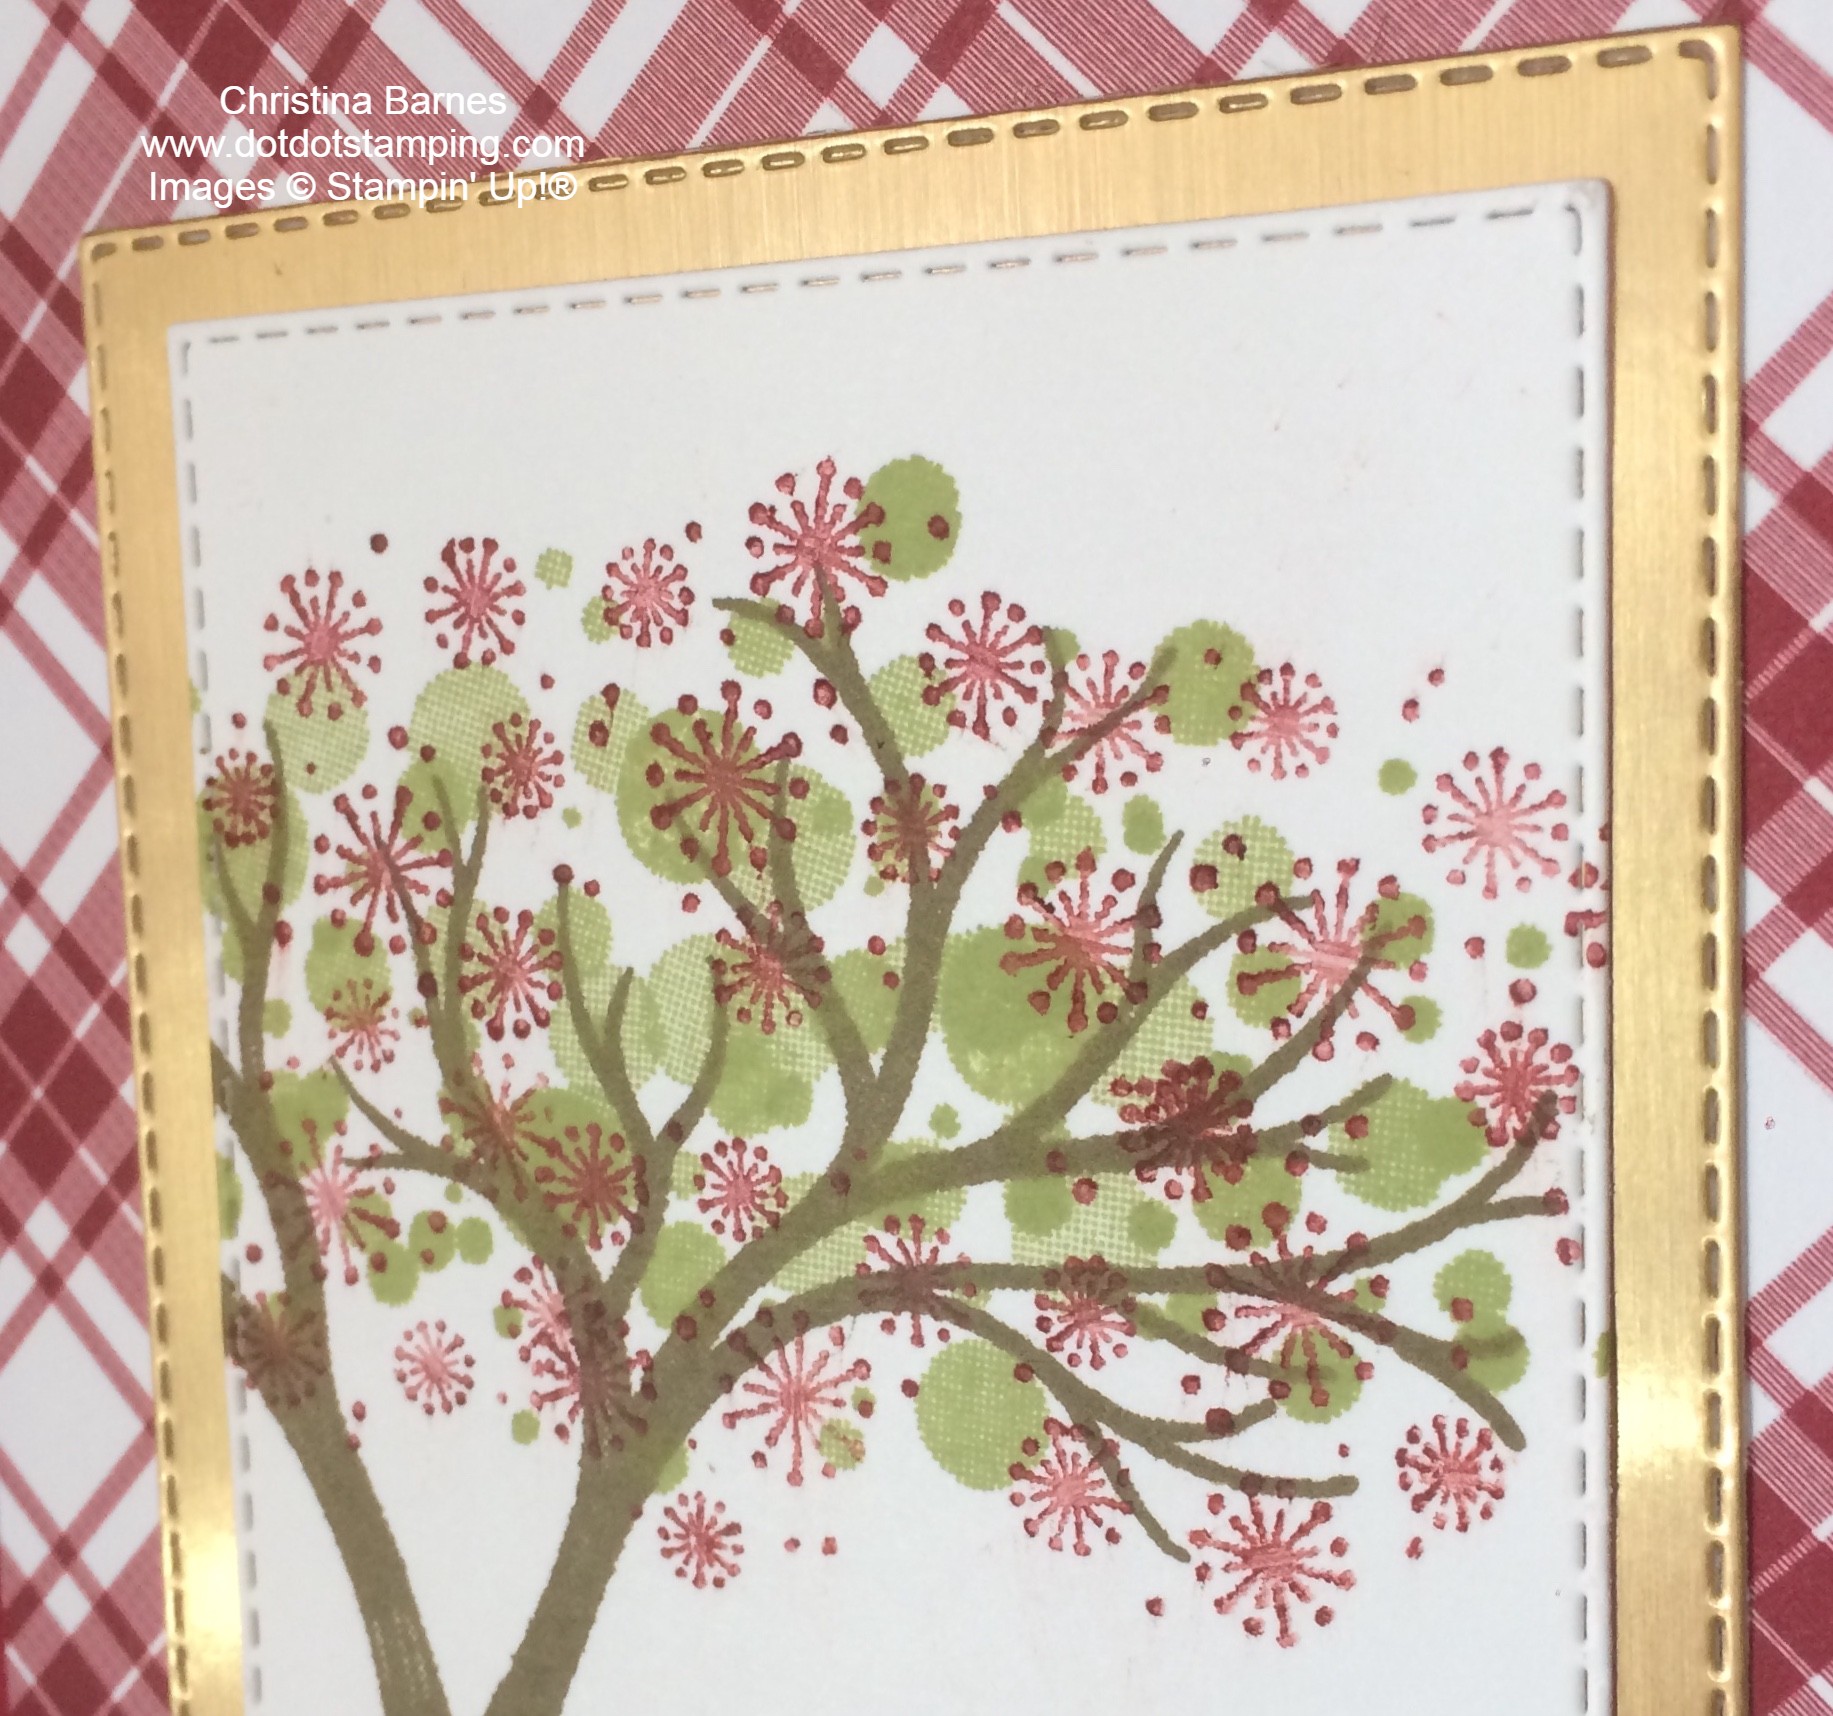
Both the stamps were inked with markers on this card. So why is it called the Darth Vader Technique? Once the ink is on the stamp, it’s important to “huff” onto the stamp, the humidity from your breath keeps the ink damp enough to create a nice clear image.
I did a video of making this card on my Facebook page this morning – you can find a link to the page on the sidebar, so please drop in and say hi and leave a comment.
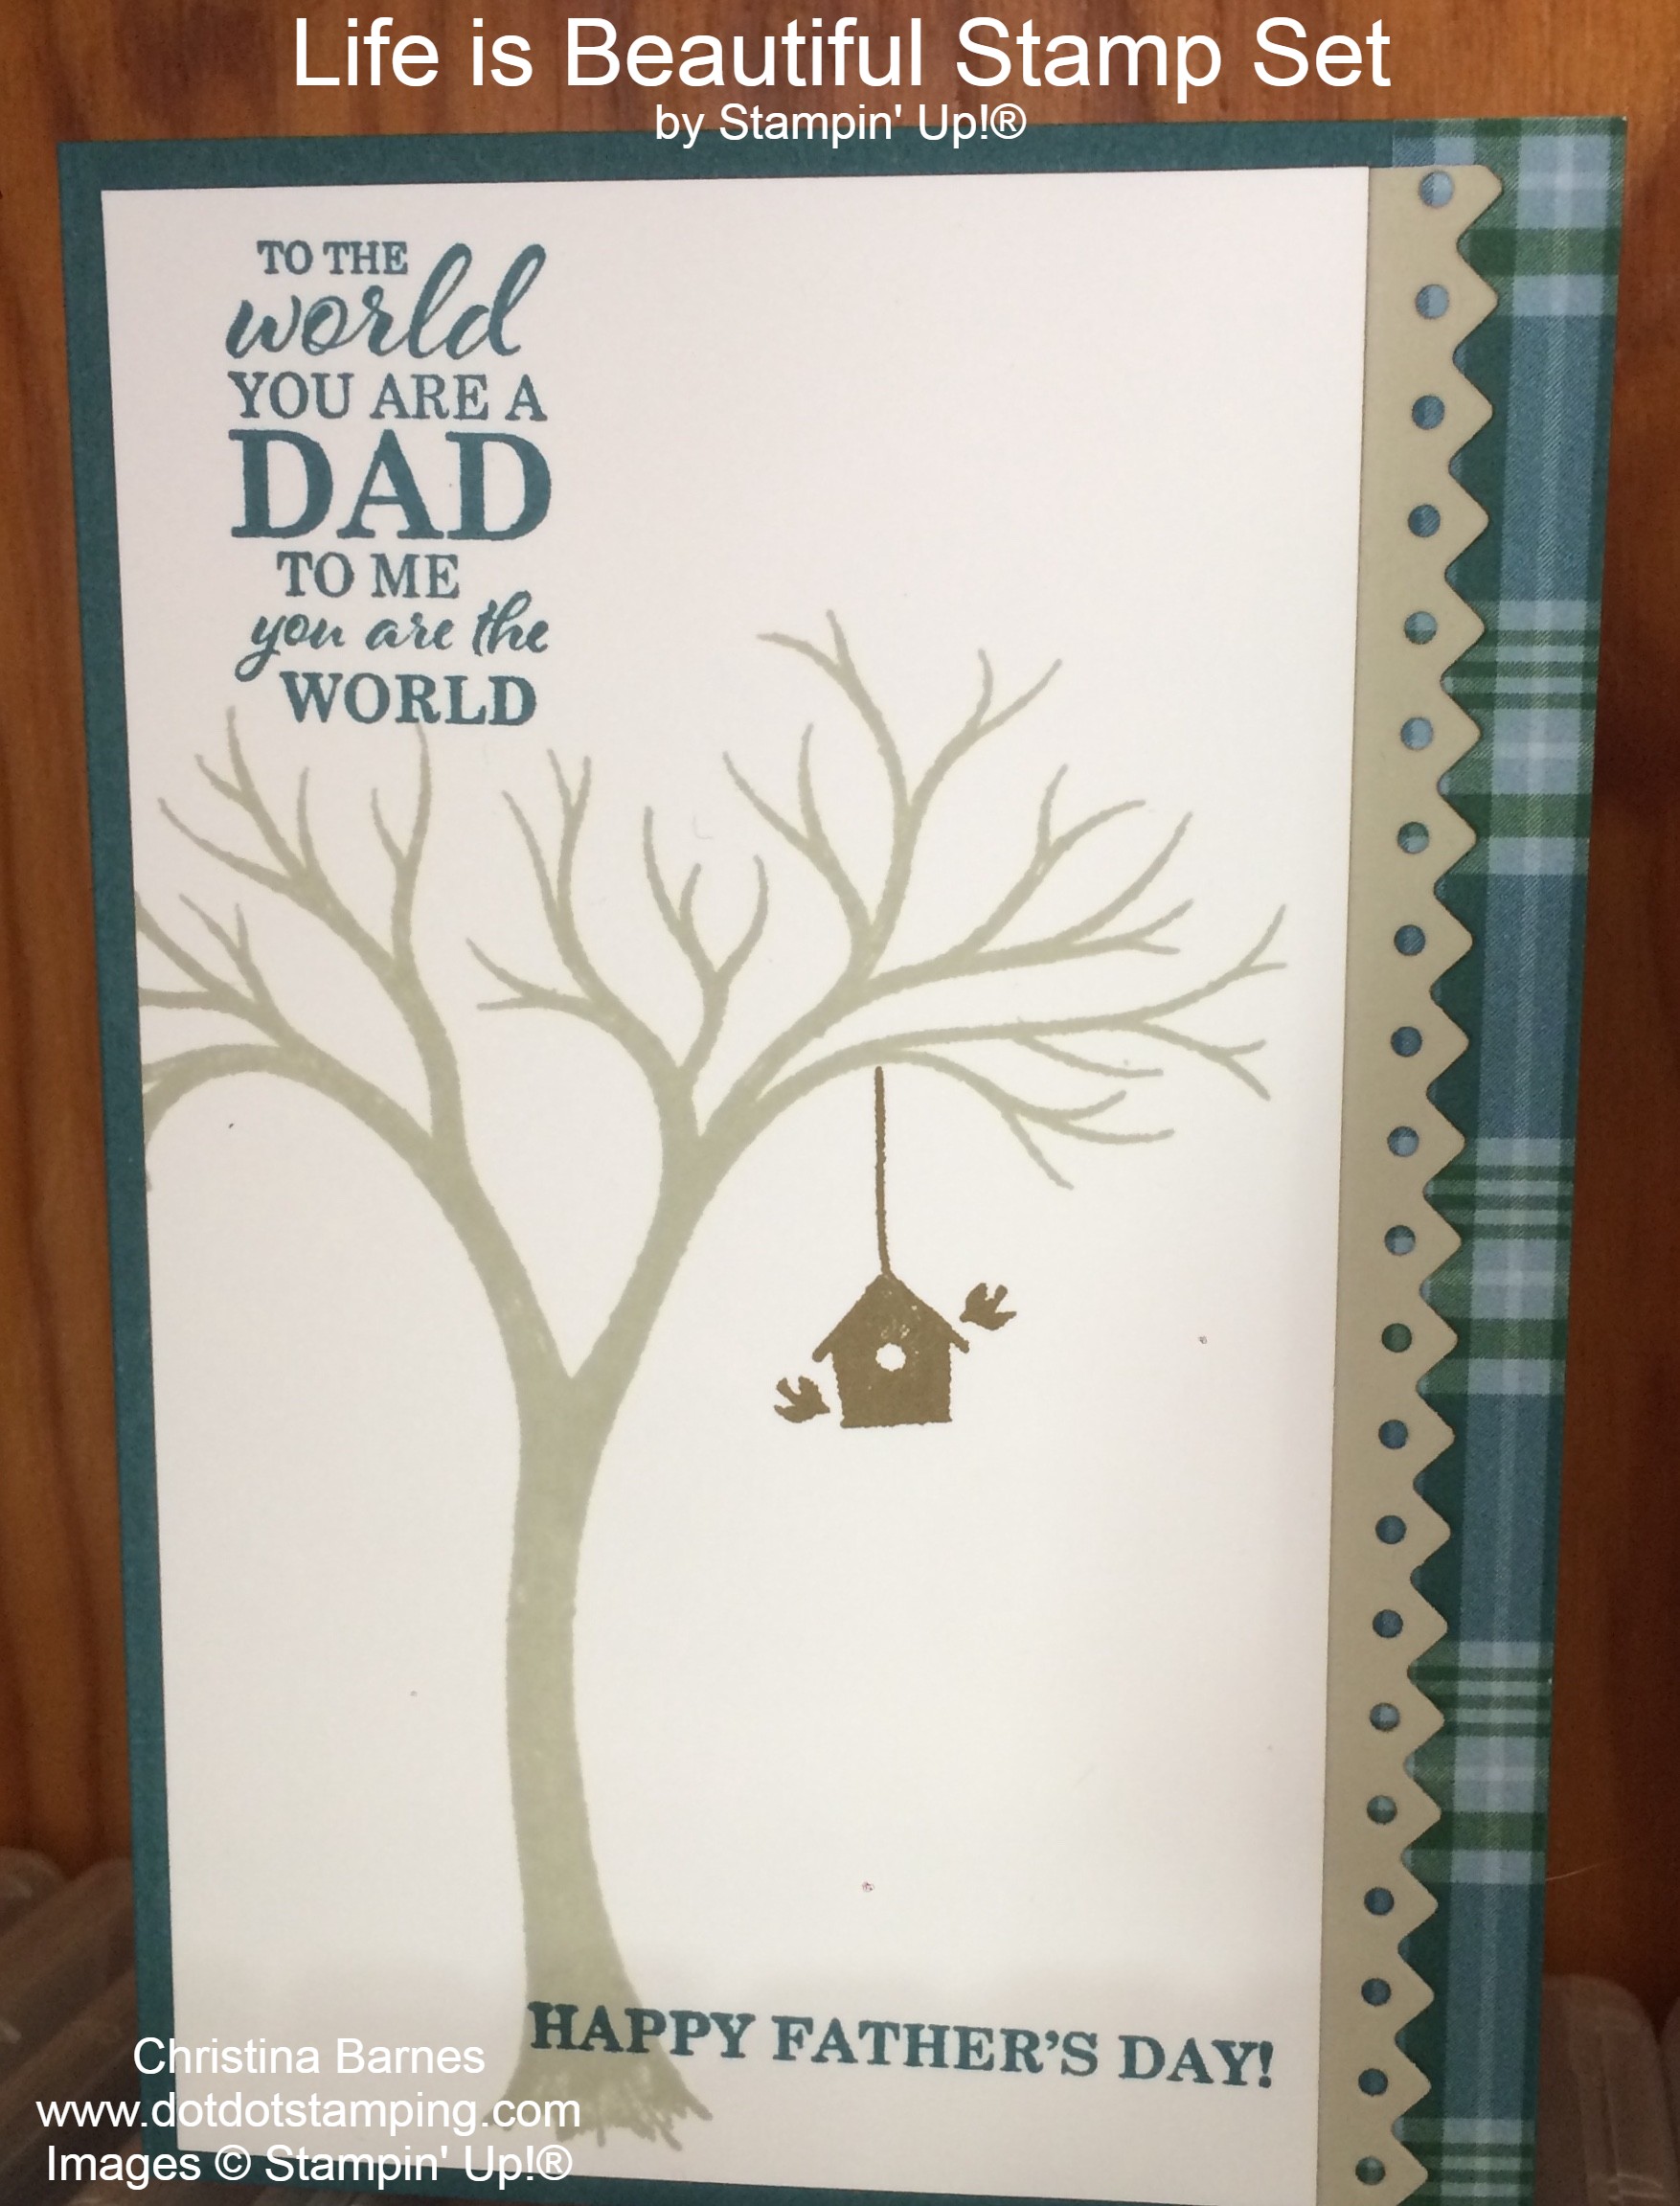
The card used the Elegantly Said stamp set, Scalloped Contours Dies and the Hand-Penned Designer Series Papers.
Happy stamping
Chris 💜


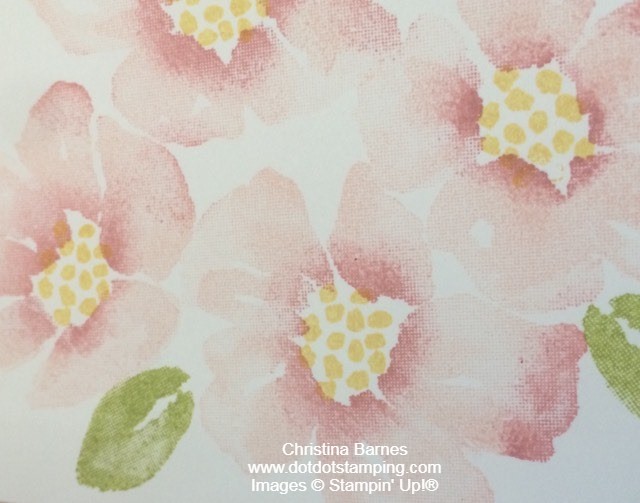
 I have started out by completely inking up the entire large flower image with Blushing Bride ink, making sure that there is a good even spread of ink over the image. Then using a sponge dauber (you could use a small piece of ordinary sponge if you don’t have daubers – I just find the daubers work best for this technique), apply some Rococco Rose ink by gently dabbing the dauber in the centre of the flowers, and then slightly angling the dauber and dabbing some ink onto the edge of the flowers as well.