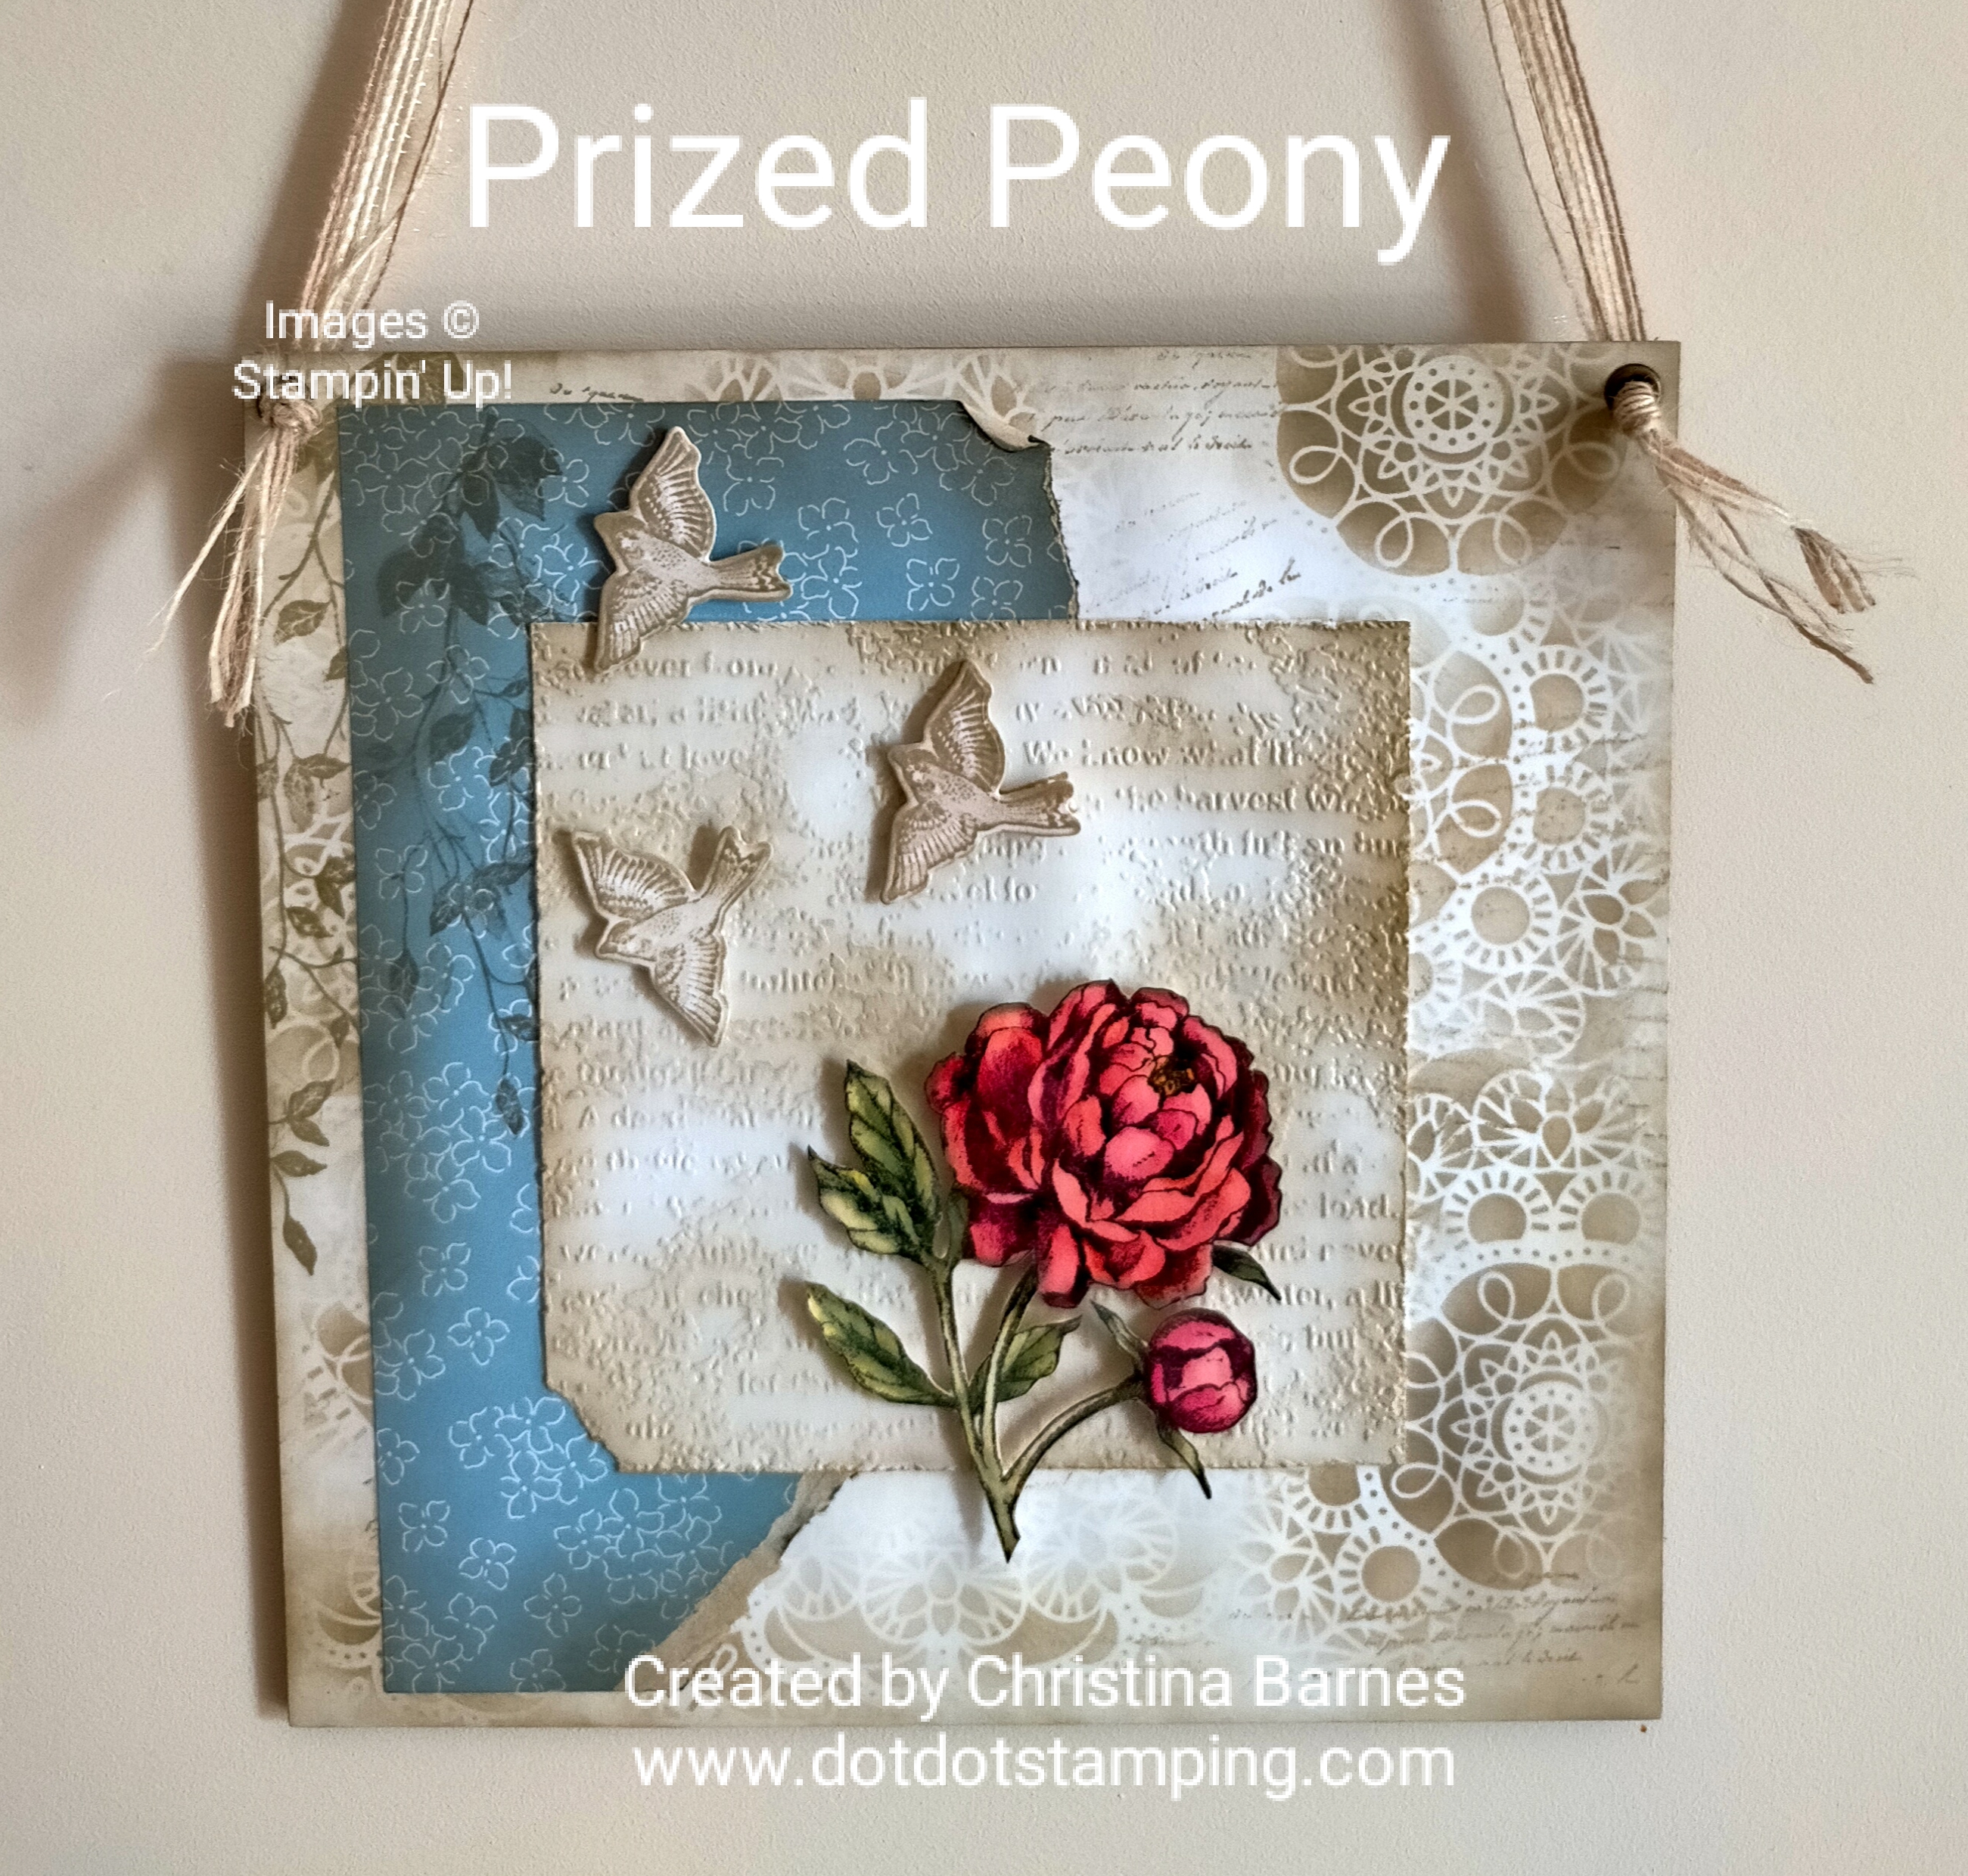
I was having a play with the Stamparatus today and also wanted to have a last inking of the Gorgeous Leaves stamp set before it retires, although I think this will be one that stays in my stash, at least for a little while.
I have made a Sympathy card (although you could really add any sentiment to this one) in a one layer card, so just thick white cardstock as a card base, no other layers, and stamped directly onto the base.
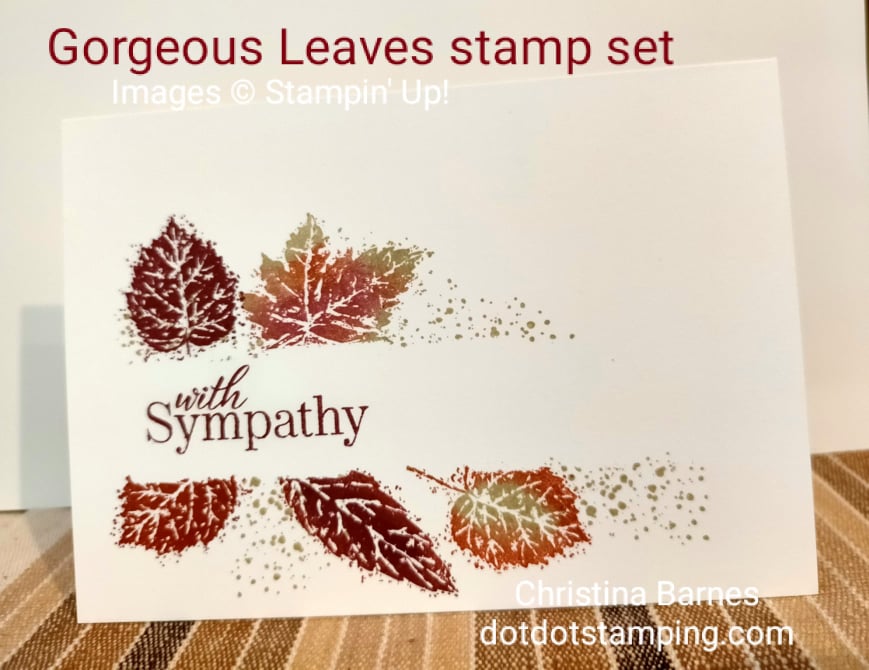
I have used my Stamparatus grid paper to line up the sentiment and make sure it was very straight. Then used a piece of scrap paper, again, lined up along the grid paper, and then placed the stamped images where I wanted them, inked them up and stamped using the Stamparatus. So easy!!
To create several colours on one stamp, I have stamped in the main colour first, then using a Sponge Dauber, sponged a different colour around the edge or down the centre.
The colours I have used are Merry Merlot, Cajun Craze and Crumb Cake.
The sentiment comes from the Special Moments stamp set, available FREE during Sale-a-Bration starting 4th January 2022. Not long now!
It was a very quick card to make, no cutting layers and lining things up, and it’s much more fun to be getting inky instead of cutting cardstock layers!!
Happy stamping!
Chris
 |  |  |  |
Links by TheseAreMyStamps.com
January Host Code:
Use this host code when you order, and if you order $50 or greater you will receive a free gift from me! If your order is $250 or over, please do not use this code, you’ll still get a free gift – your choice of any item valued up to 10% or your order (excluding shipping costs) from the 2021-22 Annual Catalogue or July-December 2021 Mini Catalogue! That includes some of the Host Exclusive items. (Australian orders only please).
***Make sure that you can see my name on the final checkout page listed as your Demonstrator when you order so that you know that you’re ordering with me and you’ll get my rewards!


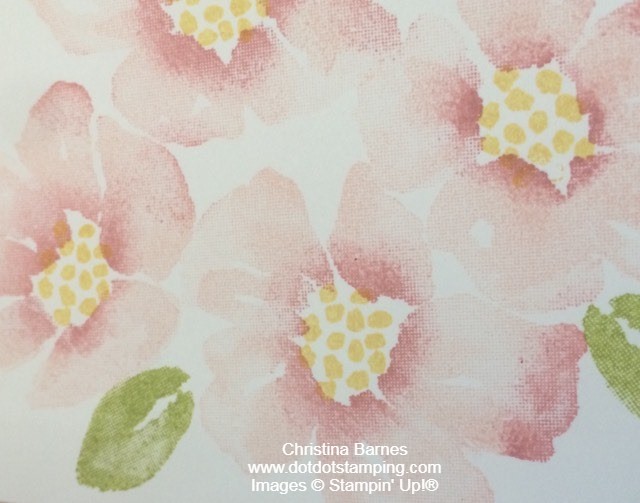
 I have started out by completely inking up the entire large flower image with Blushing Bride ink, making sure that there is a good even spread of ink over the image. Then using a sponge dauber (you could use a small piece of ordinary sponge if you don’t have daubers – I just find the daubers work best for this technique), apply some Rococco Rose ink by gently dabbing the dauber in the centre of the flowers, and then slightly angling the dauber and dabbing some ink onto the edge of the flowers as well.
