I have two cards to share with you today, along with some instructions on how to go about making them. Both cards use some of the gorgeous images from Make It Crafty.
The first card features the adorable “Penny Sitting with Rose” digital stamp which I have sized to fit into the bottom corner of a piece of white blending cardstock. I have then cut the cardstock to 9.5 x 13.8cm.
The image has been coloured using the following Copic markers: Hair: 100, N2, N4, Skin: E21, E11, E00, E000, R20, Clothing and Rose: V09, V06, V04, V01, V000, Leaves: G94, G21.
The words “thinking of you” have then been stamped using black Memento Ink in the left-hand corner.

I have then coloured three flat-backed pearls using the V04 Copic Marker, (You could use a darker shade if you wanted a darker pearl), and allowed them to dry.

Next step is to adhere the dried pearls onto the left-hand corner.

Then I have taken a black marker and drawn some random lines around the edge of the card, linking the pearls, and the words along the way. There doesn’t have to be any rhyme or reason to this, just draw freehand and add a couple of swirls to make it interesting.

Then, just adhere your coloured panel onto a coloured panel – I have used a very dark purple, then onto a white card base. Or you could leave out the middle layer and just put it straight onto the card base. And here is the finished card:

Lots of nice open white spaces! I have to admit to being really unhappy with her hair, but it is something I am practicing, so hoping it gets a lot better over time!!
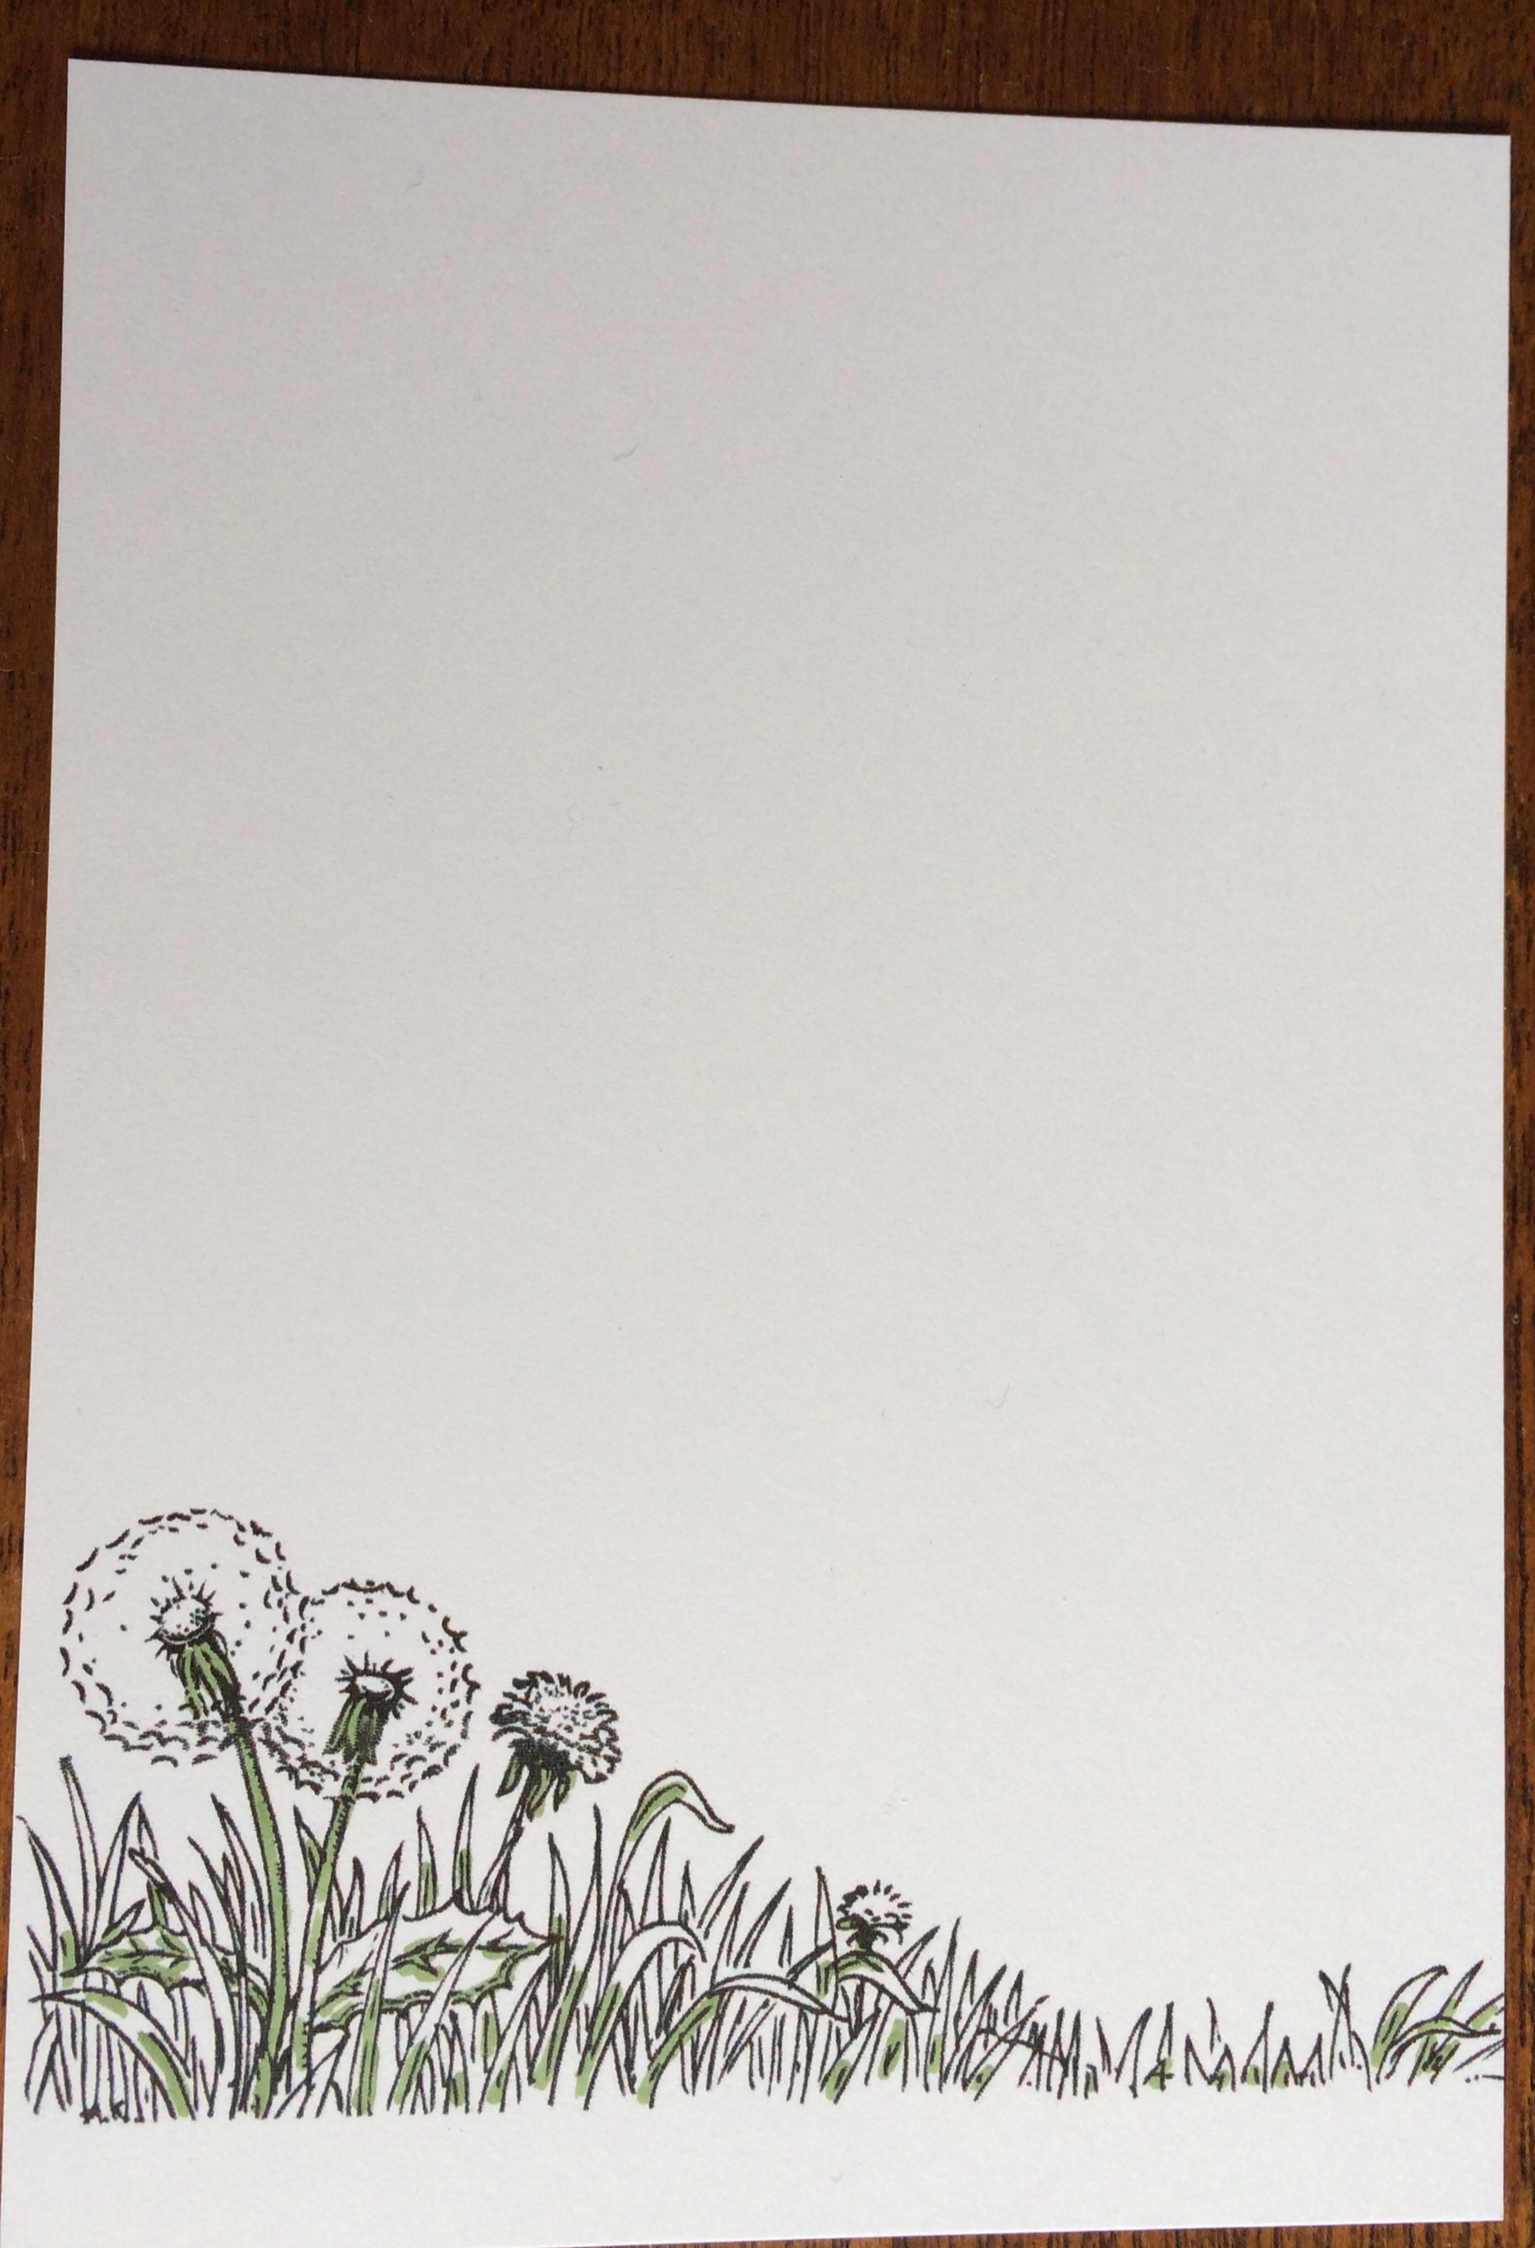
The second card I want to share with you today, uses the new Dandelion Digital Stamp, which of course can be used combined with heaps of other images and ideas, however I decided to use it on it’s own today.
Again, I have started off by printing the digi stamp onto some blending cardstock, and then cutting the cardstock at the same dimensions as the card above. (Please excuse the slightly shadowy photos, of course it decided to cloud over just when I was in the middle of doing this!!)

Next, I started on the grass. I have used the brush end of Copics G94 marker to flick in some darker shading on the larger leaves.

And then come over the top of this with a lighter green, in this case I have used G21, but you can choose which ever green you like! 🙂
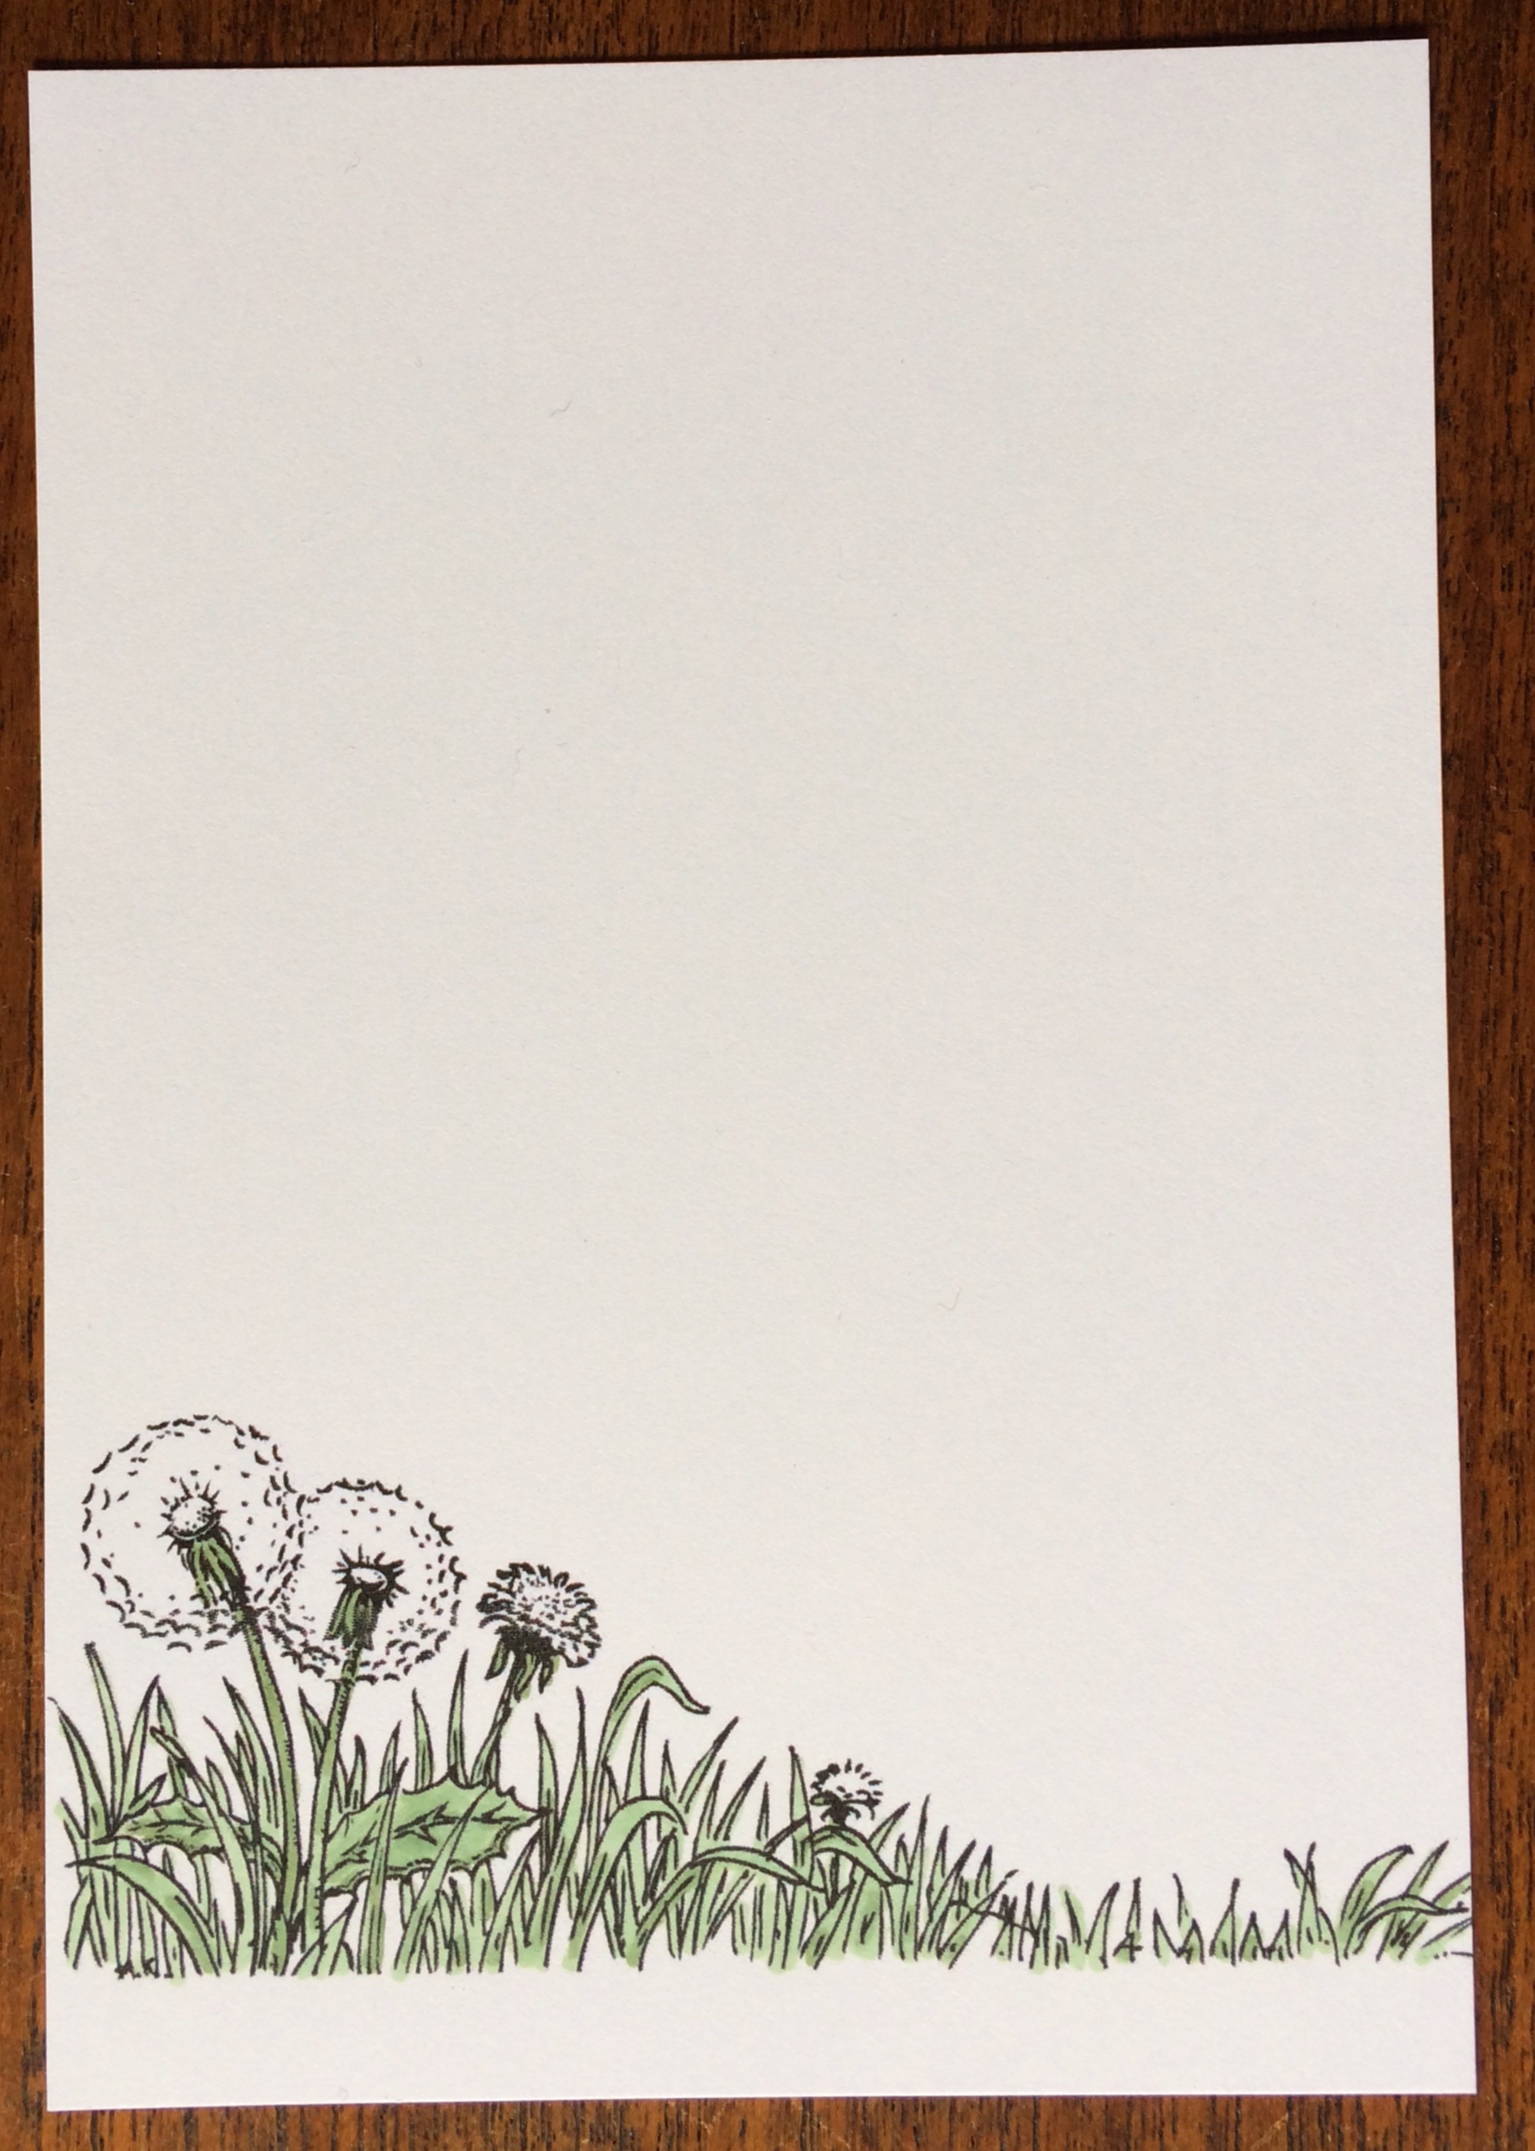
I haven’t been too fussy with my grass, since grass can be quite, well, messy sometimes! 🙂
Next step is to colour the Dandelion flowers. I have used a Y13 marker, however you could go a little darker. For shading I have just come back over the first layer of yellow and added some more colour.

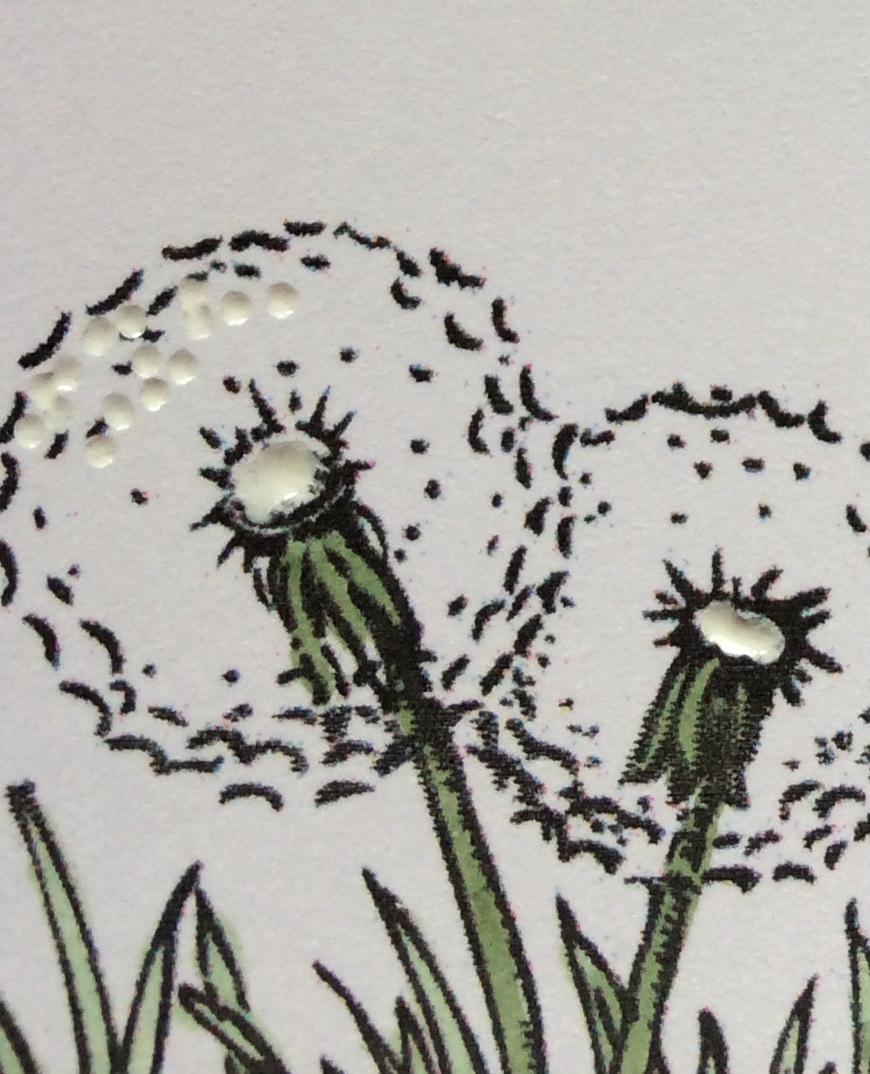
Next come the Dandelion seed heads (fluffy things, as we call them!). You could leave them blank, and not add anything to them and it would still look fine. However, I wanted to add a little texture and depth to mine, so I have used a broad tip Uniball Signo White pen, coloured the centres with it, and then placed dots of white all over.
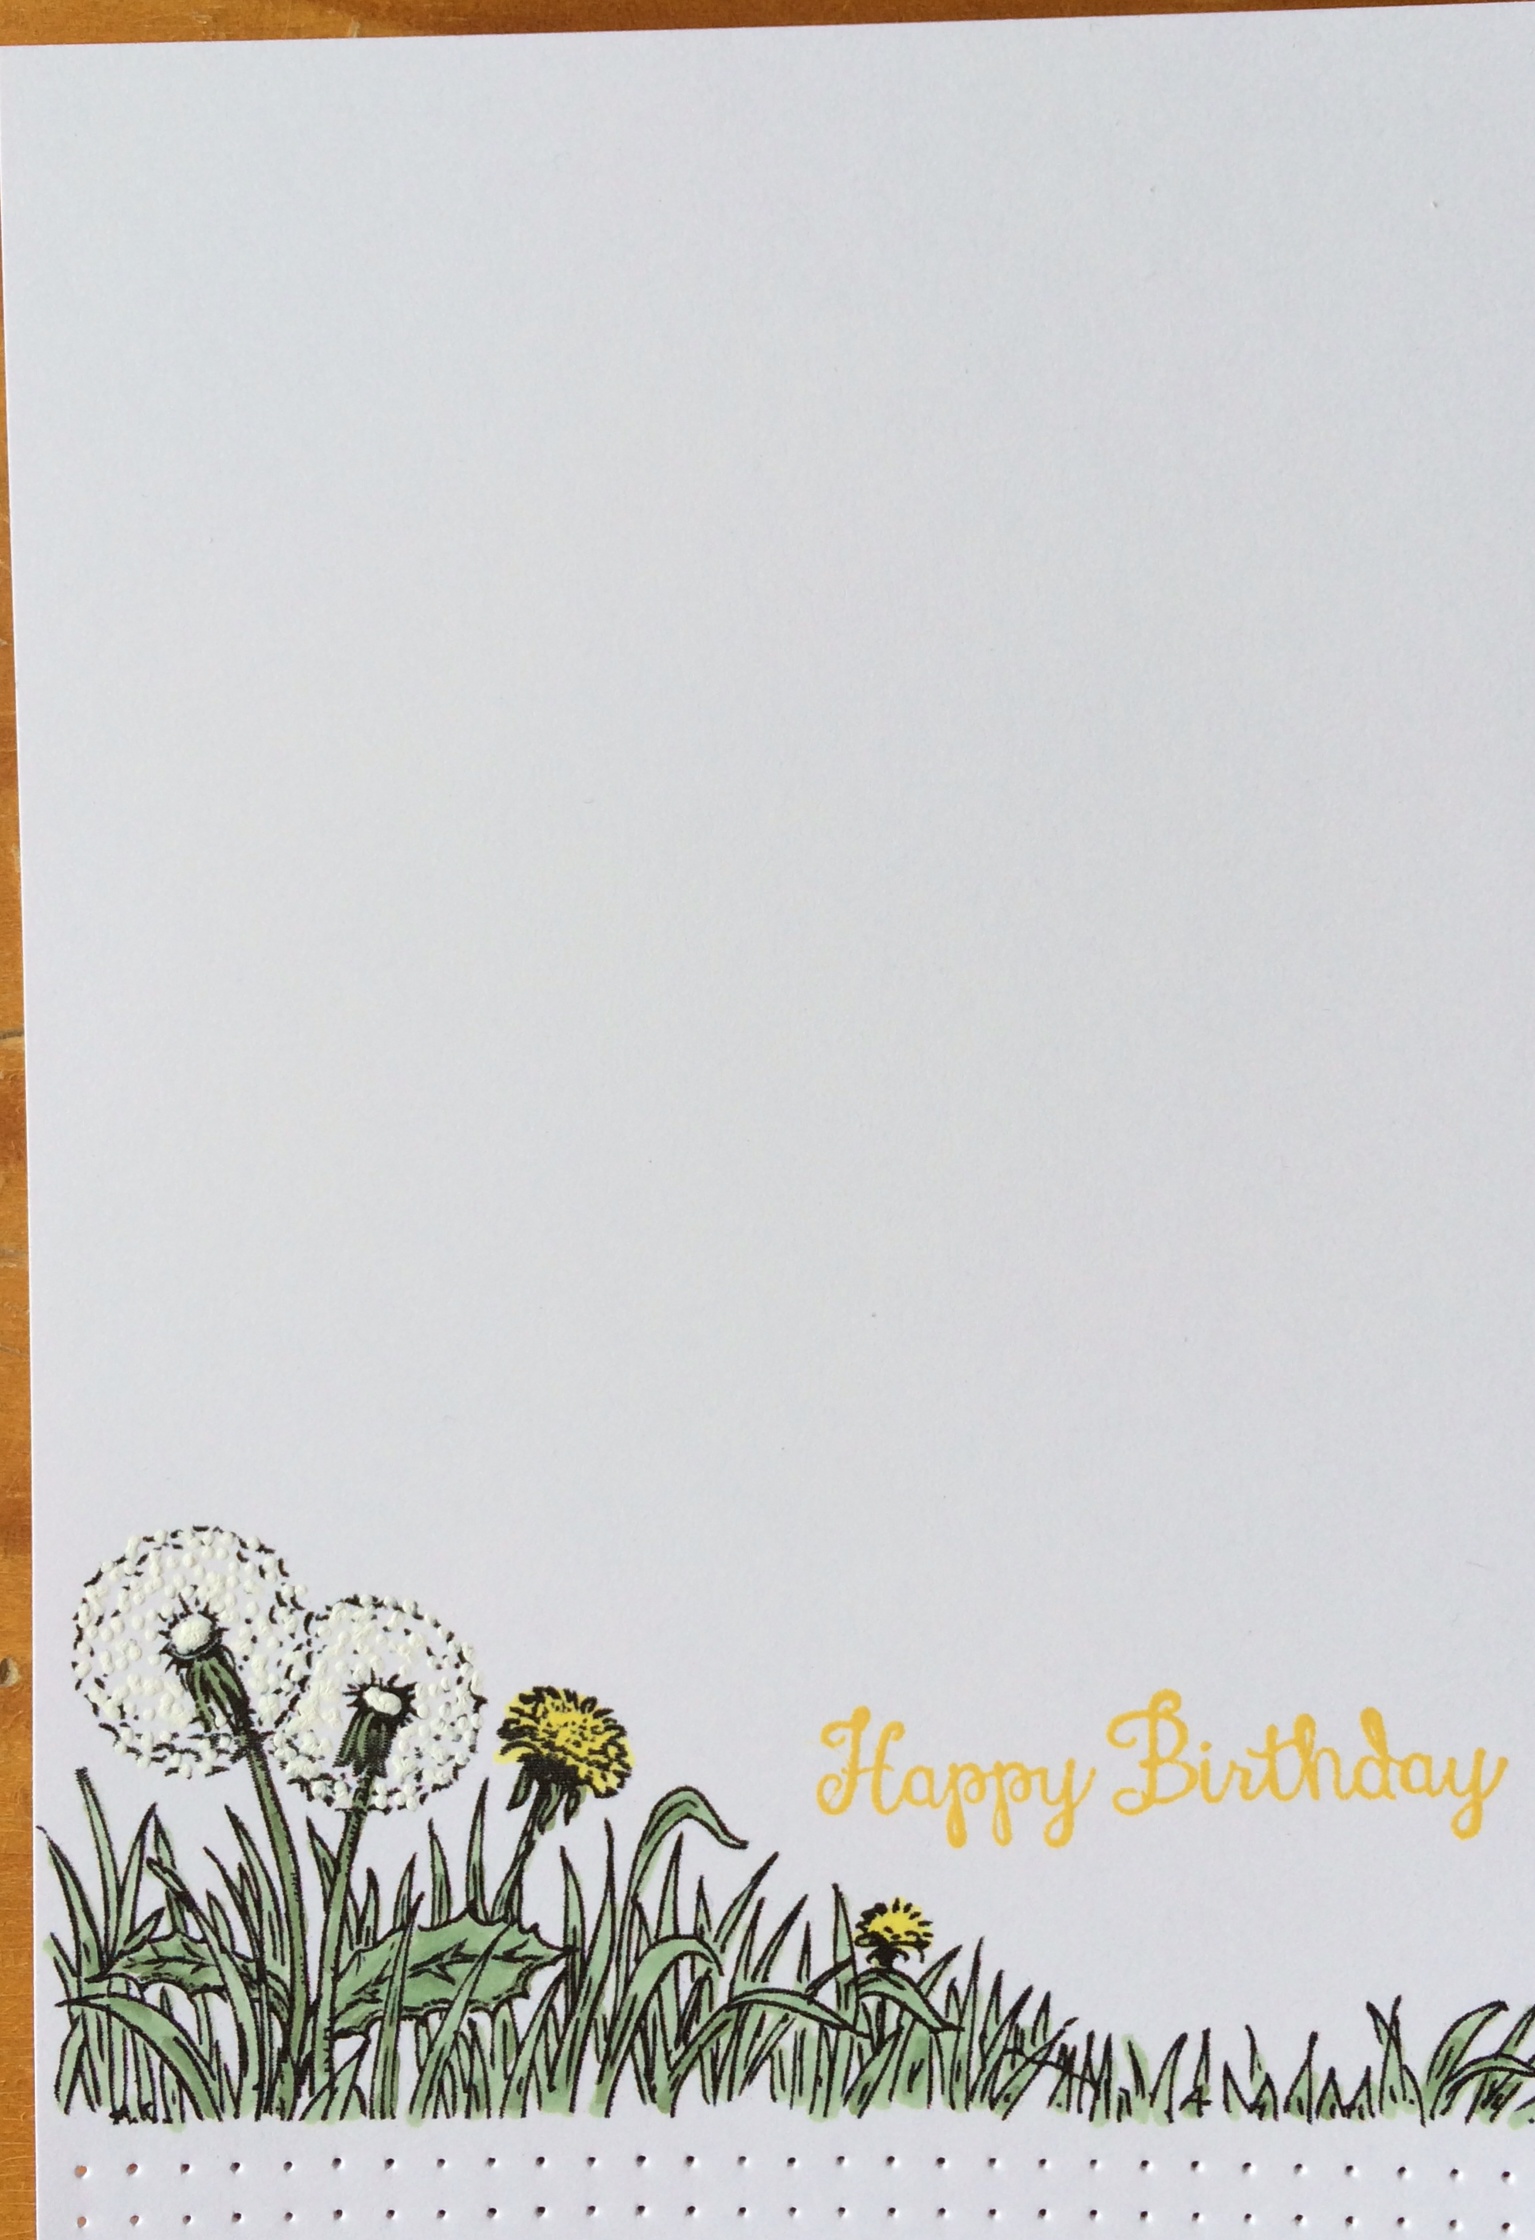
Next comes a sentiment. I have used a bright yellow ink for mine, and I do hope that you are able to be a bit more accurate than me, and manage to get yours straight! (It will teach me a lesson for not using a stamp positioner!!)

Then I have added a few embellishments for some added interest. Firstly, some lines of paper piercing along the bottom.

Then some flags using some scraps of patterned paper, with a cute little birdy clip. But you could use a button with some twine, or even some stitching along the top.

And last but not least, layer it over some bright yellow cardstock, and there you have it! If you are a bit of a perfectionist, you could always re-stamp your sentiment onto a piece of scrap white cardstock, punch it out and adhere.

These cards have been made as an entry for the Make It Crafty CAS Design Team call:

I hope you will have a go at making some Clean and Simple (CAS) cards, they can be scary with all that wide open space, but actually they are lots of fun!
Happy stamping!
Chris


