You may have seen my blog post from yesterday where I mentioned having taken part in a Stampin’ Up! Demonstrator only event, where we made projects using the Translucent Florals Bundle (currently only available to demonstrators who took part in the event).
Today I am sharing the second project we were given to make. I didn’t put together the first card in this series, preferring the stepped up version, and even then I made my own adjustments.
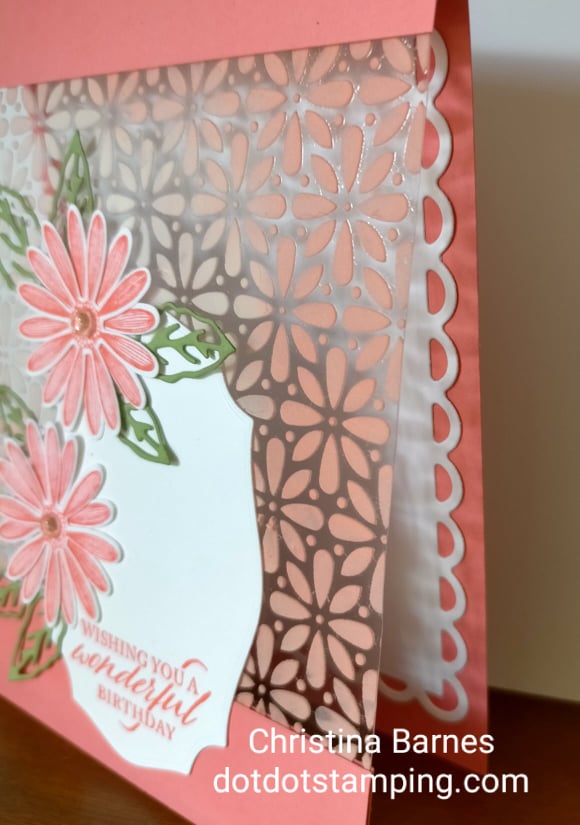
A mask was made using some of the leaf dies from bundle, and this was used to add texture paste to the card base. However, before applying the texture paste, I lightly sponged some Gray Granite ink directly to the cardbase, and using the same coloured Stampin’ Write marker, outlined the edge of the sponged leaves and added some veins.
The sentiment is stamped in Copper Clay, with a tiny strip of Copper Clay cardstock along the bottom edge of the sentiment. And because I really liked the Copper Clay with these colours, I have added some of the In Color Dots.
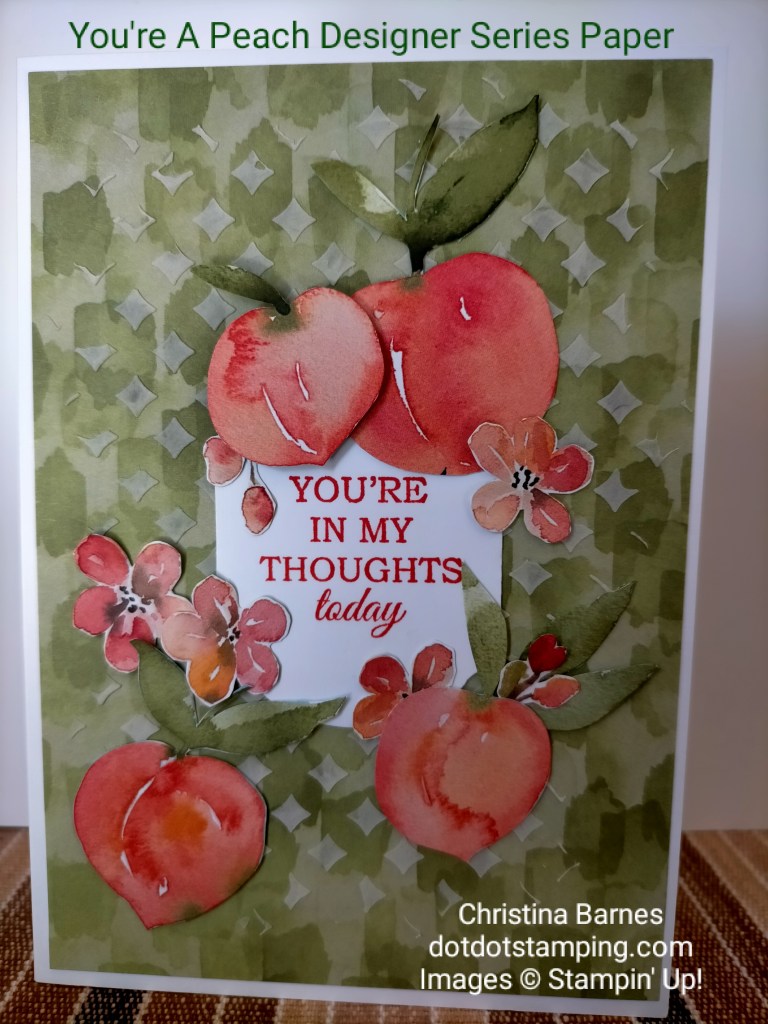
And here is my alternative idea for this project.
For this card I have added a white layer (cut with the Deckled Rectangle Dies) over the Gray Granite cardbase, which gives it a brighter look, and had an odd shaped scrap of Garden Green cardstock which I have cut down and added behind the white to the top corner.
Again, I have sponged some leaves, this time in Garden Green ink, before adding the green die cut leaves over the top.
As you can see, we had a lot of fun at our Creativity Now Demonstrator event. You can take part in these events too, there is a wonderful opportunity this month to join at a great price with a lot of extras, so all you need to do is to take the plunge and make the most of that opportunity. You won’t regret it.
Reach out to me if you would like to chat more about it. (Australian residents only, please).
Happy stamping!
Chris

Use your device to scan the QR Code below.

 |  |  |  |  |
Links by TheseAreMyStamps.com