Two different cards…

from one design.  I have used a very simple layout today, and made two completely different cards, just to show you how you can do it too.  The first card uses some lovely male colours, including one of my new favourites Soft Suede.  I have run the layer of Soft Suede cardstock through the Big Shot using a non-Stampin’ Up! embossing folder, but I thought this one really suited the image I wanted to use for it.  The image is from the Seaside stamp set and is also stamped using Soft Suede ink.

The second card uses a retired DSP which I am trying to use up 🙂 and thought I would get a start on some Christmas cards.  I have used the Season of Joy Stamp Set for this one.

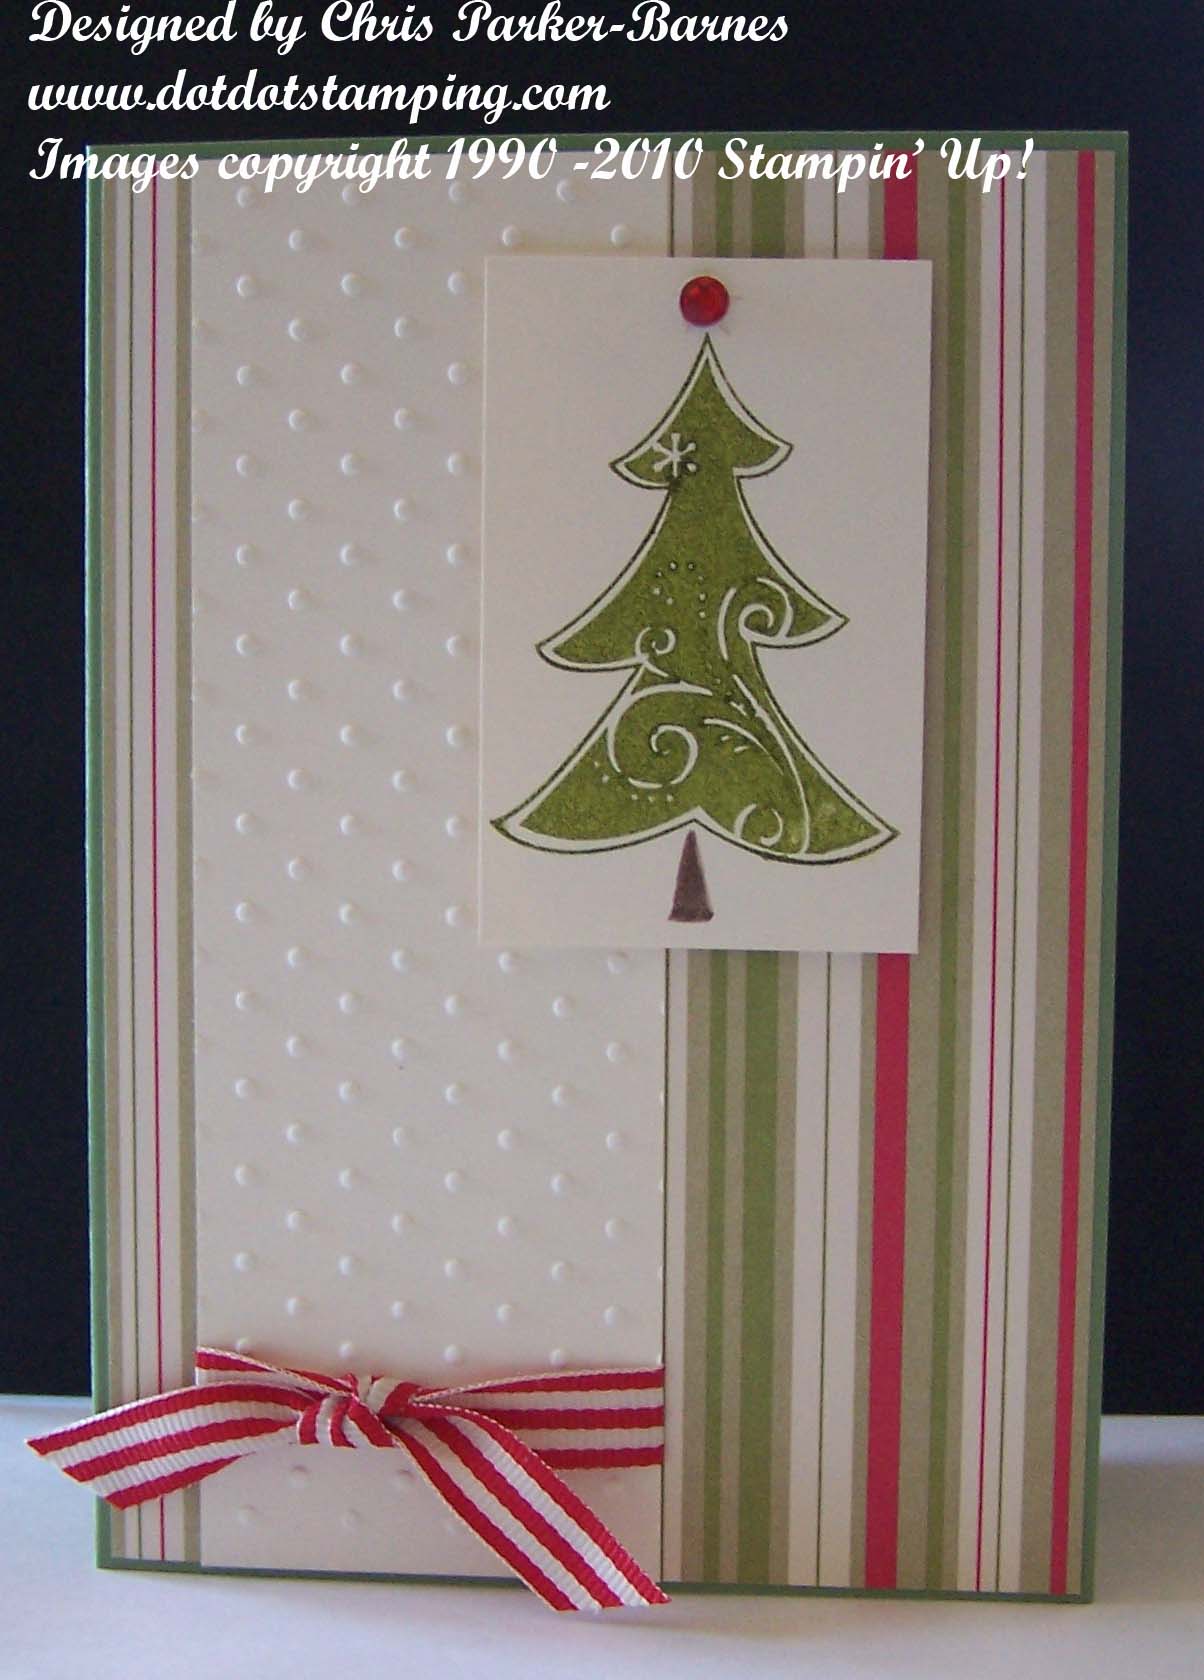
So have a go, give this nice easy but effective layout a try using something you have at home.  If you don’t have a Big Shot, use some patterned paper, or a stamped background.  And just find an image from one of your stamp sets and a colour combination that you like, or even try something different.
And just a little hint, there will be some lovely new embossing folders available from Stampin’ Up! very soon! 🙂
Happy Stamping. 
Chris

Shaving Cream Fun! :)

No, shaving cream is not just for shaving!  And if you weren’t here for the class last night, you missed out on heaps of fun!

We used the shaving cream technique to colour some white cardstock to give a watery look, to use as the background for our cards, and here is the end result.

Stamp Sets: Seaside, On Your Birthday.

Cardstock: Baja Breeze, Whisper White.

Inks: Sahara Sand, Black Stazon, and Baja Breeze and Kiwi Kiss Reinkers.

Accessories: Shaving Cream, Cork, paper snips, dimensionals.

All you need to do, to make these unique and unusual backgrounds is:
Spray shaving cream into a tray (a clean meat tray or container lid is ideal) and make sure there is enough to cover the bottom of the tray.
Smooth it out then put some random drops of ink colour from some reinkers.  Use a paddle pop stick or equivalent to create swirls of colour in whatever form you choose.
Lay a piece of cardstock over the shaving cream and push down so that it is covering the cardstock.  Lift the cardstock out and place, shaving cream side down onto another piece of cardstock and again push down to “sandwich some of the shaving cream out.  This creates two pieces of cardstock which will probably be quite different.
Wipe all of the shaving cream off the card using some paper towel and you should be left with two pieces of cardstock with interesting patterns and smelling very nice!  Leave aside to dry.

So don’t miss out on the fun, come along to some of my classes and you just never know what we might be playing with next!

Keep stampin,

Chris