Hi and welcome back to another Sketch Saturday challenge. Here is the new sketch for our inspiration, a lovely sketch that you could do so much with, or keep very simple.
The only issue I had with this sketch was deciding which of the many ideas I would use for my Design Team card for today.
I have used a piece of the Perennial Lavender Designer Series Paper over some Crumb Cake cardstock for the background, and I have lightly inked the edges of the DSP with some Crumb Cake ink, just to take away the white of the cut edge. And I have done the same with the layer of Melon Mambo paper which comes from the Countryside Rose Designer Series Paper, a paper which was only available to Stampin’ Up! Demonstrators but I loved the colour of it behind these flowers. The flowers and leaves come from the Fully Flowering Ephemera Pack, so are already cut and coloured for you.
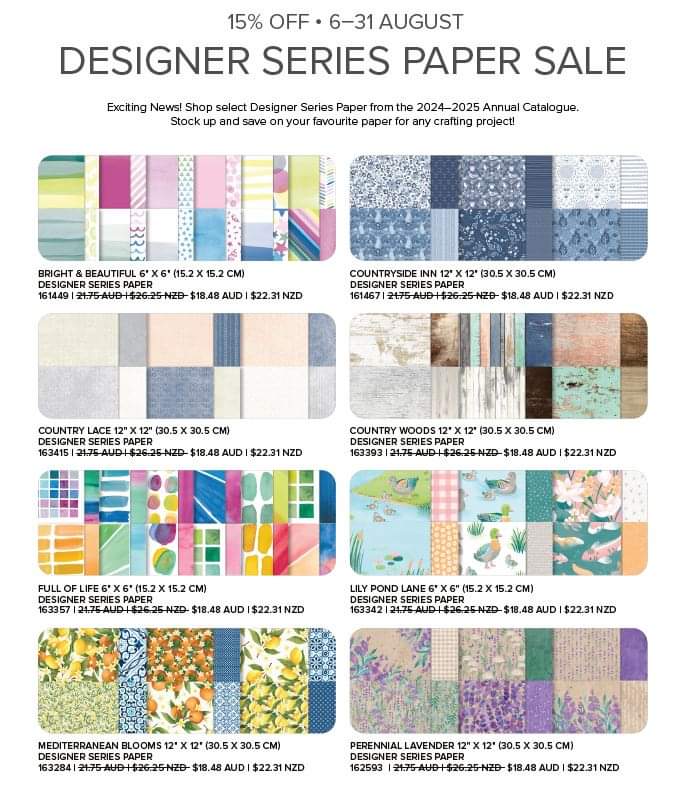
Thanks for stopping by today, and I hope you will share your projects with us at Sketch Saturday. Happy Stamping, and don’t forget the sale on Designer Series Papers which has only a few days left, and you can make the most of by clicking here.
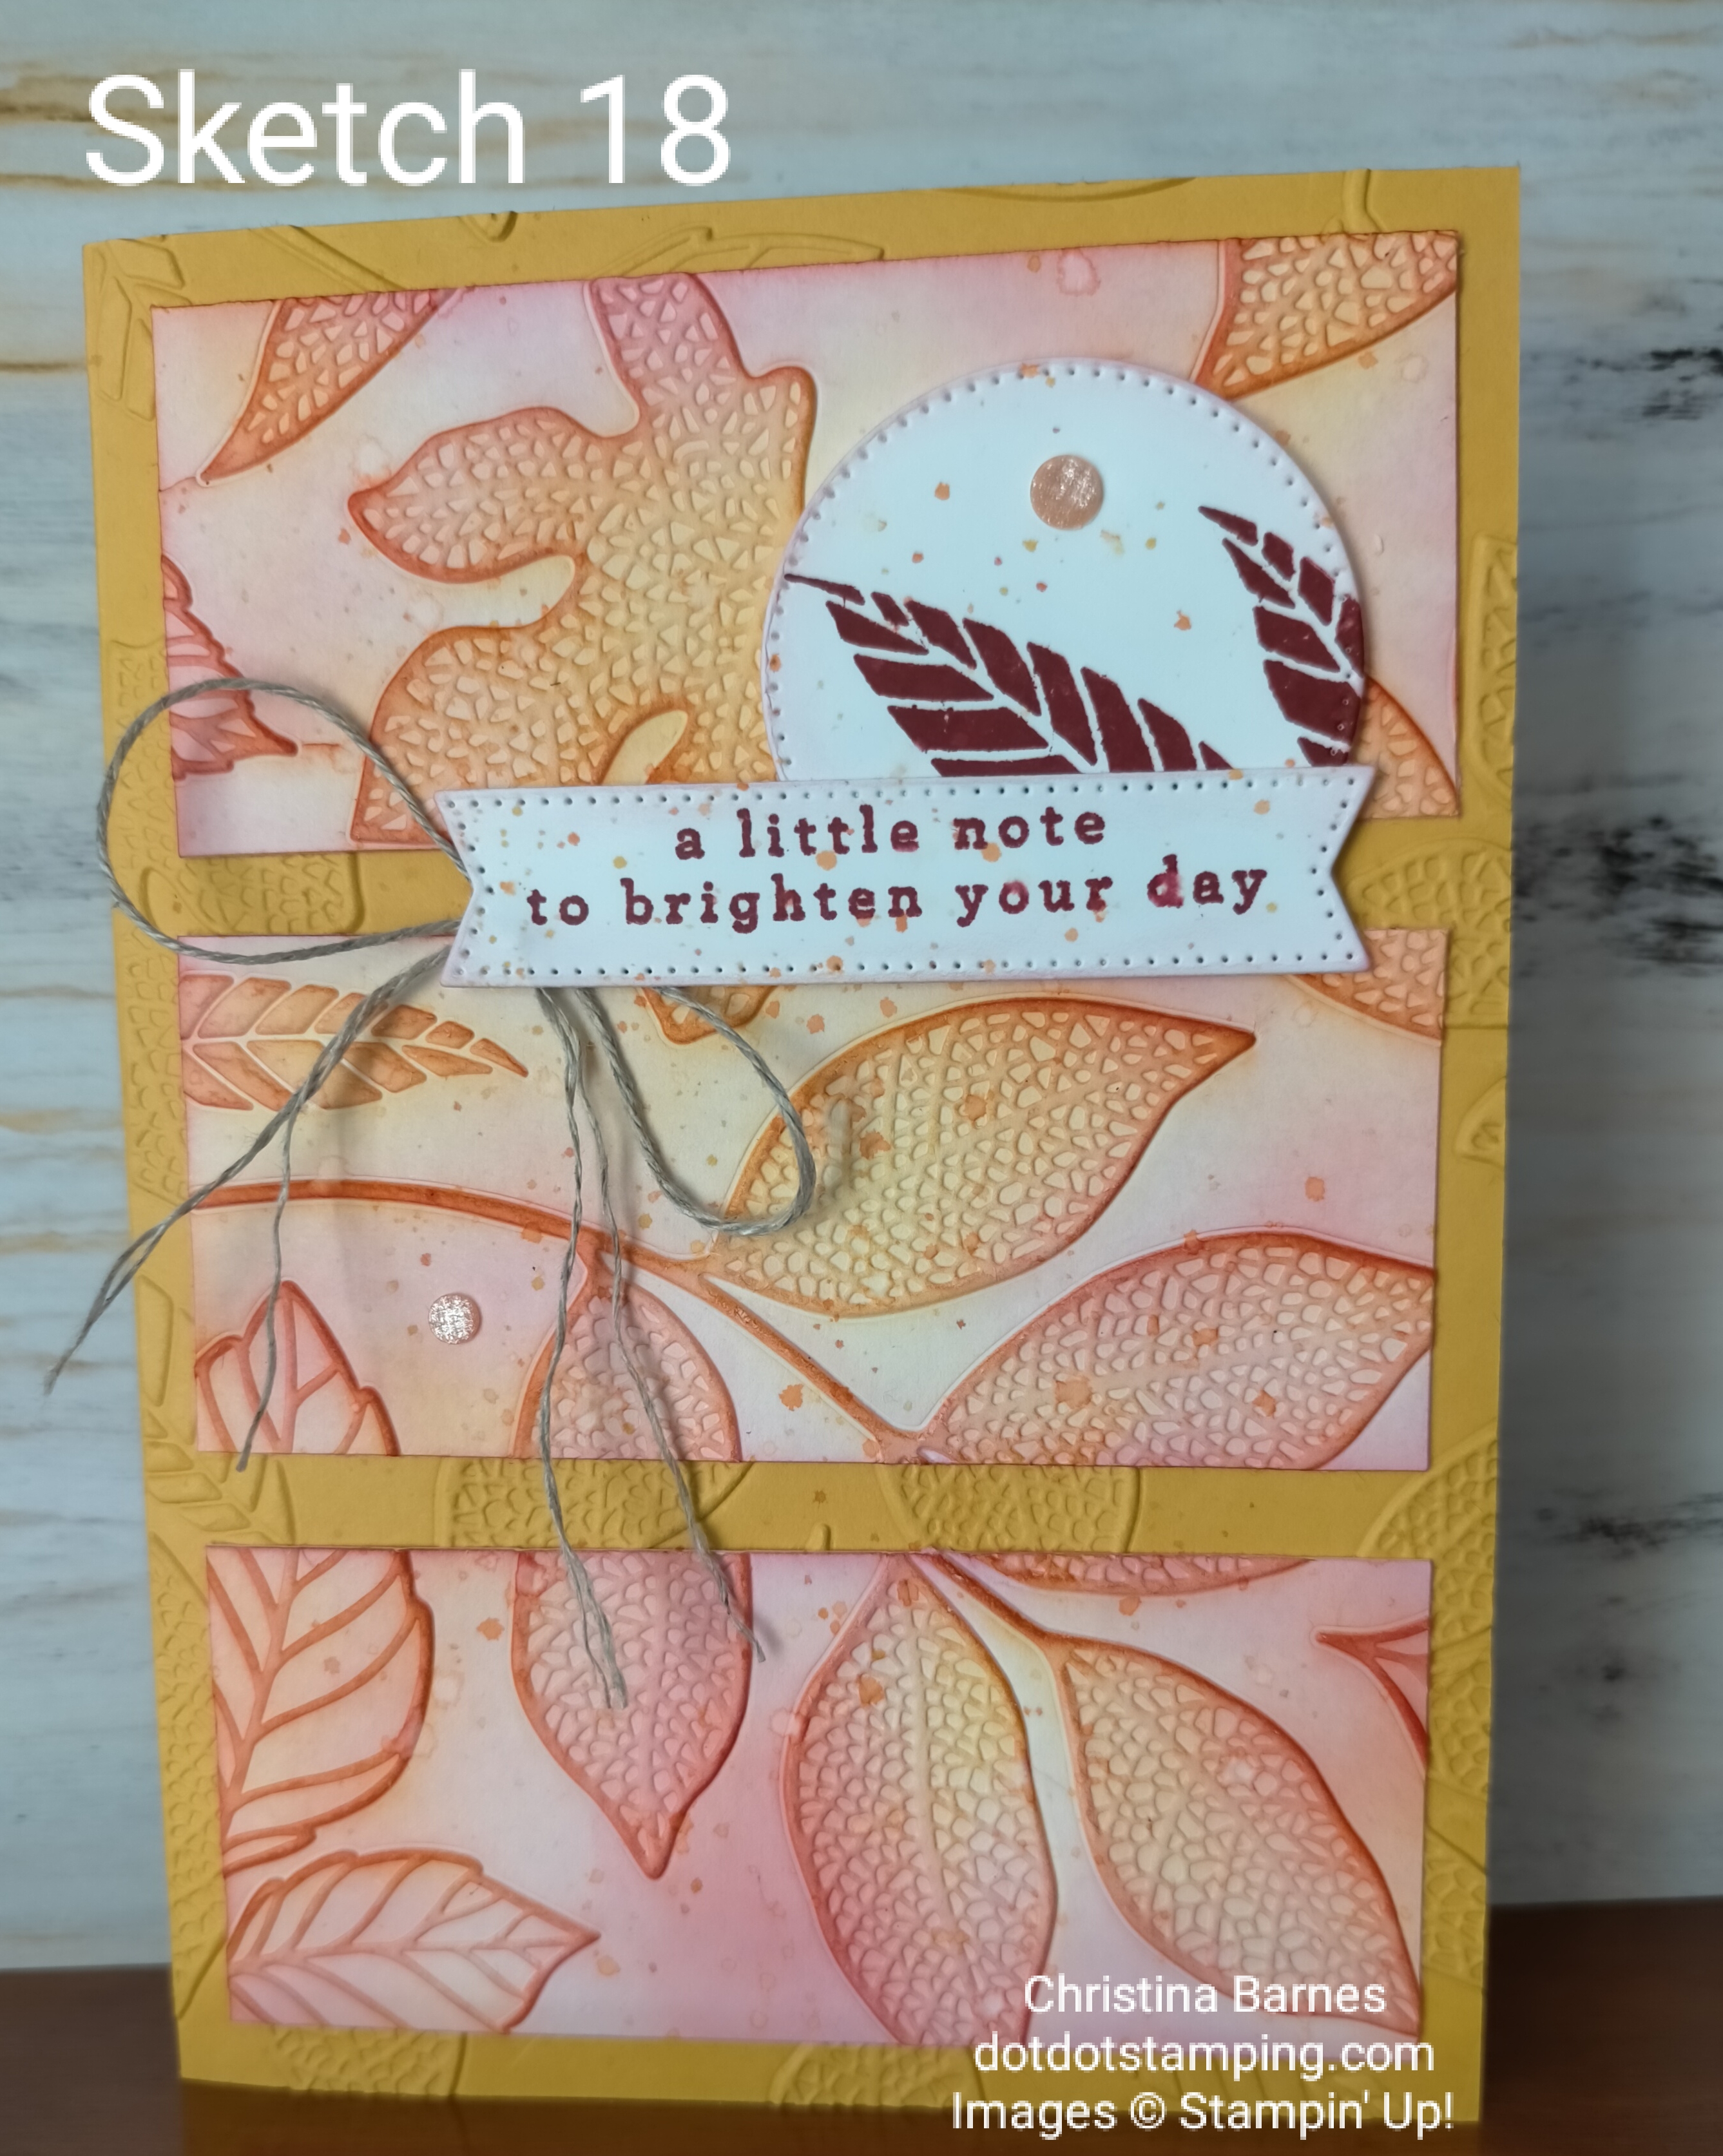
Hi and welcome back to my inspirational journey using the sketches from the Annual Catalogue. Today we are up to Sketch 18 so only four more to go after today.
My card features the Changing Leaves bundle which I am loving, despite it being nearly spring here in Australia. There’s something timeless about the images of leaves that I really love to use on cards.
The cardbase is Crushed Curry Cardstock, which I have put through the Changing Leaves Embossing Folder, with just half of the card in the folder so that the back is still plain. The card base is my usual size – 21cm x 14.5cm, which is then scored at 10.5cm on the long side and folded, so when it’s folded, your card front will be 10.5cm x 14.5cm. The next layer of Basic white cardstock is 13.5cm x 9.5cm, again run through the Changing Leaves Embossing Folder and then cut into three sections. Each section measures 9.5cm x 4cm. I have then used blending brushes to add colour to the panels using Crushed Curry ink, Pumpkin Pie ink, Real Red ink and Cherry Cobbler ink. The panels were then evenly placed on the card based and adhered down. I have cut a circle and sentiment panel from the Stylish Shapes Dies, stamped the sentiment and leaves in Cherry Cobbler ink before popping them down with some Dimensionals. I have used the Water Painter with Pumpkin Pie and then Crushed Curry ink, and splattered some colours across the card, before adding some Linen Thread to finish the card off.
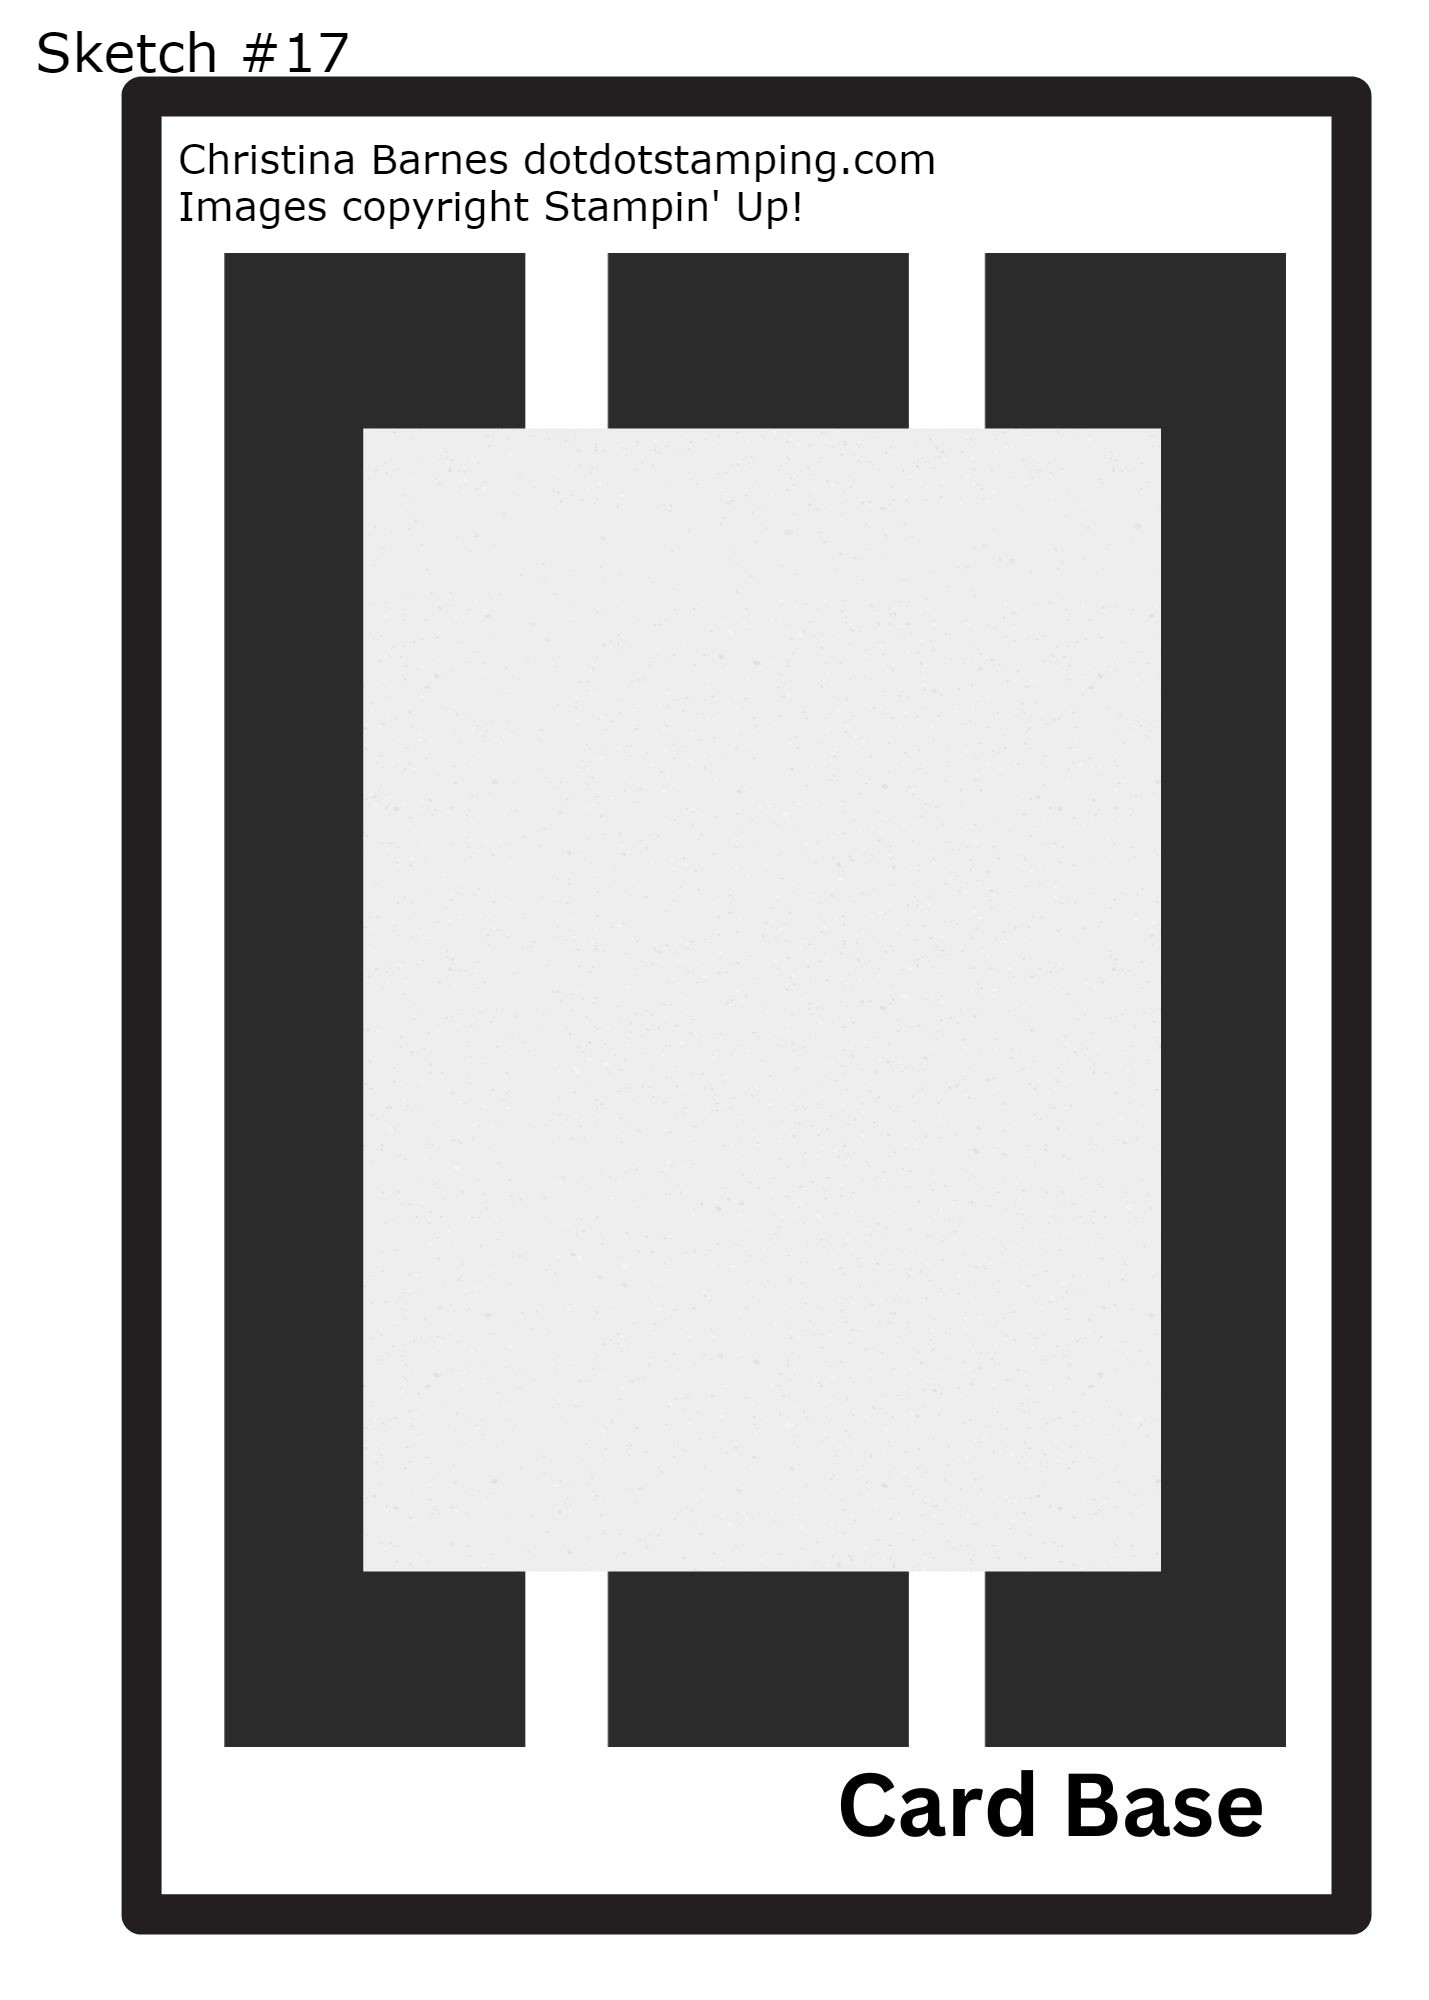
Hi and welcome back to day 17 of my sketch challenge. My card today uses the 17th Sketch from the Stampin’ Up! Annual Catalogue and is my card for this month’s challenge at Craftin Round The World. Here is sketch number 17 from Page 22 of the catalogue. If you would like to find Day 1 of the sketch challenge for the month of August, just click here.
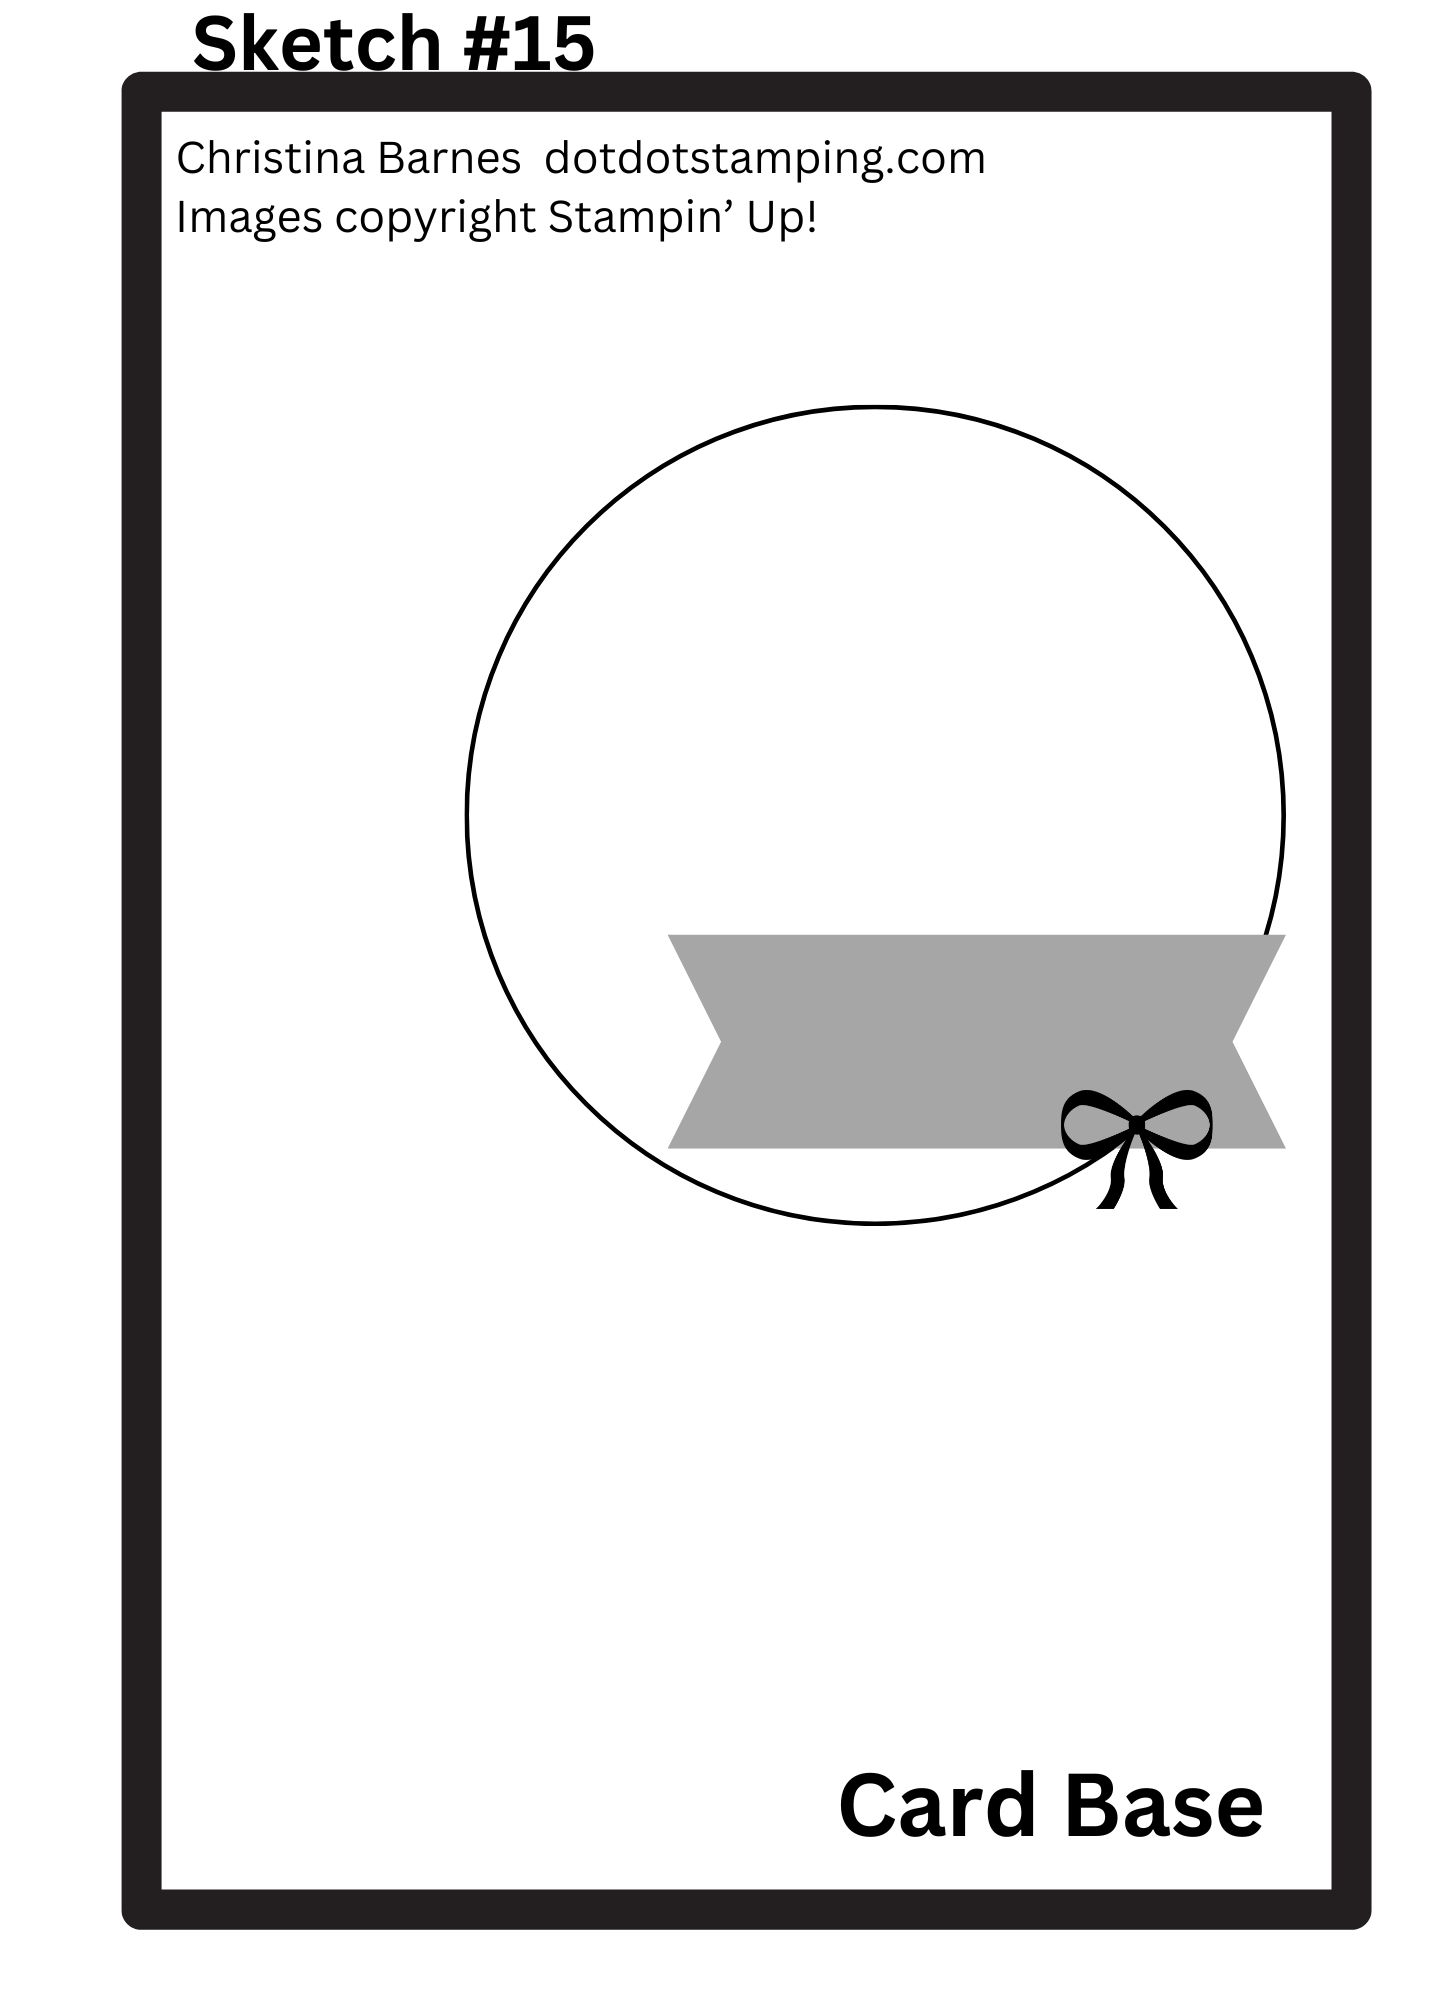
Welcome back. Today is day 15 of inspiration using the sketches on Page 22 of the Annual Catalogue.
I done heaps of colouring on my card today. The images have all been stamped in Black Memento ink and then coloured using Stampin’ Blends to create a base colour, with Watercolour Pencils used over the top of the Stampin’ Blends to add some depth of colour.
I have a cardbase of Thick White Cardstock (21cm x 14.5cm, which is then scored at 10.5cm on the long side and folded, so when it’s folded, your card front will be 10.5cm x 14.5cm. The next layer of patterned paper is 14cm x 10cm), with a layer of Country Woods Designer Series Paper over the top (10.5cm x 14.5cm). The large circle is die cut from the Spotlight on Nature Dies, and the images all from the Country Flowers Bundle.
That’s all from me today, I have been offered some casual work, so I need to get organised for that. Hope you have a crafty day. Happy stamping, Chris
The measurements are as follows: the cardbase is The card base is 21cm x 14.5cm, which is then scored at 10.5cm on the long side and folded, so when it’s folded, your card front will be 10.5cm x 14.5cm. The next layer of patterned paper is 14cm x 10cm. Then a layer of Pretty Peacock cardstock to frame the top layer, and is 7.5cm x 10cm. The top layer of patterned paper is 7cm x 9.5cm. I have taken a strip of Basic White cardstock from my stash of scraps, and stamped the sentiment in Pretty Peacock ink. The sentiment comes from the Country Flowers stamp set.
And that’s it. Sometimes it fun to create a really quick card, and Designer Series Papers can make it easy to do so. And don’t forget the sale on Designer Series Papers for the rest of August, which you can find here in my online store. Happy stamping Chris
Welcome back to the Annual Catalogue sketches, today we are on Sketch number 13.
My card today is an ocean scene which I am not entirely happy with, but that happens. Even those of us who are demonstrators and do a lot of papercrafting make things that we are not happy with. Anyone else make cards they want to throw in the bin sometimes?
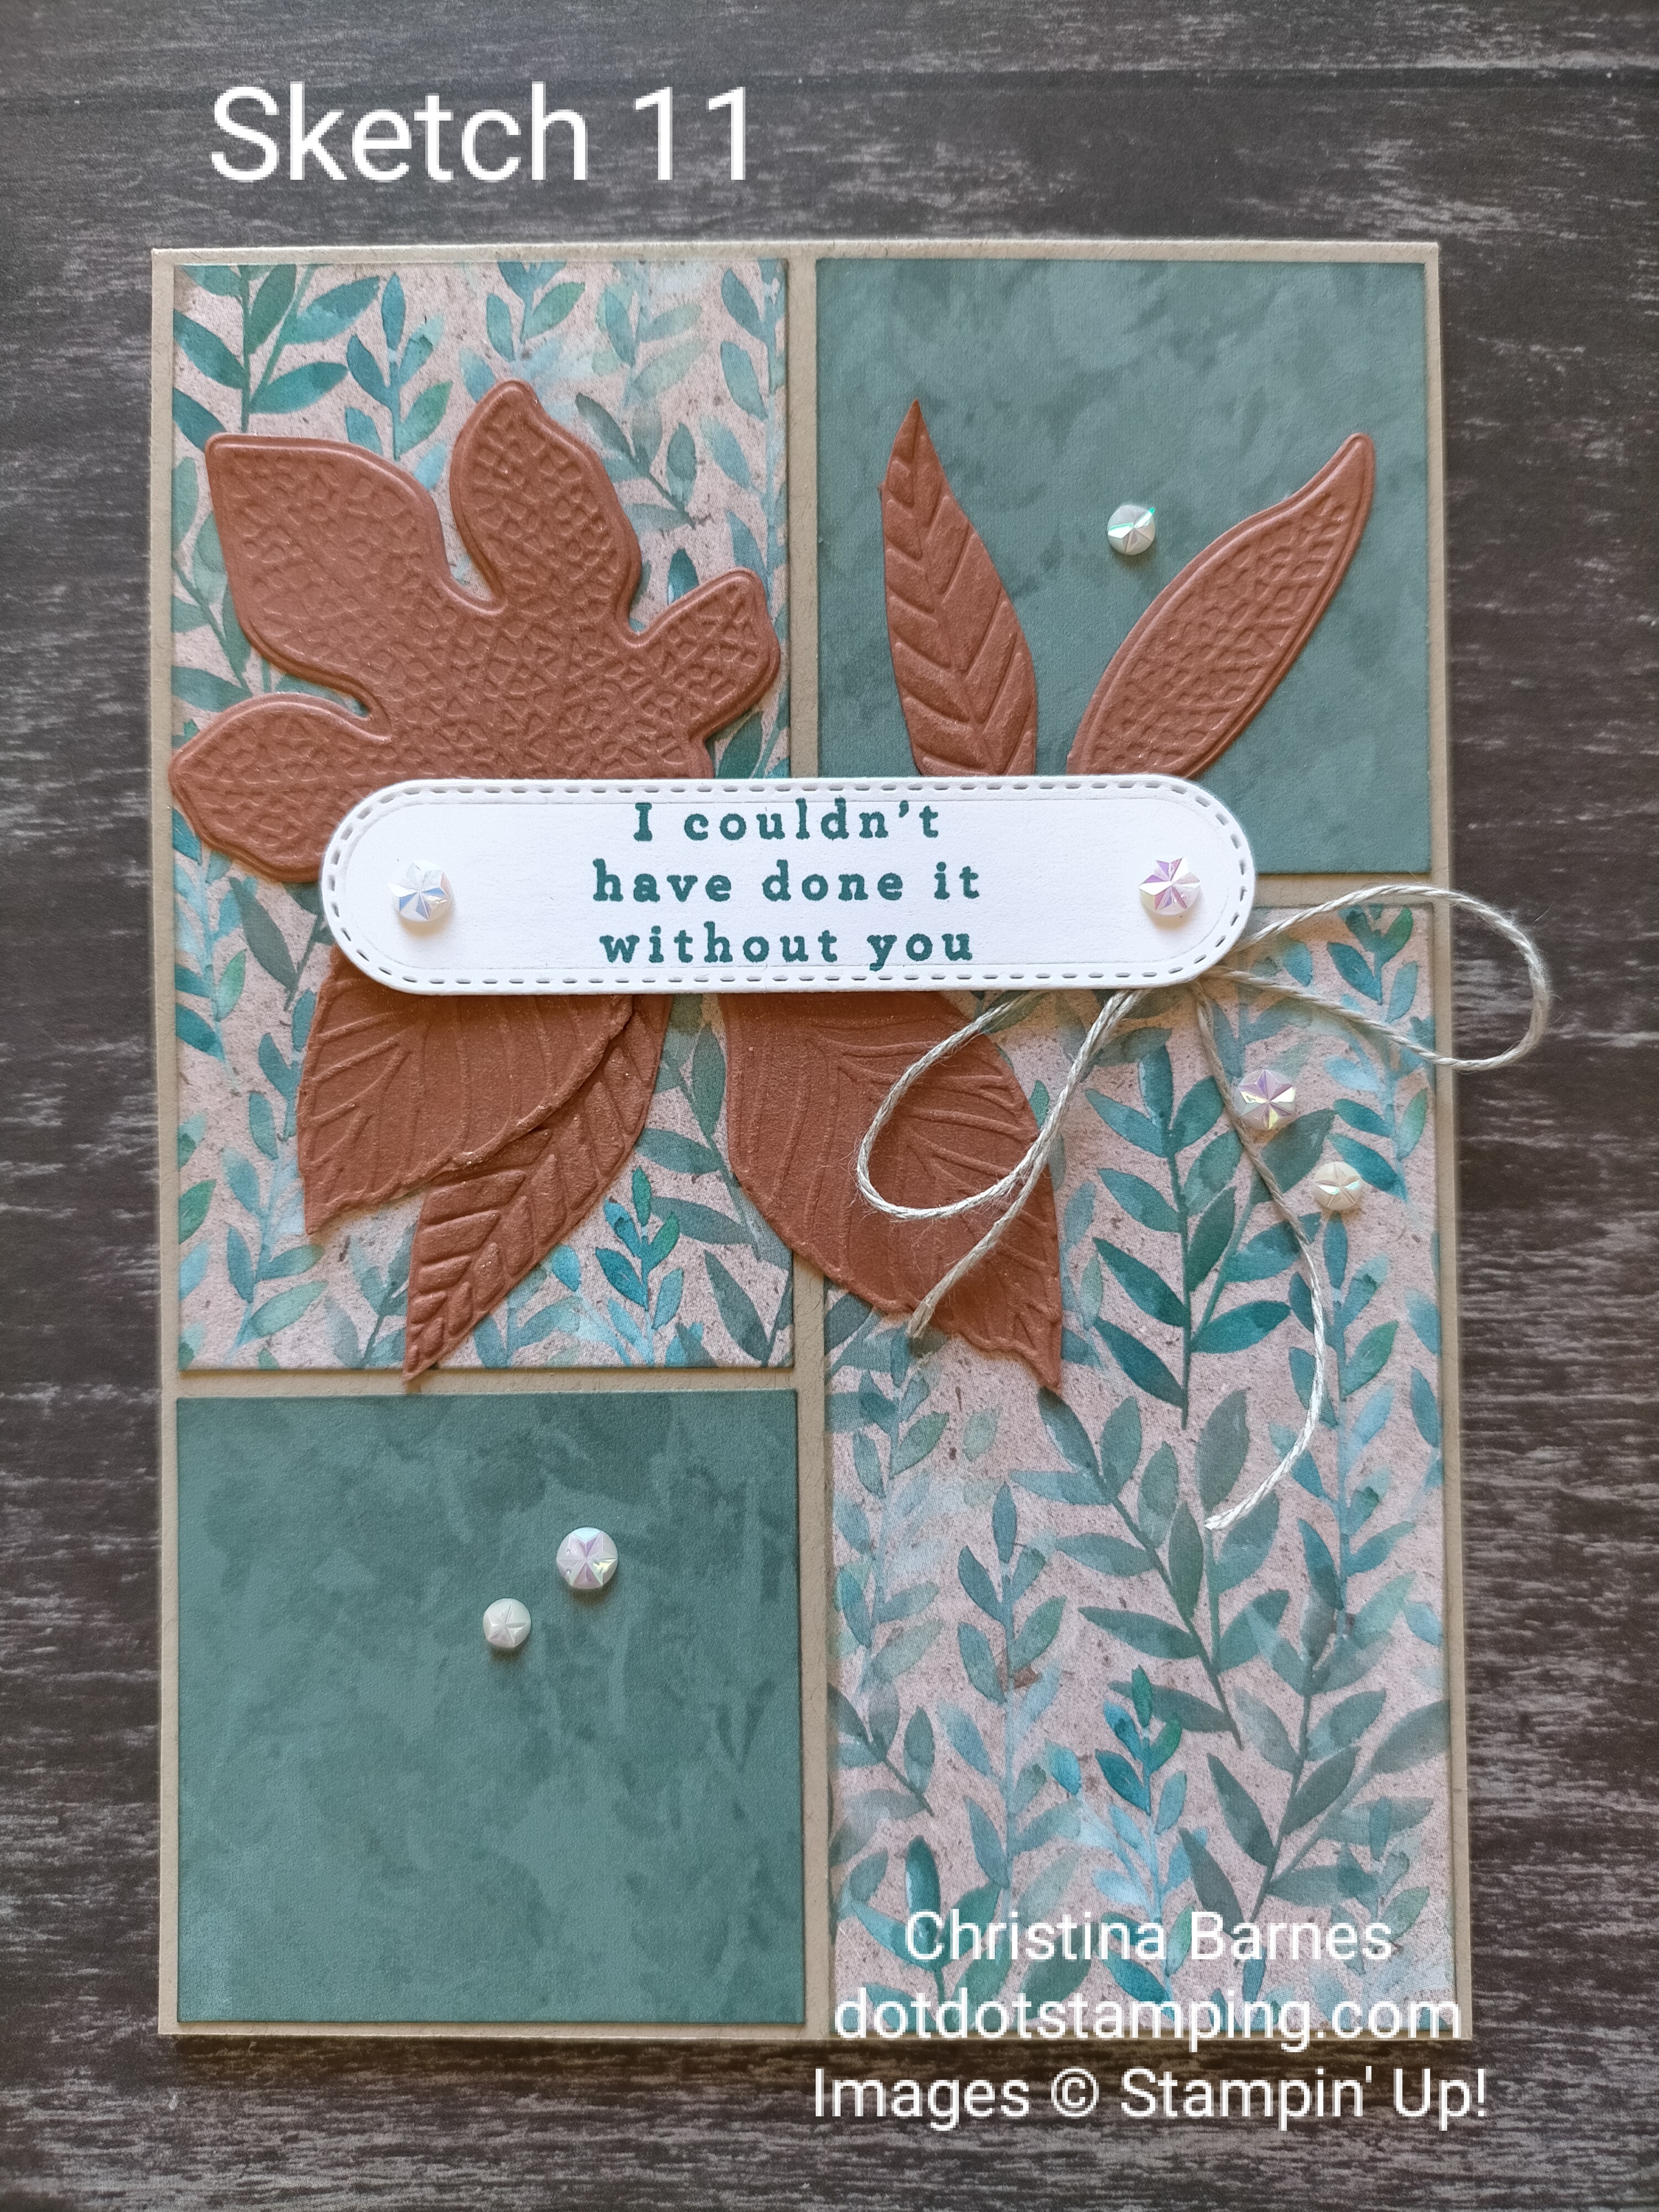
Welcome back to the Stampin’ Up! Annual catalogue Sketch inspiration, we are halfway at Sketch #11.
I do apologise, I haven’t done a very good job with putting this sketch onto Canva, and it doesn’t quite work here because the background is white and I don’t think I can change. You will see what I have done with the cards though, and it will all make sense. I hope.
Both cards use Crumb Cake cardstock for the card base (21cm x 14.5cm, which is then scored at 10.5cm on the long side and folded, so when it’s folded, your card front will be 10.5cm x 14.5cm), and the layer of Perennial Lavender Designer Series Paper is cut at 14cm x 10cm. I have then cut the DSP down the centre (lengthwise) at 5cm, then taken each of those strips and cut a 5cm x 5cm square off either the top or the bottom. Those smaller squares are then turned over so that you see the reverse side pattern. All of the DSP pieces have been sponged around the edges using some Crumb Cake ink and a Sponge Dauber. For the first card above, I have then placed each piece of DSP so that the sides are pushed up against each other, leaving a larger amount of cardstock around the outside edge.
Hi and welcome back to the daily sketches from the Annual Catalogue, with Sketch 10.
I am in a purple mood today, and have used heaps of inks to create my background and focal layer.
The cardbase is the usual size (21cm x 14.5cm, which is then scored at 10.5cm on the long side and folded, so when it’s folded, your card front will be 10.5cm x 14.5cm) and today I have used some Highland Heather cardstock for the base. Over that is some Watercolour Paper which is 10cm x 14cm. I would normally use (and highly recommend) the Fluid 100 Watercolour Paper, it is the best I have ever used. However, I ran out, so had to use some that I already had in my stash. I used the Stampin’ Up! Glass Mat (fantastic tool, if you don’t have one already), sprayed some water directly onto with a Spritzer, then added some drops of Highland Heather ink, Fresh Freesia ink and Petal Pink ink, swirled the ink around in the water, added a bit more water, generally had a play with it until I was happy, and then laid two pieces of the Watercolour Paper directly into the inky mess! Once I was happy with the spread of colour, I dried it with a heat tool, distressed the edges with my Paper Snips Scissors, sponged some Highland Heather ink around the edges. Before applying the background layer to the cardbase with adhesive, I heat embossed the sentiment.
With the smaller piece of Watercolour Paper, I stamped the small flower from the Poised Peony stamp set using Versamark ink, sprinkled white Embossing Powder over it, and set with a Heat Tool. After distressing the edges and sponging with ink, I then used a Water Painter Brush to paint colour onto the flower – Lost Lagoon ink for the leaves, and some Highland Heather and Fresh Freesia for the flower. This smaller piece of Watercolour Paper is 5.5cm x 5.5cm, and the Basic White layer behind it is 6 x 6cm, and sponged with Highland Heather ink. Behind the focal image layer is another layer of cardstock, again in Highland Heather, measuring 5cm x 10cm, which I have cut at each end with Paper Snips to form the flag ends. Some Linen Thread and Purple Shimmer Gems finish the card off. Oh, and I almost forgot the splatters, which are done with the Water Painter with some Highland Heather ink on the brush, and I just knock the brush against a hard object such as a ruler or clear block, and the ink splatters – often in places you don’t want it!!
Hopefully I have inspired someone to try out a different layout for a card. Stay tuned for the next one. Happy stamping, Chris
Hi and welcome back. Today we have Sketch #8 from the Stampin’ Up! Annual Catalogue.
I apologise for the slightly wonky sketch, some of my rectangles didn’t quite line up. Still, you get the idea. I decided to keep this one really simple. Of course, it could be quite a complicated one if you choose, but mine is nice and easy today.
I have taken a piece of the Lily Pond Lane Designer Series Paper (which is currently on sale) and using a ruler and pencil, worked out the measurements to divide it into equal rectangles. I have a Basic Black card base in the standard size ( 21cm x 14.5cm, which is then scored at 10.5cm on the long side and folded, so when it’s folded, your card front will be 10.5cm x 14.5cm). The piece of Lily Pond Lane DSP is the standard size as a layer over the base – 10cm x 14cm. It was pretty tricky trying to work out exact meaurements for the lines, however they are approximately 3.3cm apart on the short side, and 4.7cm on the long side. I have used a Black Stampin’ Write Marker and ruler to draw the blace lines directly onto the DSP.
I have taken a piece of the Country Woods DSP, cut to 10cm x 14cm to lay over the top of my Crumb Cake card base (21cm x 14.5cm, which is then scored at 10.5cm on the long side and folded, so when it’s folded, your card front will be 10.5cm x 14.5cm). The rectangular elements have been die cut using the Nested Essentials Dies, and the circle from the Spotlight on Nature Dies. I have stamped the teapot image directly onto some of the Country Woods DSP, then cut using the die, before adding some shading using a Basic Grey Watercolour Pencil. The leaves were done in the same way and again coloured with Watercolour Pencils.
I found this sketch challenging for some reason, but so far I am enjoying creating using different layouts. I have a tendency to use the same or very similar layouts for my cards, so it’s a good challenge to be trying out some different ideas.
Don’t forget that Designer Series Papers are on sale at 15% off between now and the end of August, and you can order simply by going to my Online Store.