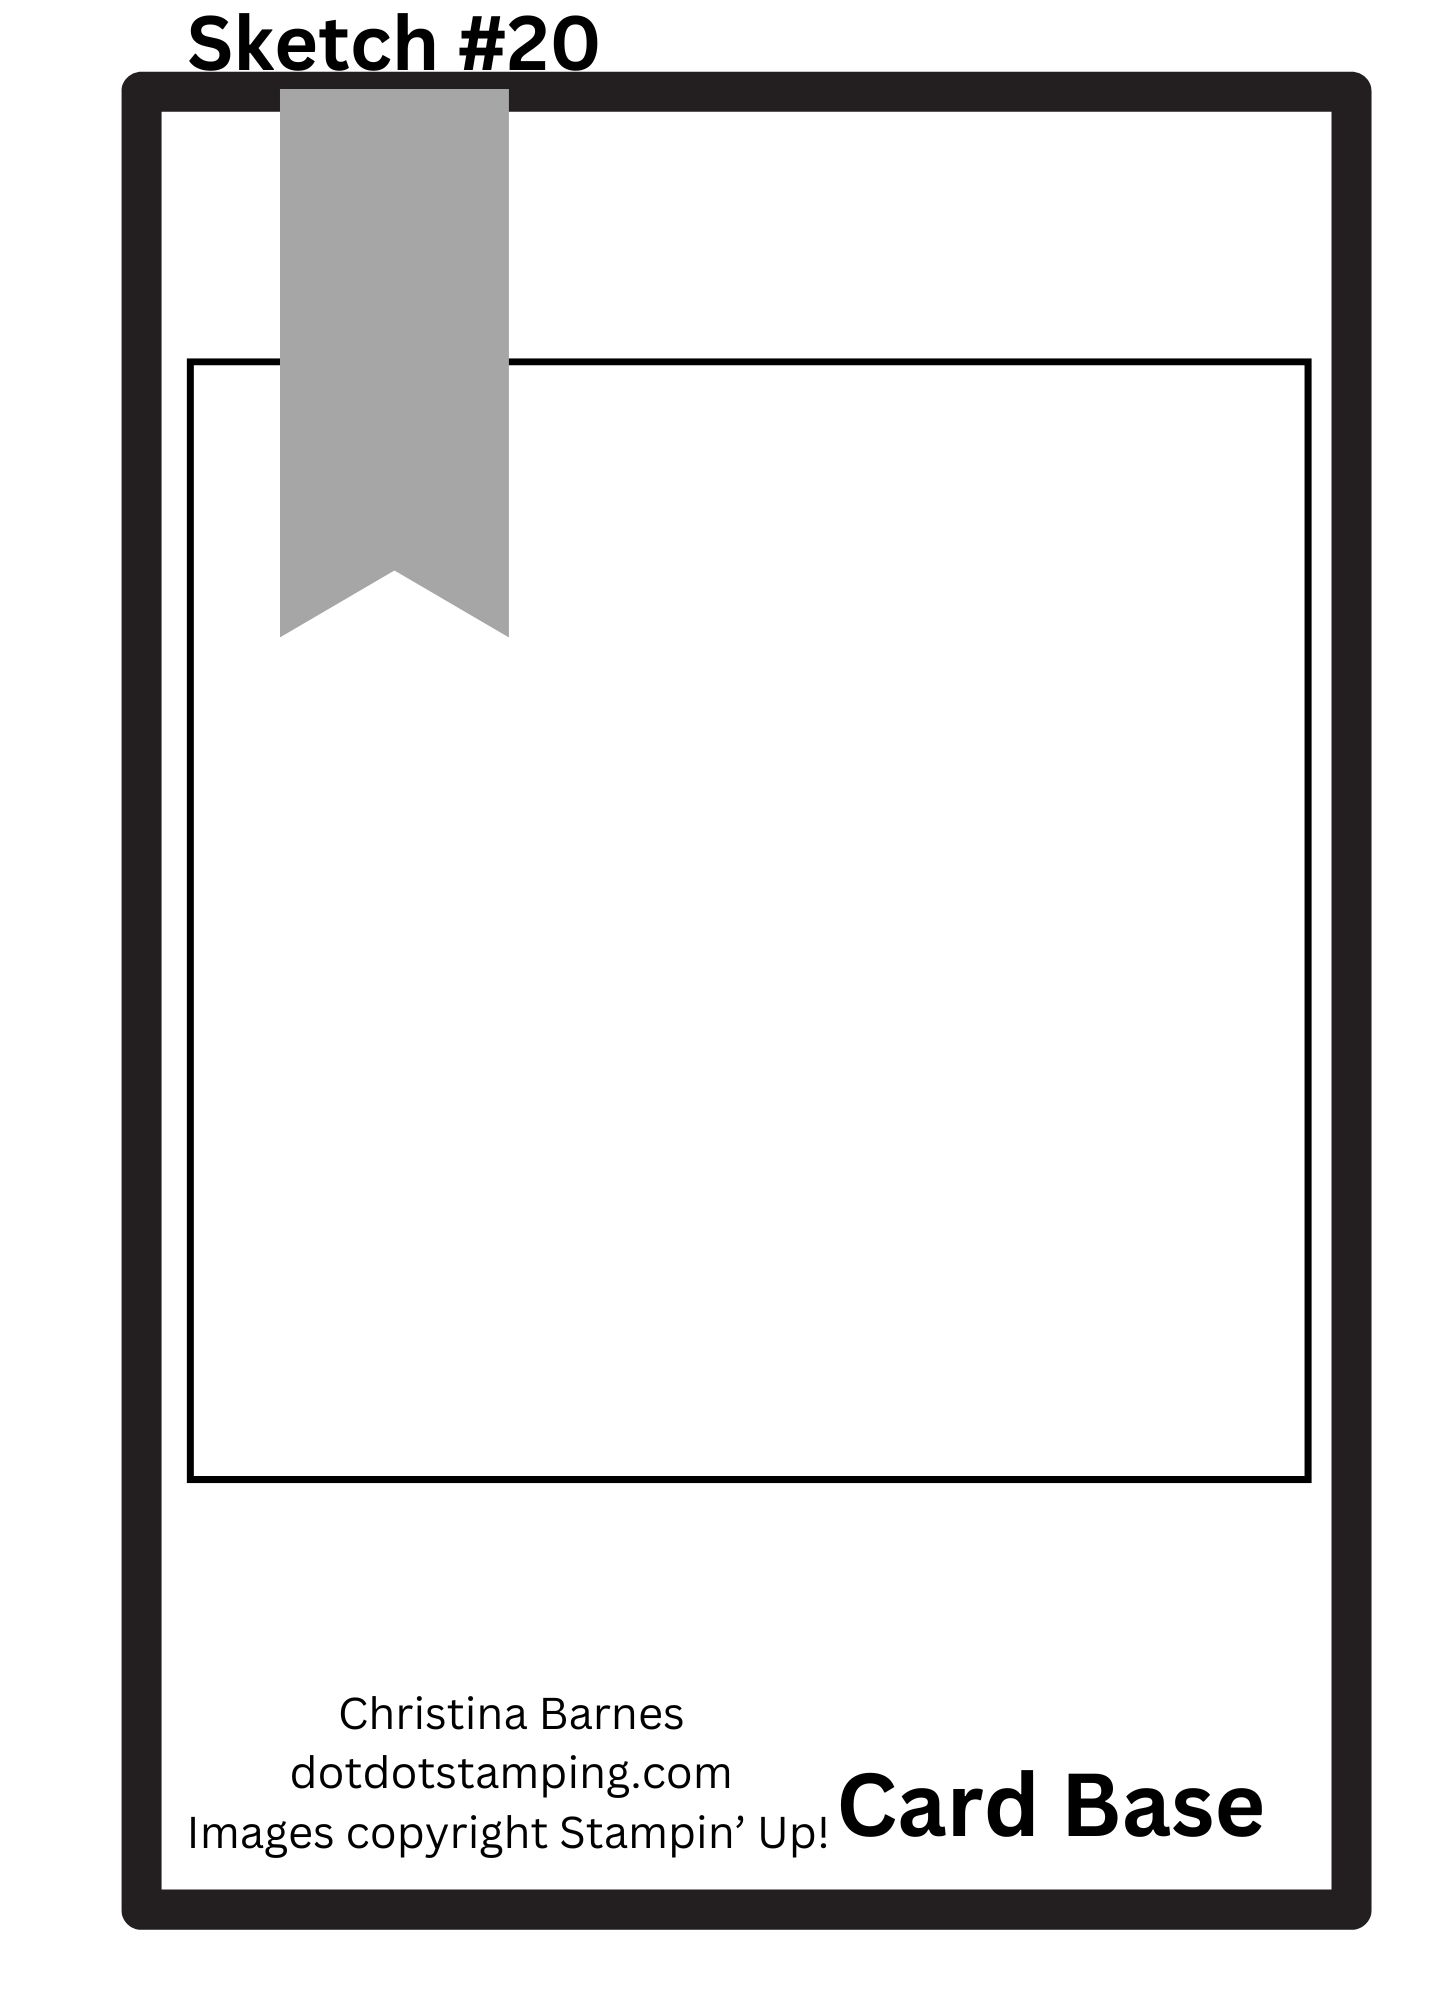
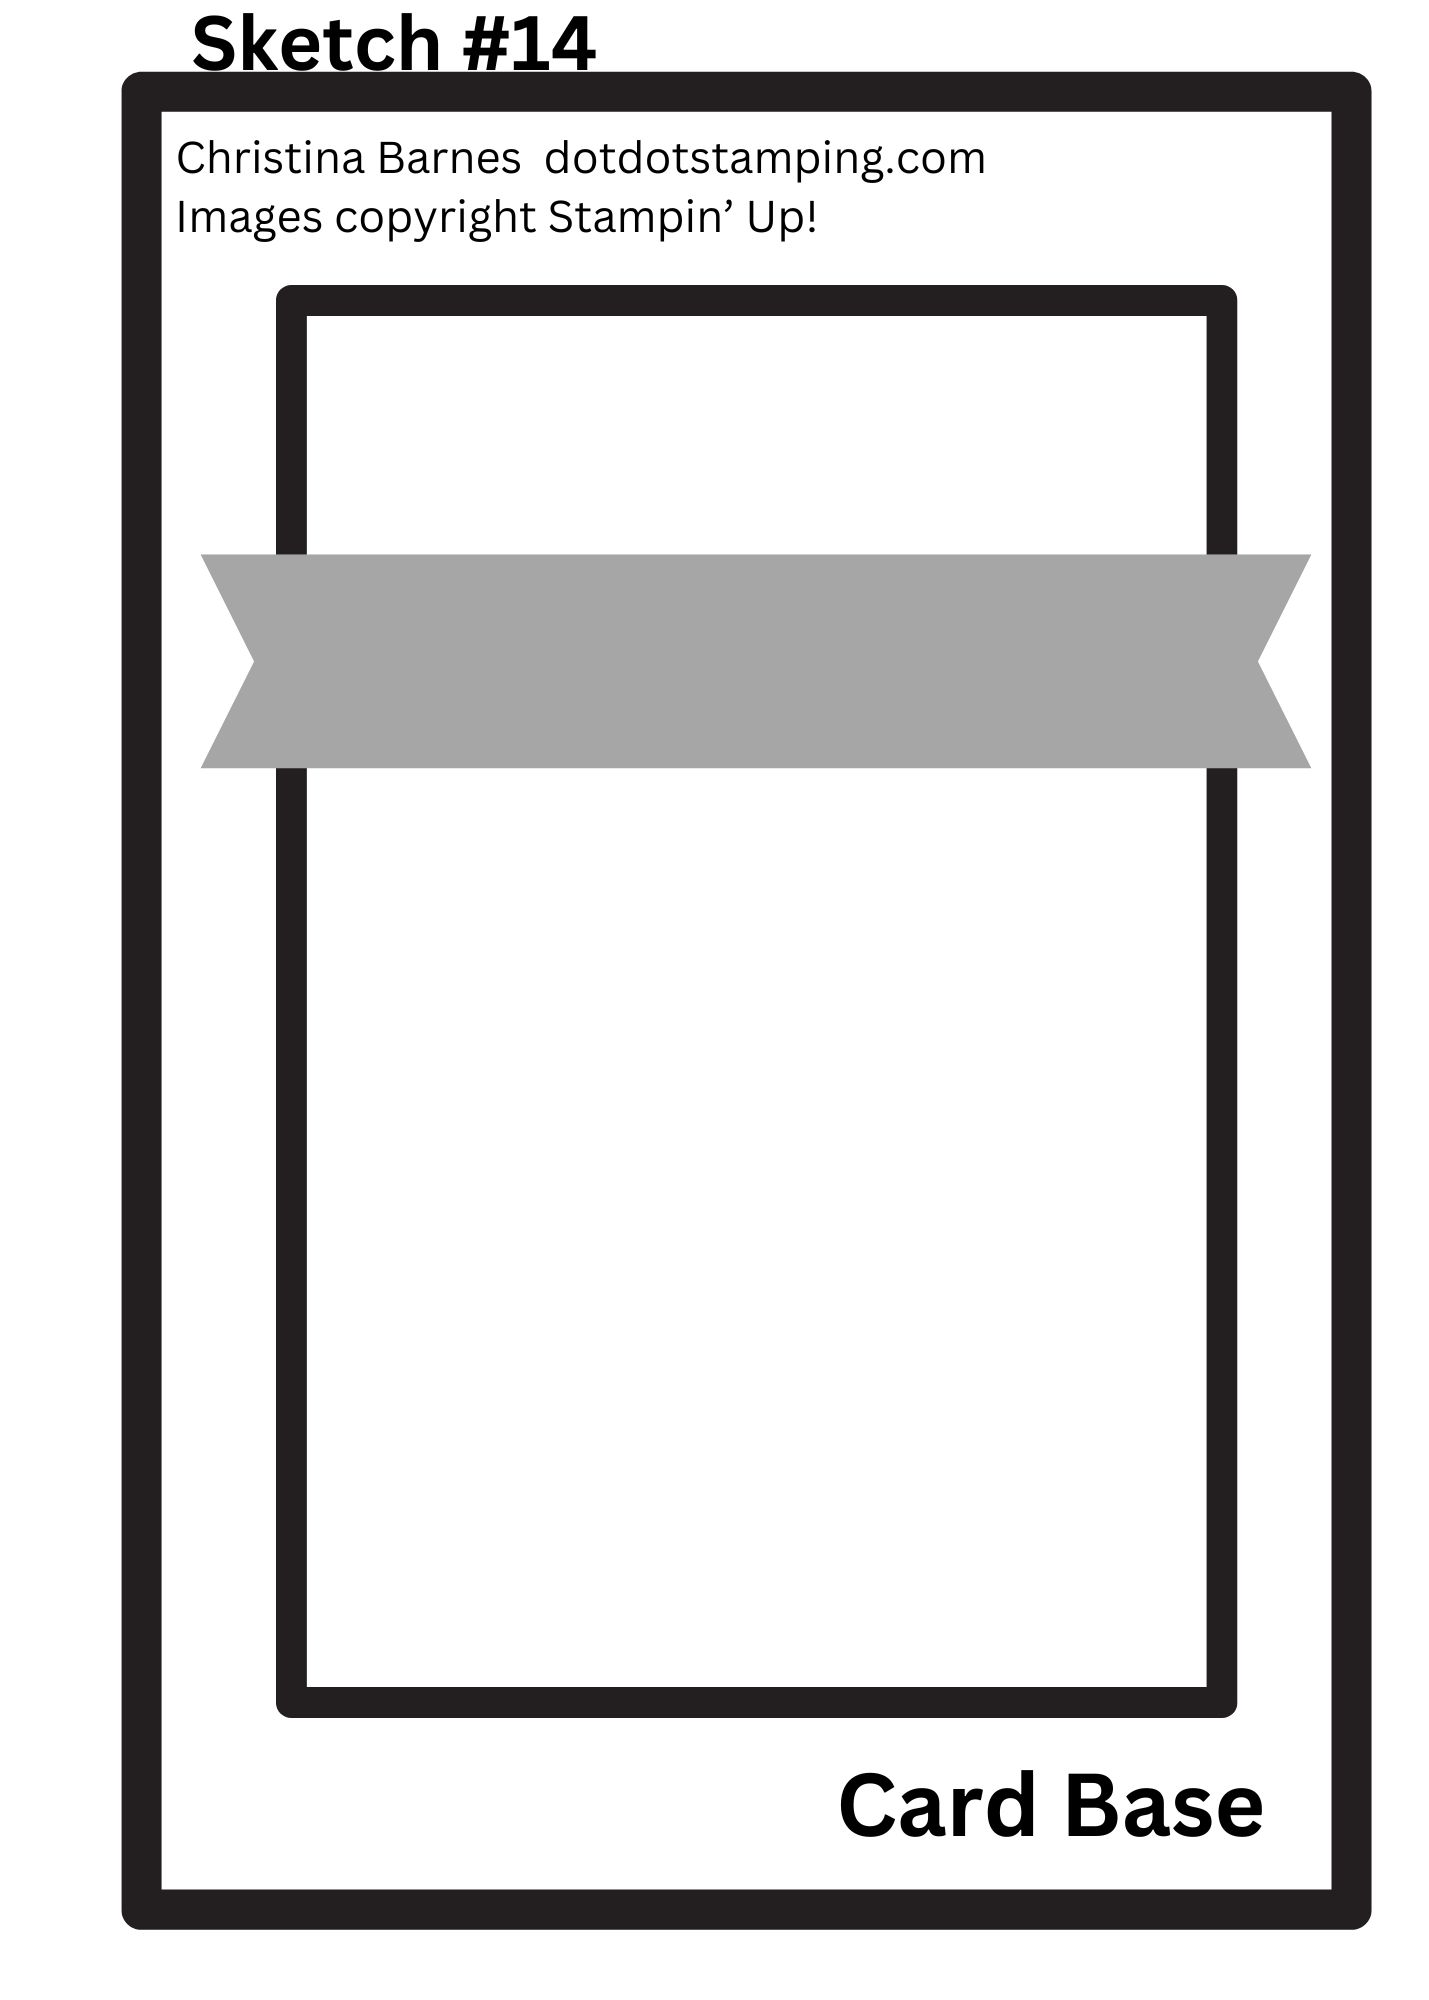
Hi again, and welcome to the second last of the sketches on page 22 of the Stampin’ Up! Annual Catalogue. Here is today’s sketch.

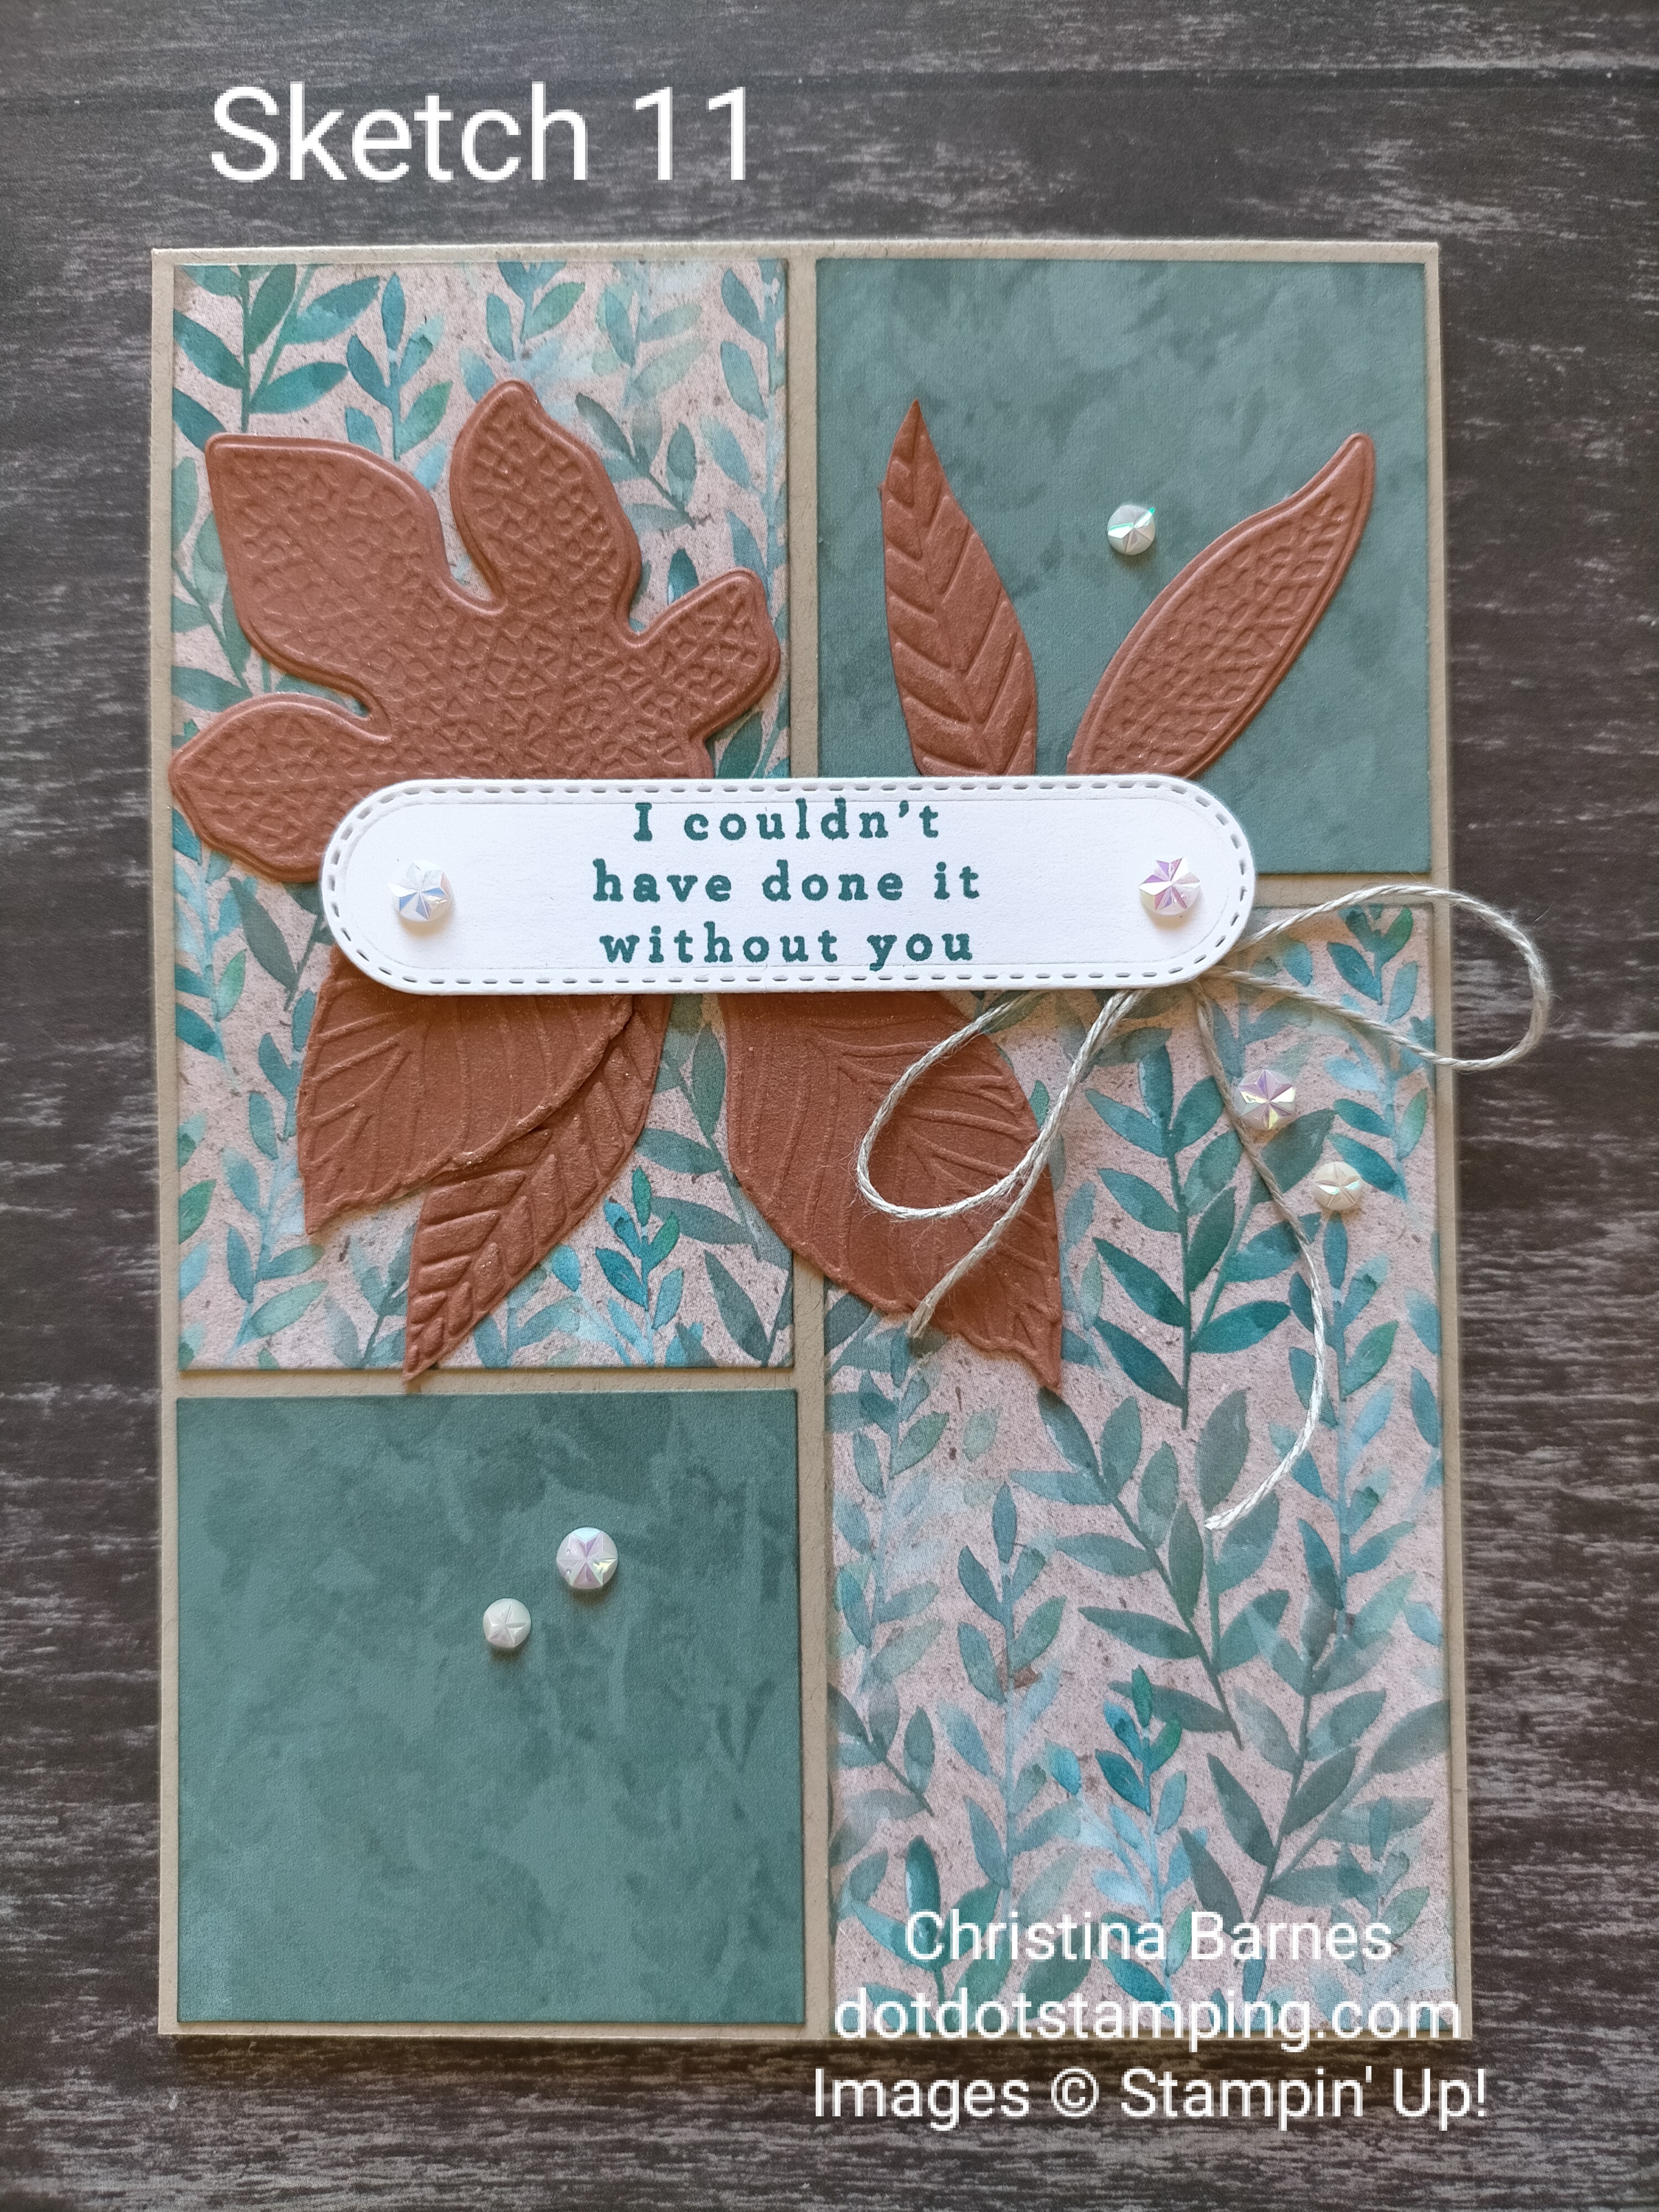
Instead of the circles, I have used some Zinnia’s from the Simply Zinnia Bundle, an Online Exclusive which is still available to purchase.

My cardbase today is some Early Espresso cardstock, with a layer of Crumb Cake cardstock over the top which has been run through the Stampin’ Cut and Emboss Machine with the Painted Texture Embossing Folder.
Behind the Zinnias is some of the Country Woods Designer Series Paper, which has been framed with another piece of Early Espresso Cardstock.
The Zinnias have been coloured using Watercolour Pencils in reds, orange and yellow, and then blended lightly using a Wink of Stella Glitter Brush, which also adds some glitter to the flowers.
Only one more of our sketch inspirational posts to go, I do hope you have all enjoyed seeing what I have done with each of the sketches. Please let me know your thoughts, I always enjoy receiving comments from you.
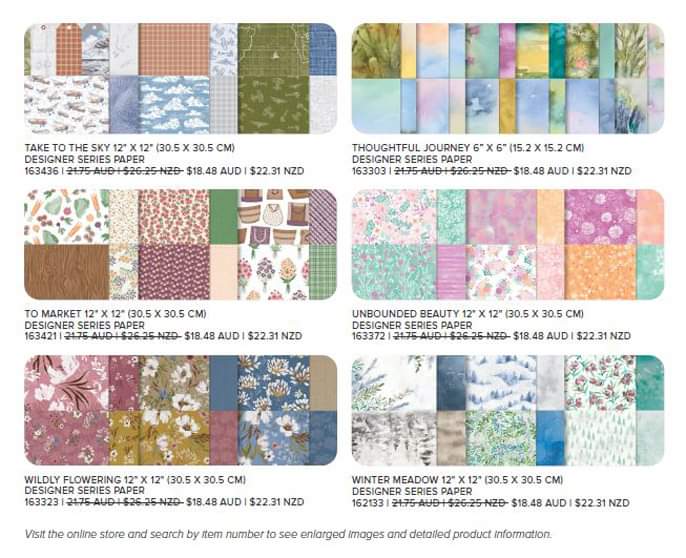
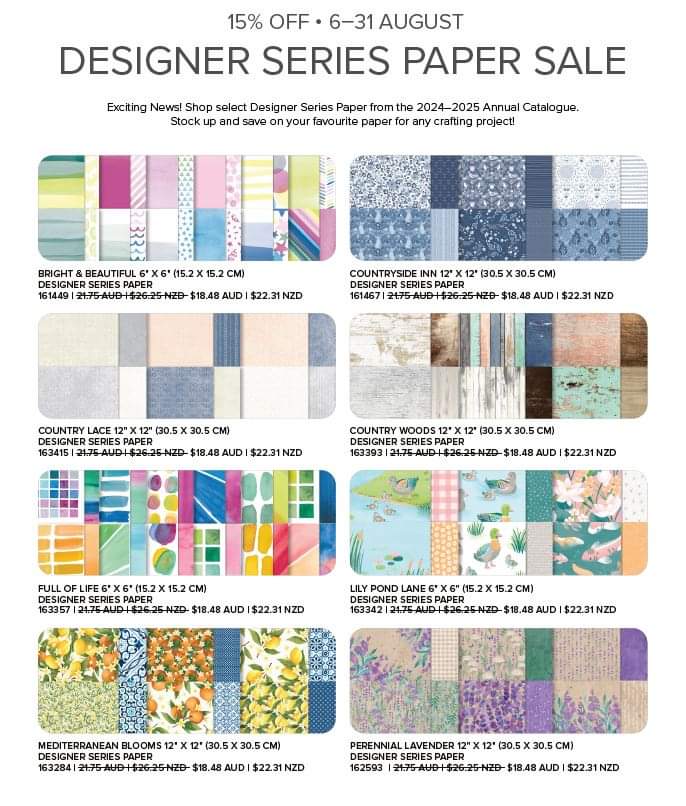
And don’t forget the Country Woods Designer Series Paper is on sale until the end of August, as well as some of the other papers in the Annual catalogue.
Happy stamping,
Chris