Annual Catalogue Sketches – Sketch #22

Hi and welcome to the final sketch of the 22 Sketches on page 22 of the Annual Catalogue.
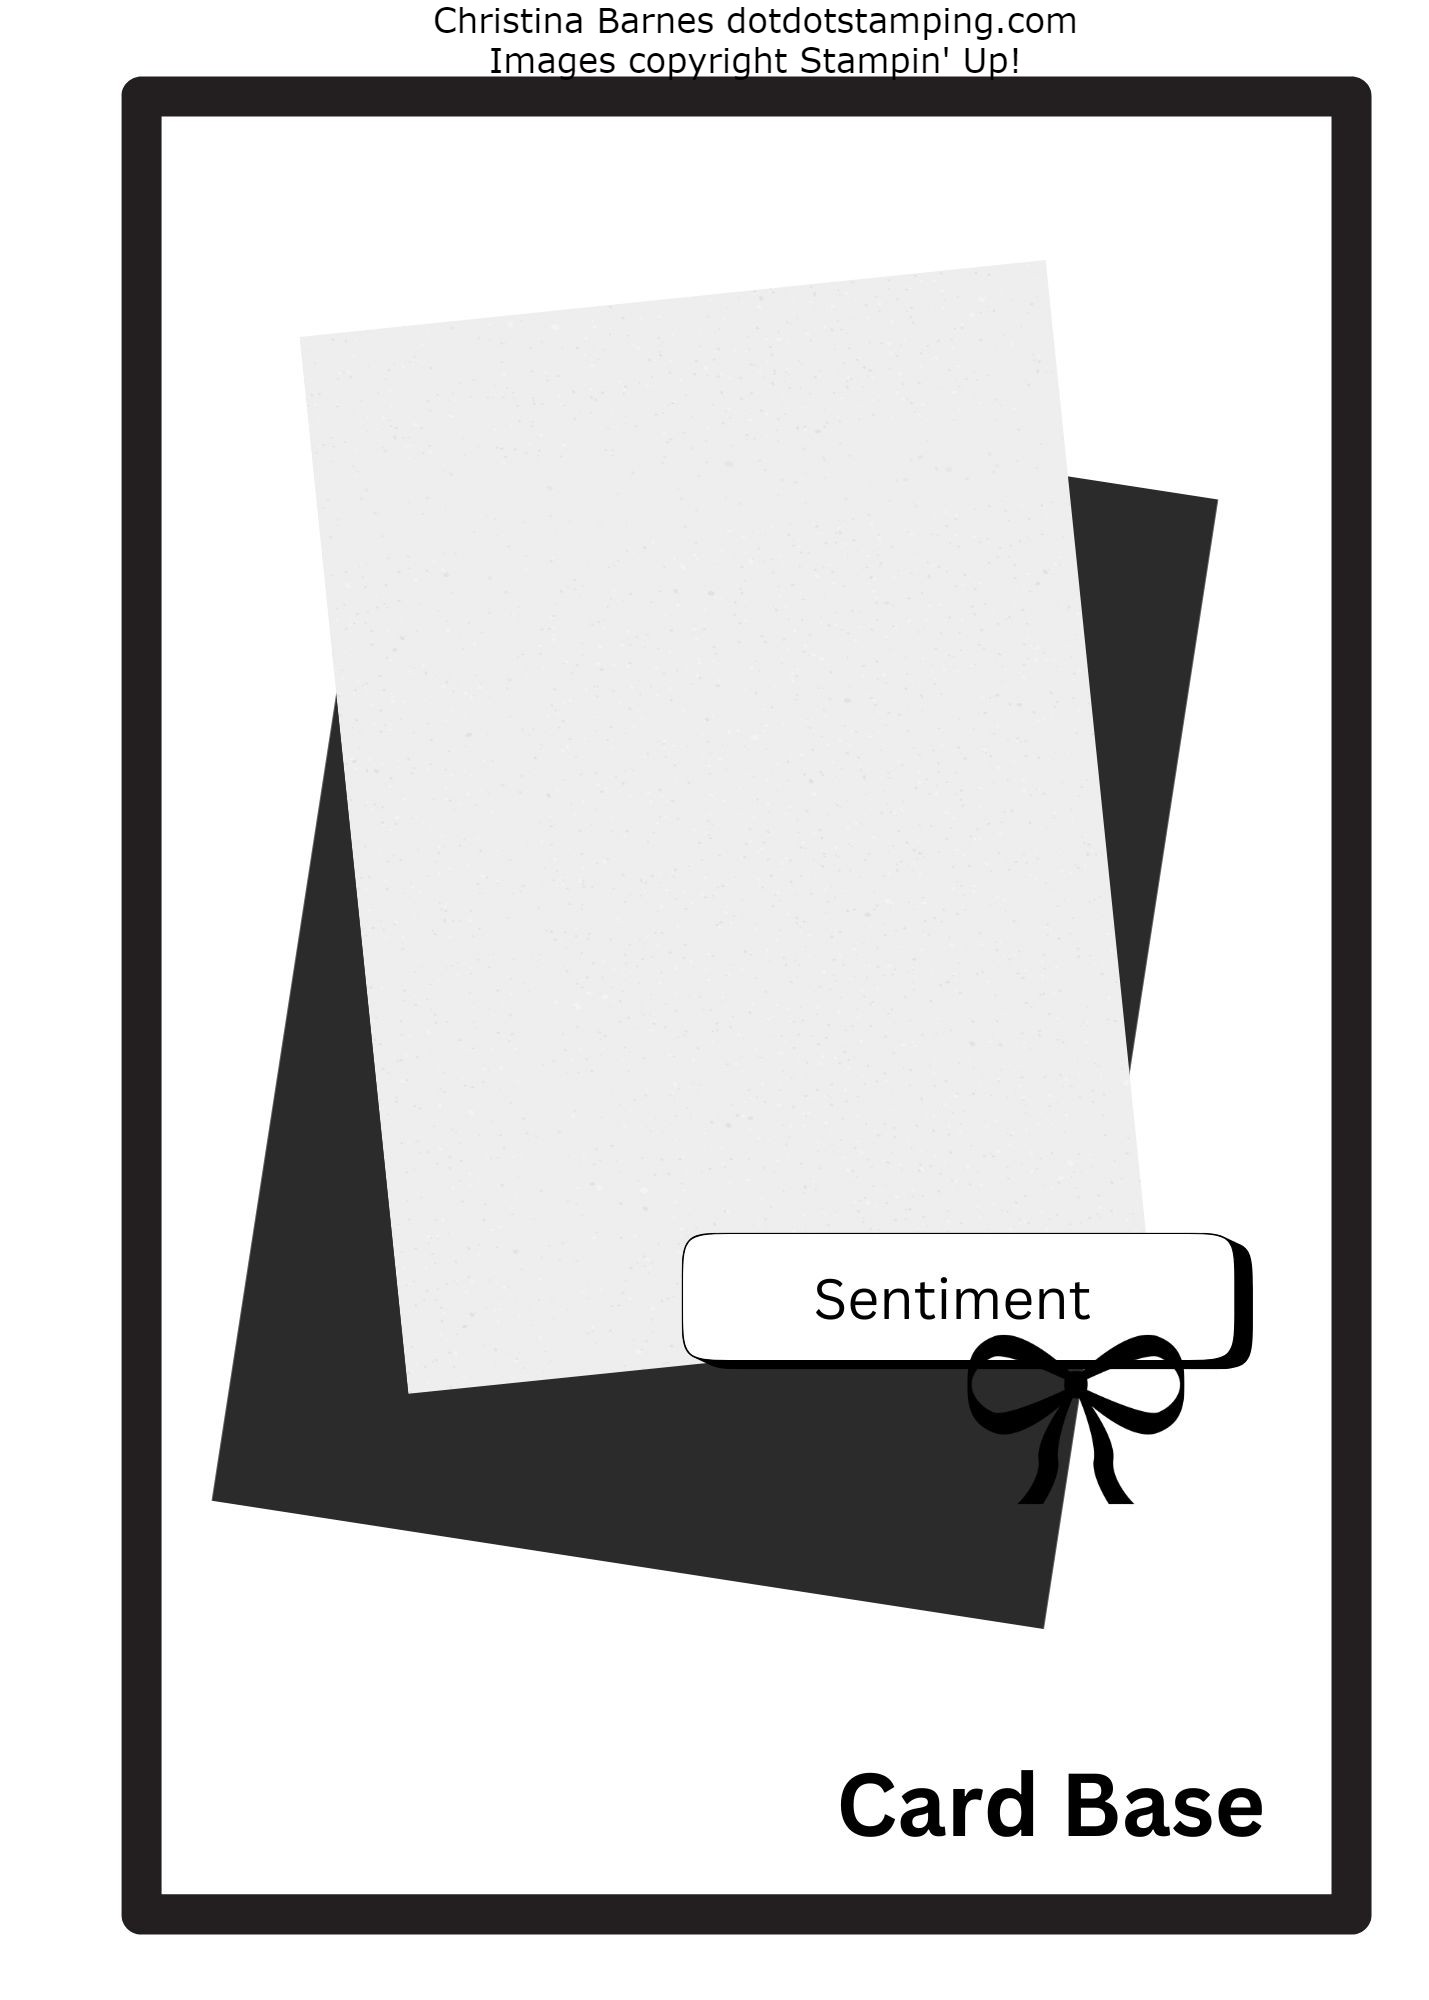
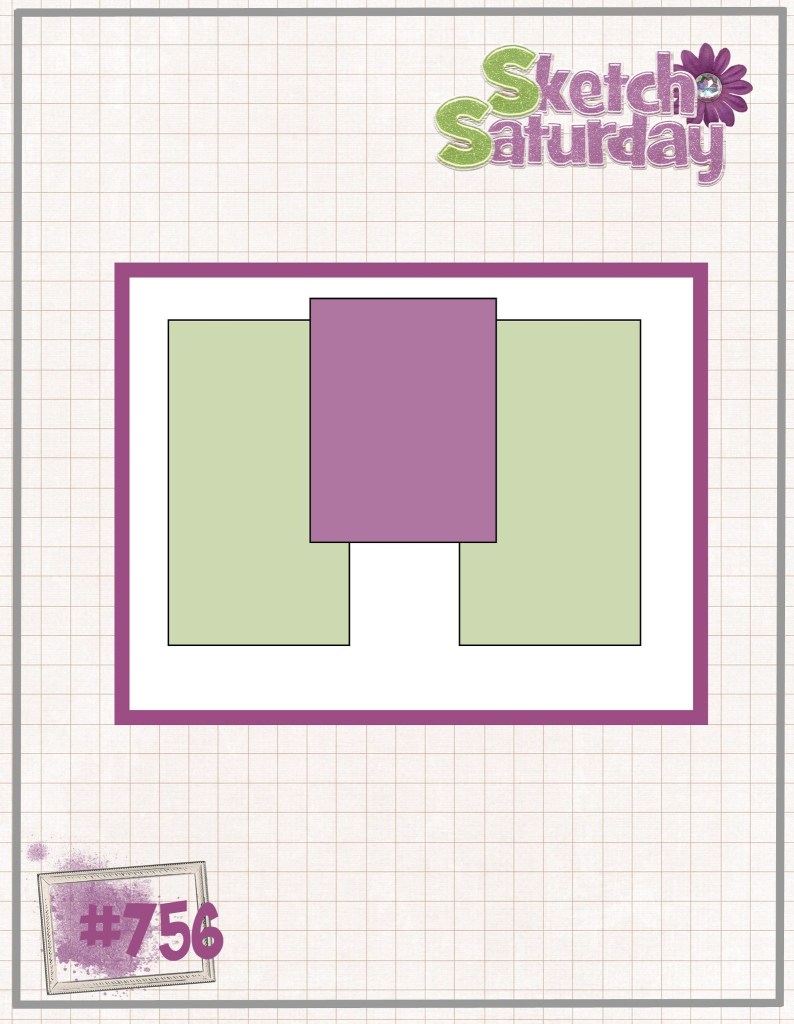
Here is the sketch.

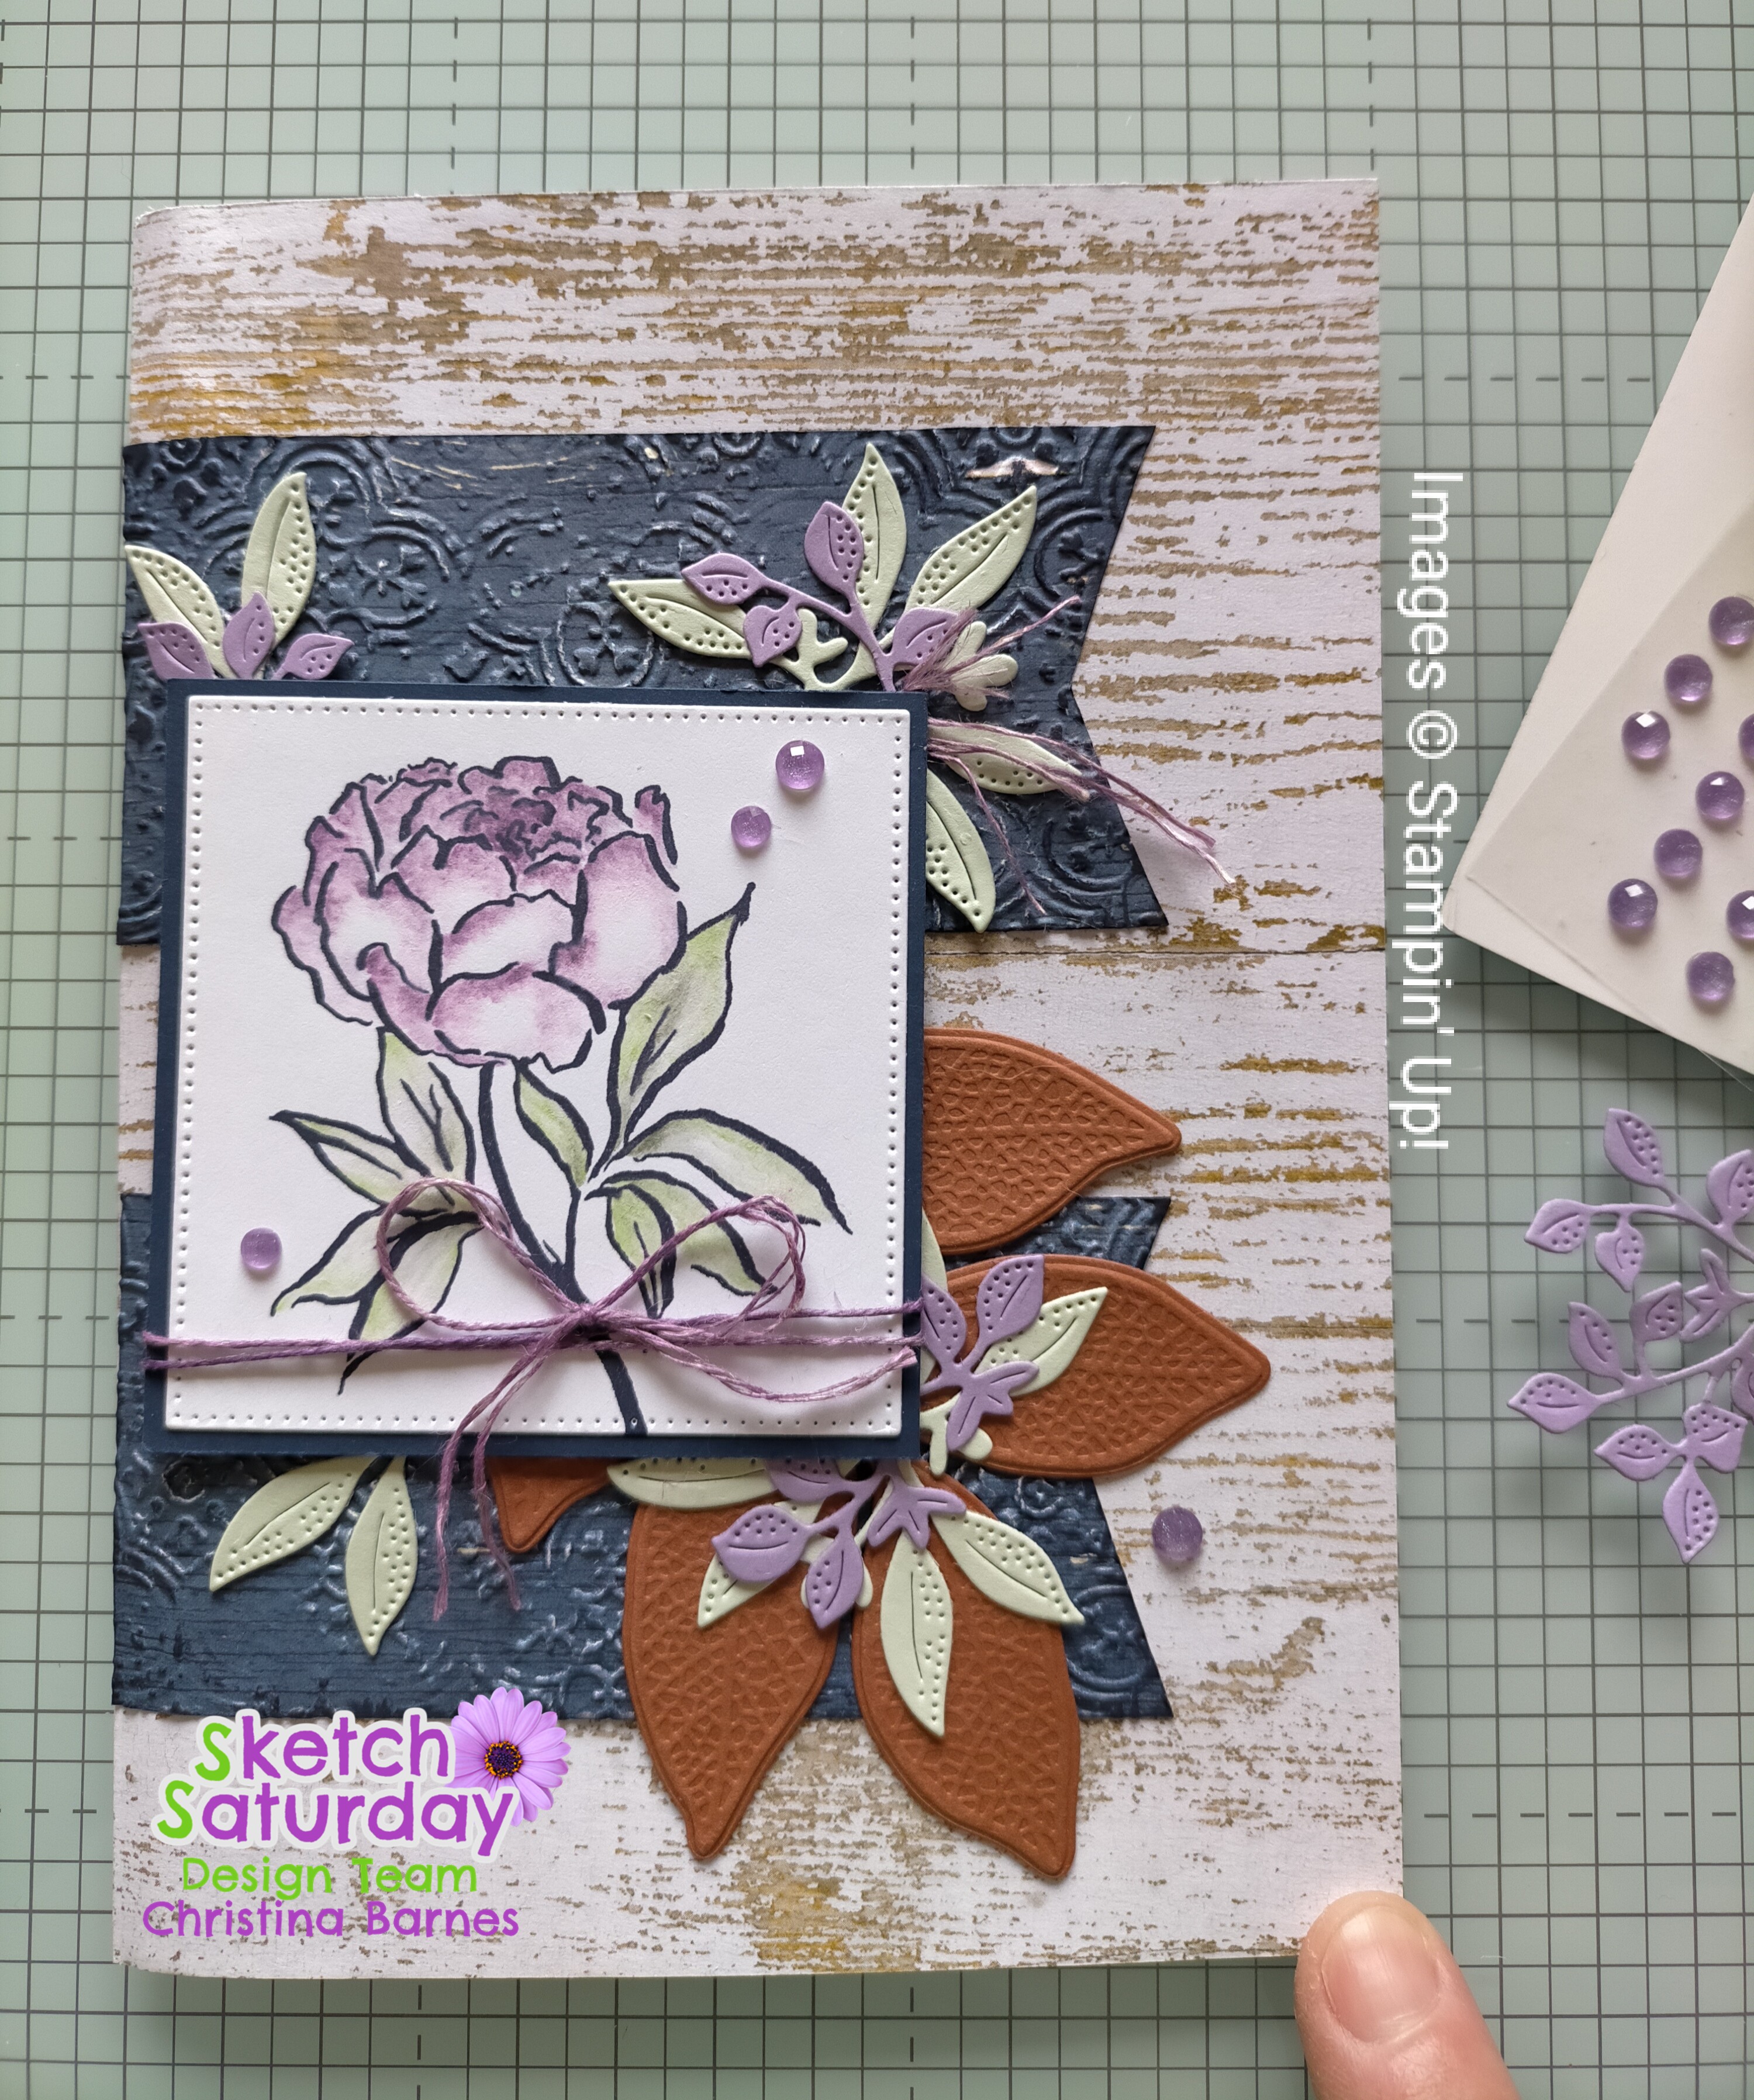
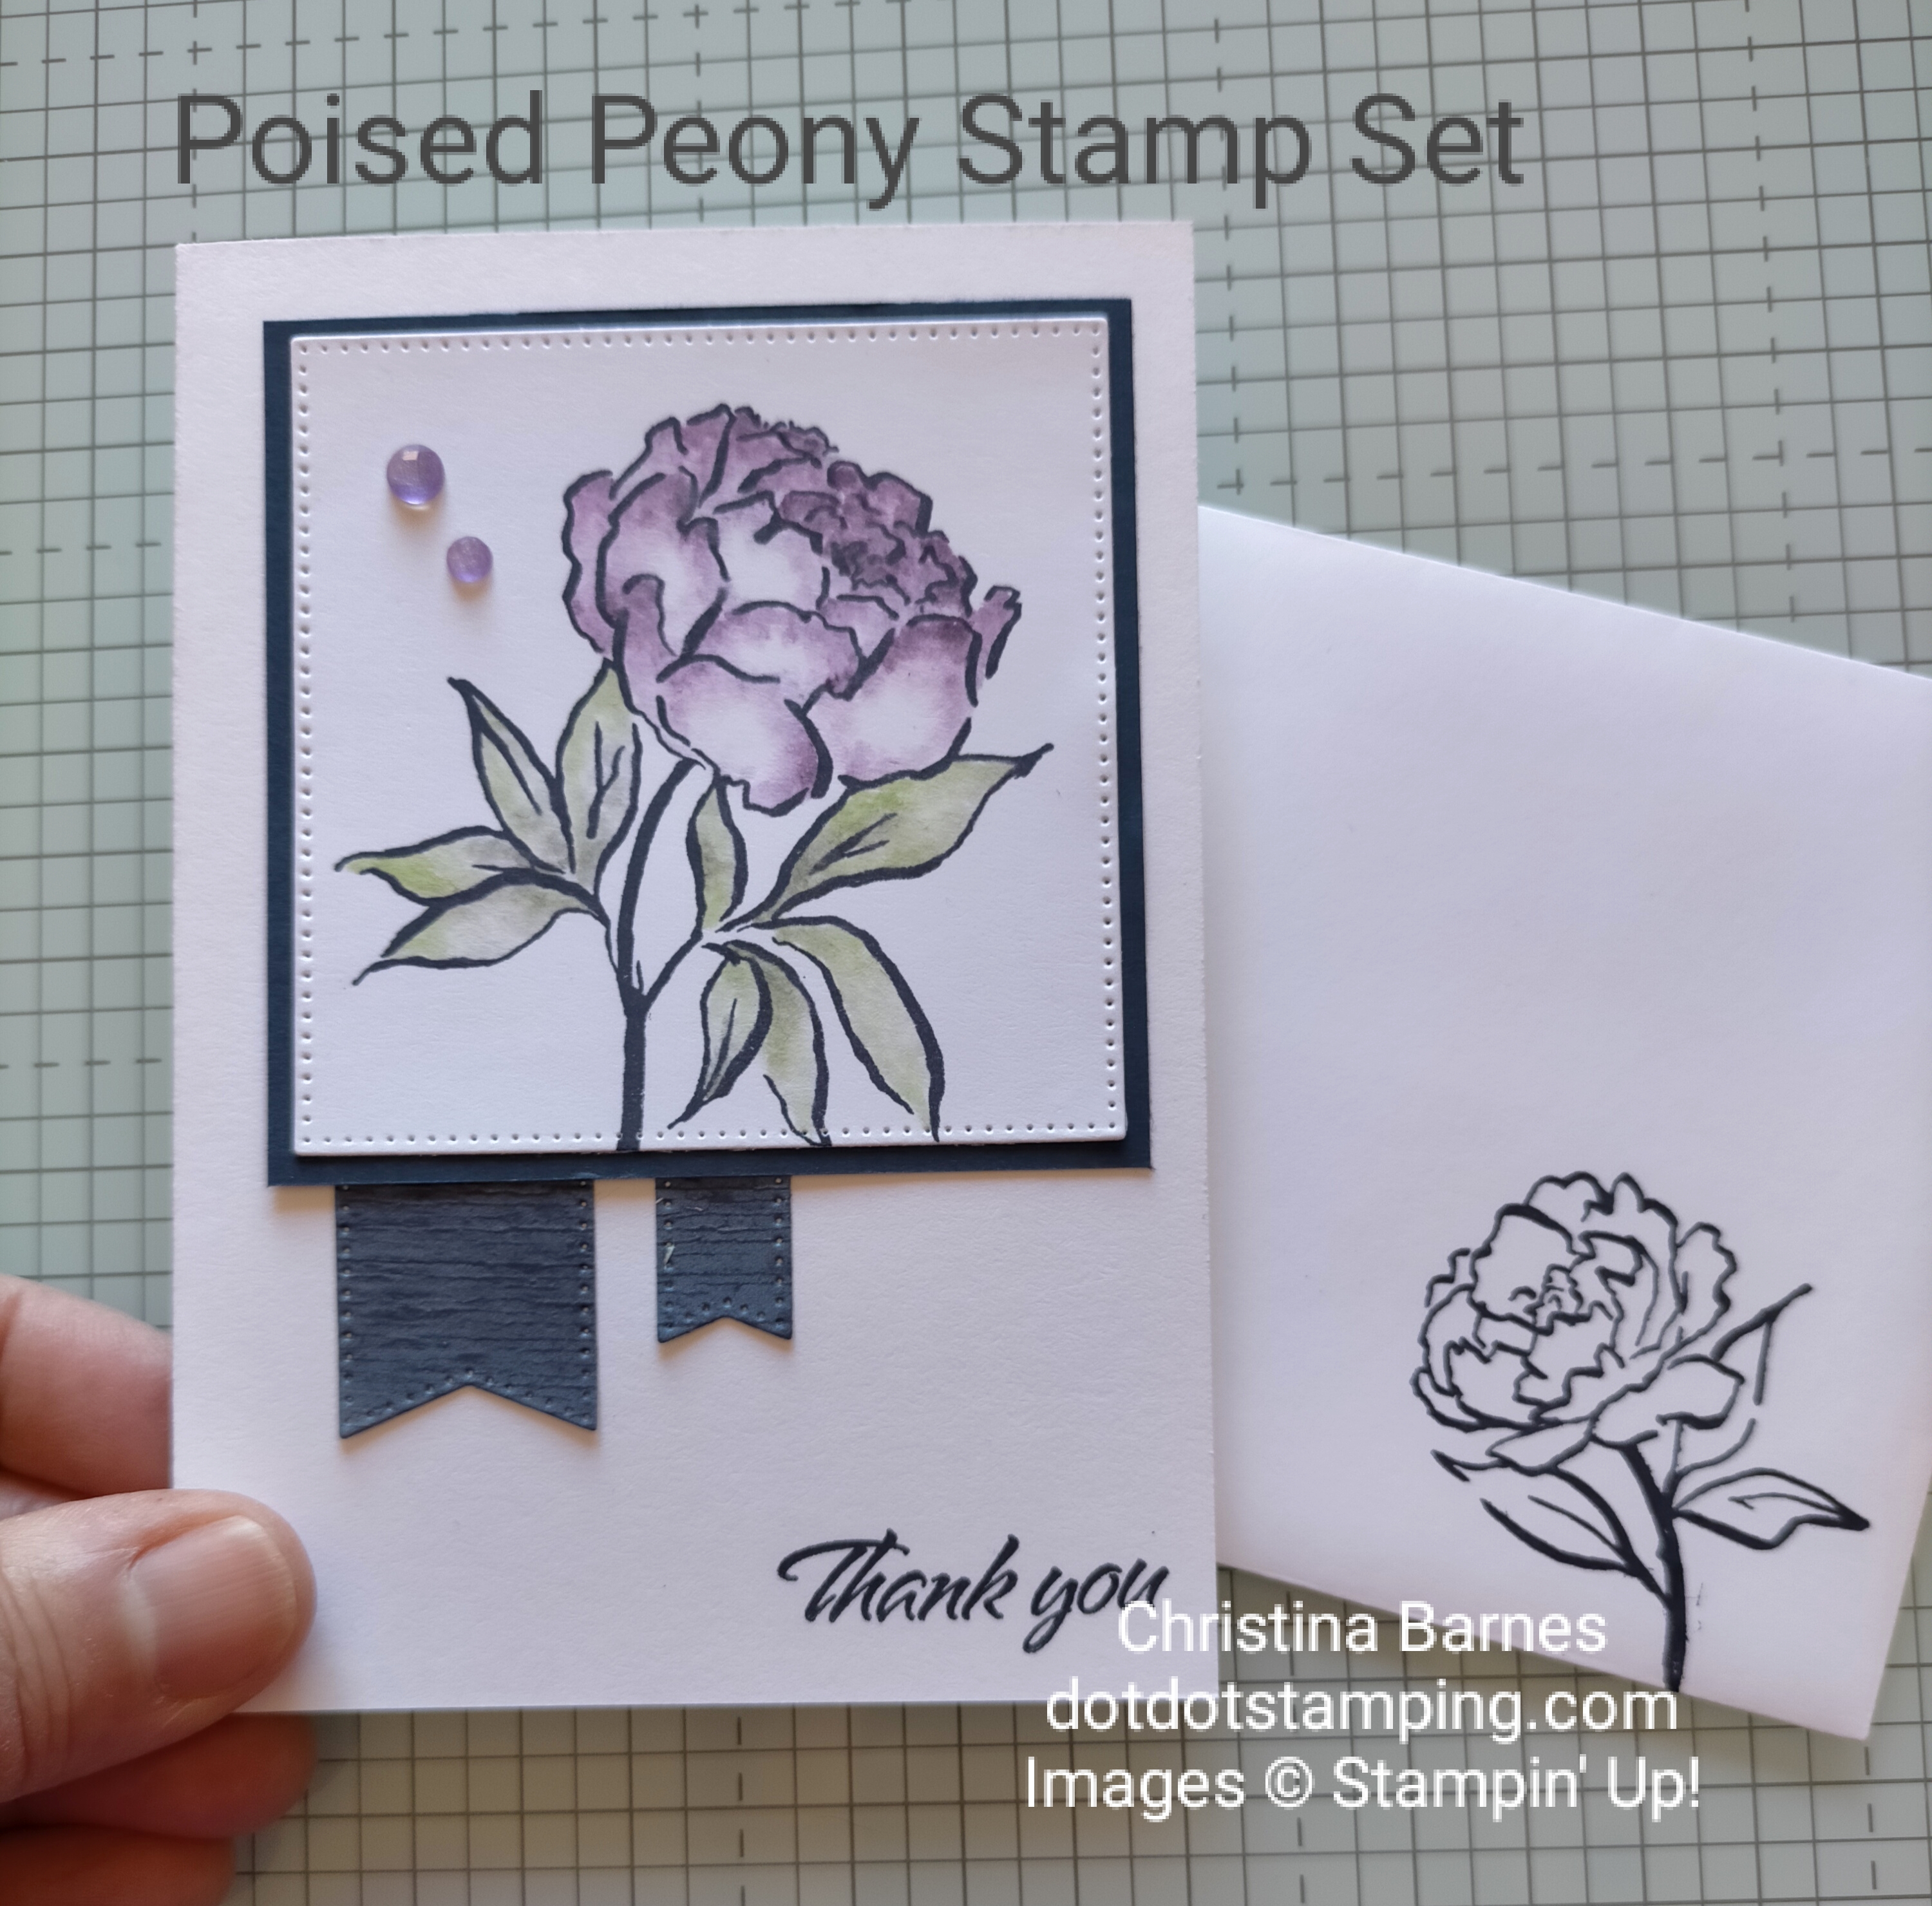
My card today features the lovely Poised Peony stamp set. I loved this set as soon as I saw it and it’s gorgeous for colouring.

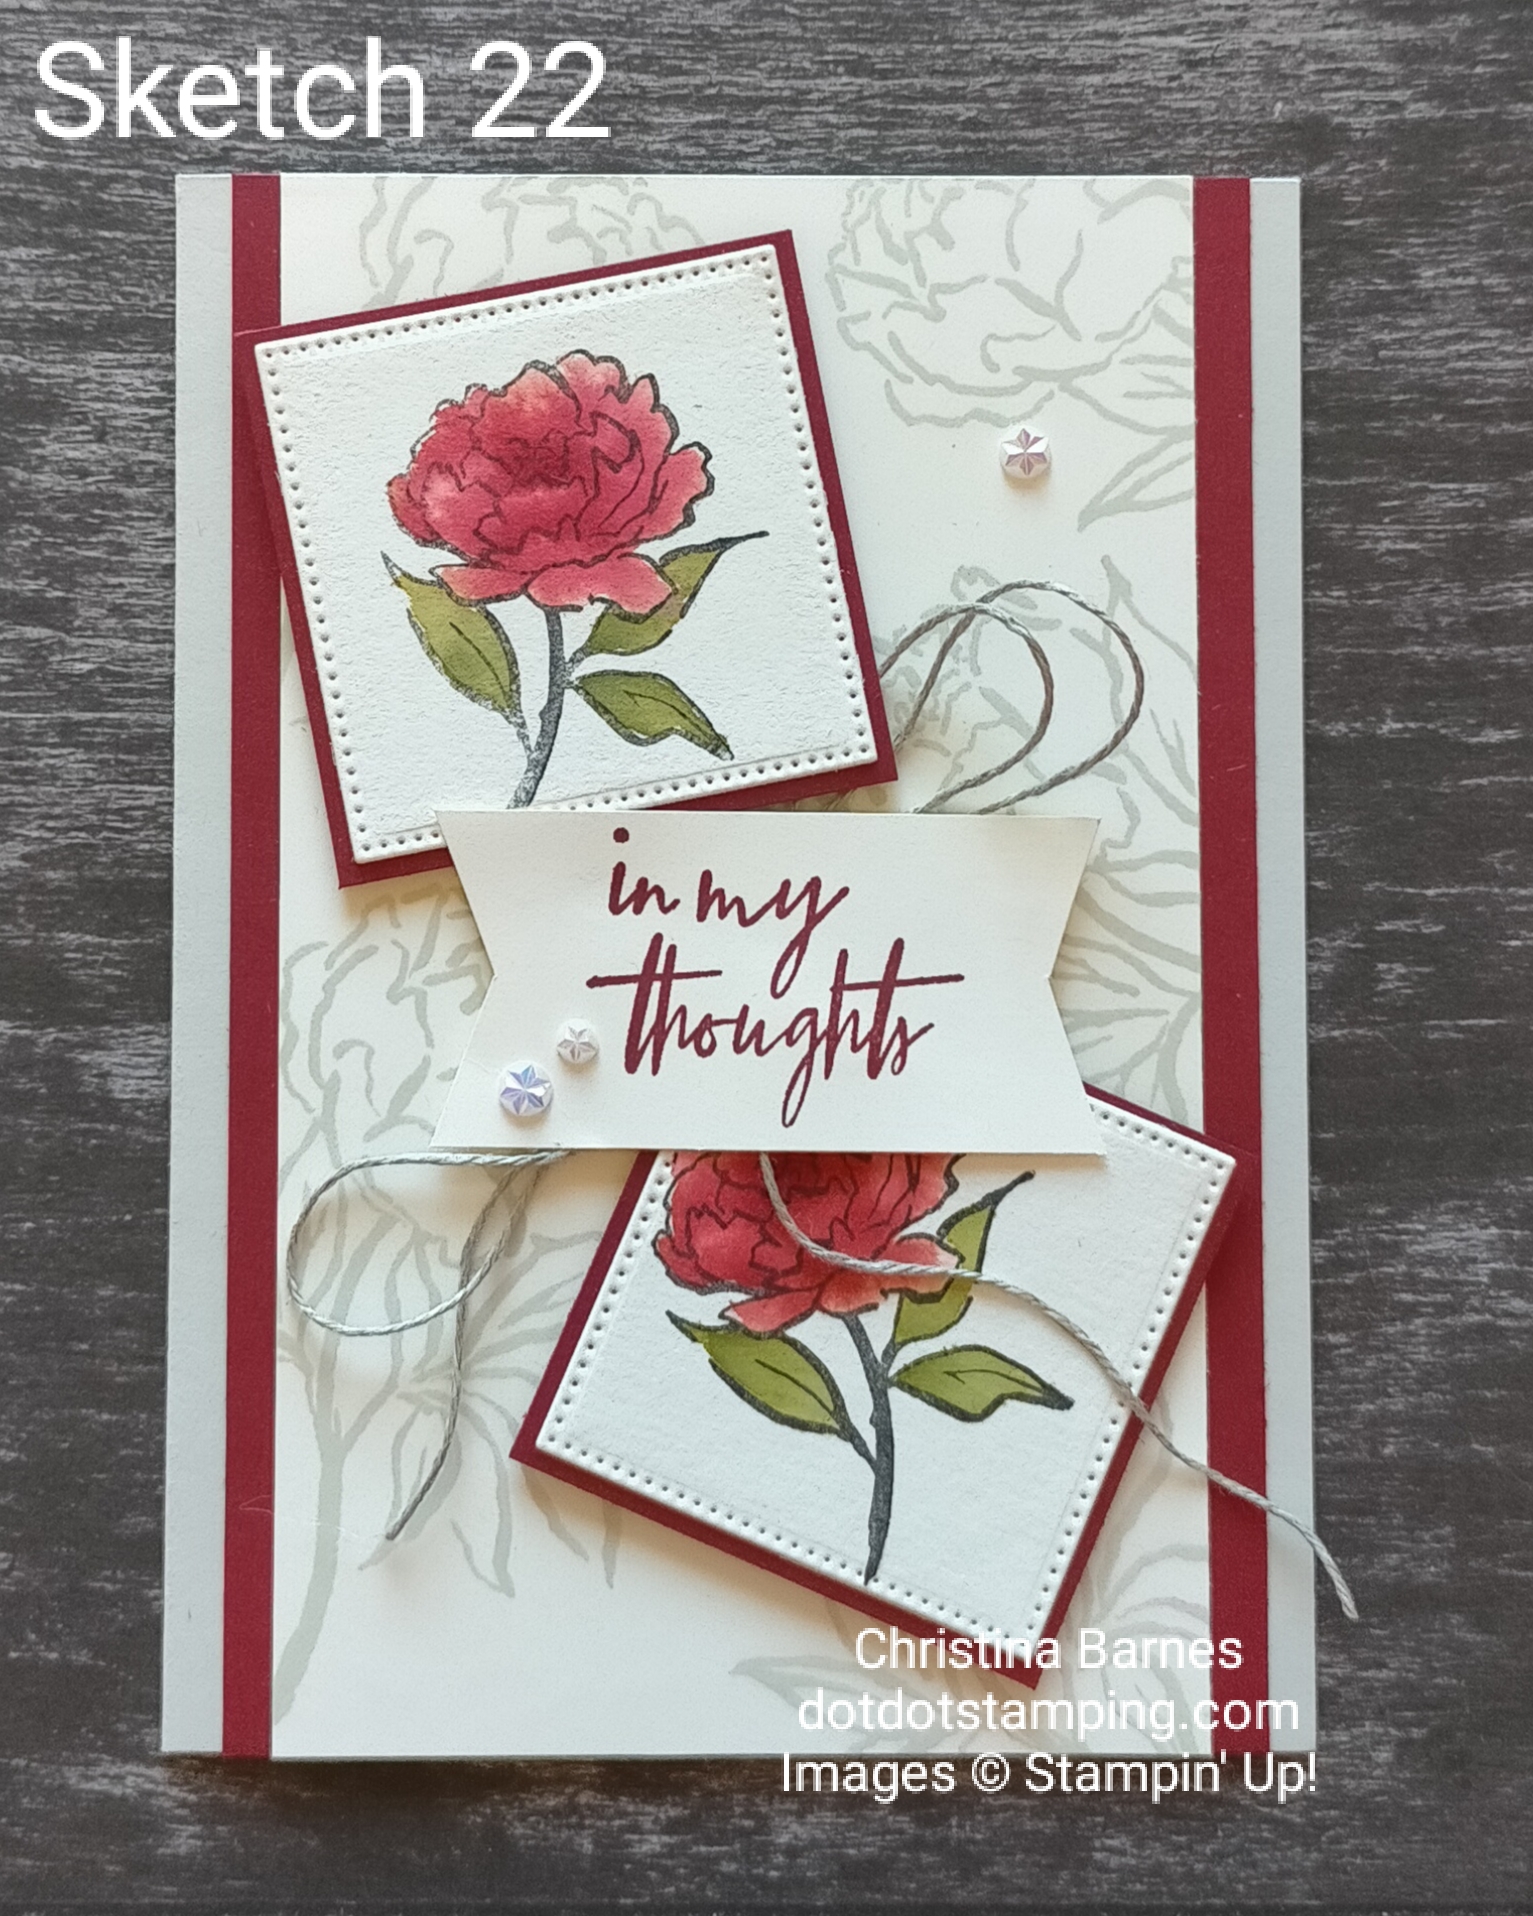
The card base, from Basic Beige Cardstock, is my usual size – 21cm x 14.5cm, which is then scored at 10.5cm on the long side and folded, so when it’s folded, your card front will be 10.5cm x 14.5cm. I think Basic Beige is one of my new favourite colours, it goes so well with all the other colours.
Next I have a layer of Cherry Cobbler cardstock, measuring 9.5cm x 14.5cm. This is not exactly the same as the sketch, I have just extended these layers to the top and bottom.
The next layer is 9cm x 14.5cm in Very Vanilla cardstock which I have stamped in Basic Beige ink with the larger Peony, randomly over the cardstock.
The two squares are cut out using one of the squares from the Stylish Shapes Dies, from Fluid 100 watercolour paper, then stamped with Black Stazon ink. The peonies were coloured using a Water Painter with Old Olive ink and Cherry Cobbler ink.
These squares were then layered onto some Cherry Cobbler Cardstock cut to a couple of millimetres larger than the die cut squares, they ended up being 5.2 x 5.2cm.
The sentiment is stamped using Cherry Cobbler ink onto a random scrap of Very Vanilla Cardstock, and I have cut the flags with scissors.

I hope you have enjoyed this series of posts with cards inspired by the sketches in the catalogue. It has been a good challenge for me, to use different layouts and ideas for my cards. I would love to hear your thoughts. Do you get stuck in a rut when it comes to card layouts?
And is there something you would like to see me share here to inspire you?

Hoping you have a crafty week.
Chris

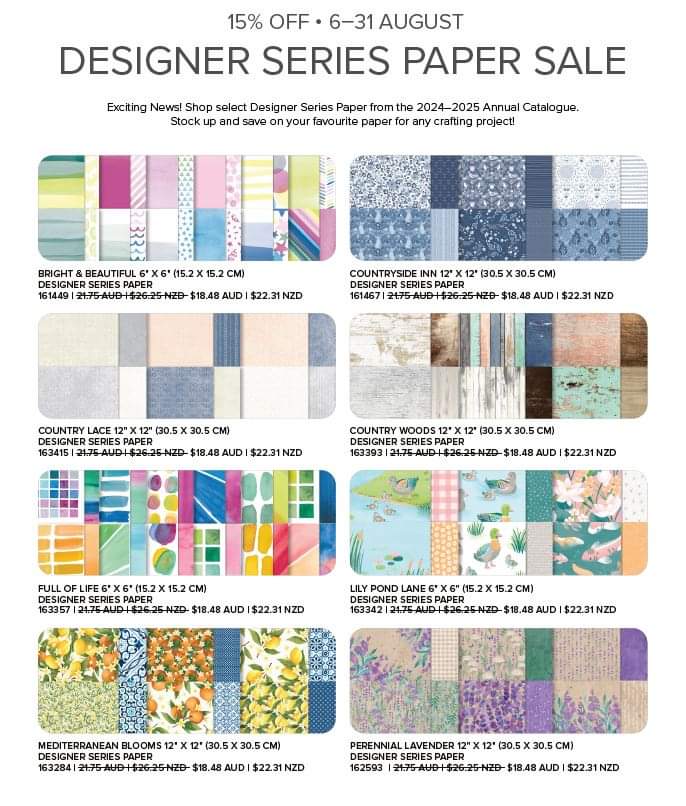
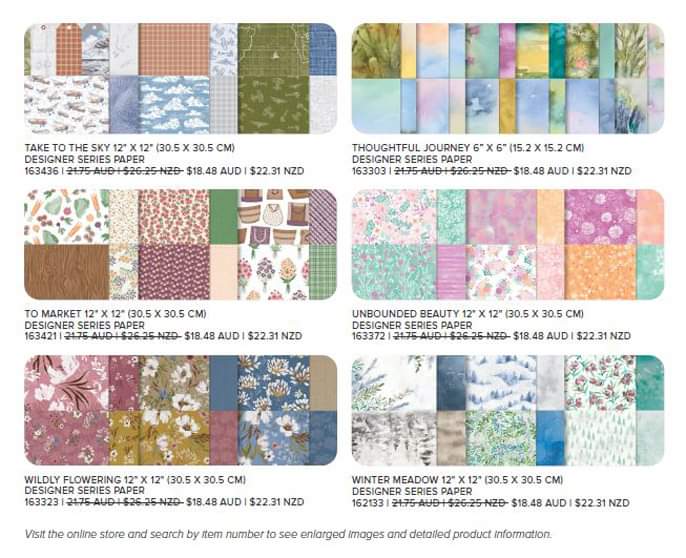
PS Don’t forget the sale on Designer Series Papers, only a few days left to make the most of it!
If you are in Australia and would like to grab some while they are cheap, you can click here.

Annual Catalogue Sketches – Sketch #10

Hi and welcome back to the daily sketches from the Annual Catalogue, with Sketch 10.

I am in a purple mood today, and have used heaps of inks to create my background and focal layer.

The cardbase is the usual size (21cm x 14.5cm, which is then scored at 10.5cm on the long side and folded, so when it’s folded, your card front will be 10.5cm x 14.5cm) and today I have used some Highland Heather cardstock for the base.
Over that is some Watercolour Paper which is 10cm x 14cm. I would normally use (and highly recommend) the Fluid 100 Watercolour Paper, it is the best I have ever used. However, I ran out, so had to use some that I already had in my stash.
I used the Stampin’ Up! Glass Mat (fantastic tool, if you don’t have one already), sprayed some water directly onto with a Spritzer, then added some drops of Highland Heather ink, Fresh Freesia ink and Petal Pink ink, swirled the ink around in the water, added a bit more water, generally had a play with it until I was happy, and then laid two pieces of the Watercolour Paper directly into the inky mess!
Once I was happy with the spread of colour, I dried it with a heat tool, distressed the edges with my Paper Snips Scissors, sponged some Highland Heather ink around the edges. Before applying the background layer to the cardbase with adhesive, I heat embossed the sentiment.

With the smaller piece of Watercolour Paper, I stamped the small flower from the Poised Peony stamp set using Versamark ink, sprinkled white Embossing Powder over it, and set with a Heat Tool. After distressing the edges and sponging with ink, I then used a Water Painter Brush to paint colour onto the flower – Lost Lagoon ink for the leaves, and some Highland Heather and Fresh Freesia for the flower.
This smaller piece of Watercolour Paper is 5.5cm x 5.5cm, and the Basic White layer behind it is 6 x 6cm, and sponged with Highland Heather ink.
Behind the focal image layer is another layer of cardstock, again in Highland Heather, measuring 5cm x 10cm, which I have cut at each end with Paper Snips to form the flag ends.
Some Linen Thread and Purple Shimmer Gems finish the card off.
Oh, and I almost forgot the splatters, which are done with the Water Painter with some Highland Heather ink on the brush, and I just knock the brush against a hard object such as a ruler or clear block, and the ink splatters – often in places you don’t want it!!

Hopefully I have inspired someone to try out a different layout for a card.
Stay tuned for the next one.
Happy stamping,
Chris

August is Sketch Month – Sketch 1

Hi and welcome back.
If you have seen the Stampin’ Up! Annual Catalogue, you may have seen that there are quite a number of card sketches through the catalogue, and on Page 22 there are 22 sketches to use as inspiration for cards.
So I am challenging myself!
I plan to share a blog post every day with the sketches in the order they are in the catalogue, along with a sample of how I made that sketch PLUS the measurements I have used.
I have seen a few different people sharing PDFs of the sketches with measurements in Imperial, but I am in Australia, and we use different size card fronts here. So my measurements will be in centimeters and based on our card size.

I have been busy on Canva recreating the sketches from the catalogue, so they are not exact copies of what is in the catalogue but close enough. And since I have put my time and effort into creating these I would appreciate acknowledgement of where you got them from if you plan on using them.

I hope you enjoy them. Here is the first one!

My card using this sketch features some of the beautiful Designer Series Paper which was only available to Stampin’ Up! demonstrators (but is too beautiful not to share) along with the Poised Peony stamp set.

In Australia our card bases are basically half of an A4 sheet of cardstock.
However, I have found that it is much easier, especially for beginners to measure it slightly differently, and have a small strip left over.
So for my card base, I cut 21cm x 14.5cm – you should be able to get two card fronts from one piece of cardstock. Then along the long side, score at 10.5cm and fold, so when it’s folded, your card front will be 10.5cm x 14.5cm. I have used some Pretty in Pink cardstock for my card base.
I have then taken a piece of Designer Series Paper (patterned paper) the same size – 10.5cm x 14.5cm and adhered it onto the card front.
The next layer of Designer Series Paper (the darker pink) is 8.5cm wide x 9.5cm.
The Basic White focal layer is 7cm x 9.5cm.
I decided not to put my sentiment onto a separate piece but rather to stamp it directly onto the panel with the main image, and also to add some Linen Thread, and some Purple Fine Shimmer Gems.

I hope that these will be helpful to someone, and hopefully I can get through all of them for you.
Please feel free to leave a comment or reach out to me if you have any questions.
Happy stamping,
Chris

Sketch Saturday # 756

Welcome to another Sketch Saturday challenge.
Here is the sketch for this fortnight.

I chose to turn the sketch on it’s side for my project today, and I have used it as inspiration for a covered notebook.

The notebook front and back have been covered with some Country Woods Designer Series Paper, and I have cut the two blue strips from the same paper before using my Paper Snips to cut flag ends into the strips. I have then run them through the Stampin’ Cut and Emboss machine with the Distressed Tile Embossing Folder and then added some Night of Navy ink along the edges and randomly on the front of the blue panels.

The feature image comes from the Poised Peony stamp set. I have stamped the image in Night of Navy ink, and then coloured it using a Blender Pen and some of the Soft Pastel Assortment. Since the colouring has been done on Basic White Cardstock, I did this very gently in a dabbing motion to ensure the cardstock doesn’t rough up.
I have taken some pieces of Linen Thread, and coloured them using the dark Highland Heather Stampin’ Blend, and then pulled the strands of the thread apart to give it a more whispy look.
Then I’ve added some leaves in Copper Clay, cut using the Online Exclusive Changing Leaves Hybrid Embossing Folder and Dies, along with some leaves from the Stippled Roses Dies in Soft Seafoam and Highland Heather.

Here is the notecard I made to go with the Notebook, using the same elements and techniques.


I hope you will join us and share your take on the sketch, we always love to see what you have been creating.
Happy stamping,
Chris